4-35
=
way. The triggering pulse must be set at a ten-millisecond pulse rate or greater, or the
trigger will not work
•
1 PPS is currently not supported.
7.
Connect the AC power cord to the Line VAC connector and the AC power source.
4.4.3.2
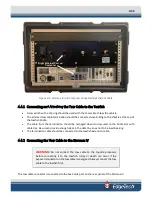
Connecting to the 2050 Rack Mount with Starmux IV DL
Note:
The Starmux IV has replaced the Starmux III. This section is included
only to support systems sold with the Starmux III.
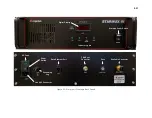
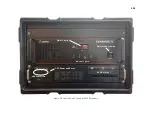
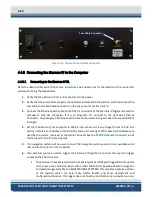
Refer to subsection for the location of the connectors while performing the steps below:
1.
Verify that the 2050 Rack Mount is not connected to AC power.
2.
Verify that the tow cable is properly connected and attached to the towfish, and then connect the
tow cable to the Sea Cable connector on the rear panel of the Starmux IV.
3.
Verify that an Ethernet patch cable is connected to the DATA 1 Connector of the Starmux IV Digital
Link and the computer's ethernet connector. If it is an EdgeTech 2U, it should be connected to the
right-side Ethernet Connector.
4.
Connect the LCD monitor to the back-panel Video Card Connector of the computer.
5.
Connect the trackball to a back-panel USB Connector of the computer.
6.
Connect the keyboard to a back-panel USB Connector of the computer.
7.
If a navigation system will be used, connect the navigation system output to the COM 1 Serial Port
Connector on the computer's back panel.
8.
If an external source is used to trigger the Starmux IV Digital Link, connect this source's trigger
output to the FSK connector.
•
The Starmux IV comes standard with a FSK (Frequency Shift Keyed) Trigger BNC
connection on the rear panel, which connects with a USBL (Ultra-Short Baseline Beacon)
navigation and positioning system like the
. This provides a
precise position of the towfish, which can help make better towfish and sonar
deployment and configuration decisions. This trigger does not directly control the sonar
subsystems in any way. The triggering pulse must be set at a ten-millisecond pulse rate or
greater, or the trigger will not work
•
1 PPS is currently not supported by the Starmux IV.
9.
Connect AC power cord for 2U Processor and Starmux IIV to VAC connector and AC power source.
10.
Connect an AC power cord to the LCD monitor and the AC power source.


