Portable Air Conditioner
Owner’s Manual
For more information on other great EdgeStar products on the web, go to http://www.edgestar.com
AP14009COM
Page 1: ...Portable Air Conditioner Owner s Manual For more information on other great EdgeStar products on the web go to http www edgestar com AP14009COM ...
Page 2: ...y This unit is designed for indoor use only Do not use the unit in extremely humid or wet environments Do not wet the housing or control panel Do not pull the unit by the cord Always turn the unit off and unplug it from the socket when cleaning Unplug the unit if it is not going to be used for a long period of time Do not operate the unit with a damaged plug or a loose socket Use only the correct ...
Page 3: ...ONNECTOR TO THE GRATED ADAPTER 8 REMOTE CONTROL OVERVIEW 10 INSTALLING THE BATTERIES 10 REMOTE CONTROL LCD INDICATORS 11 OPERATING THE REMOTE CONTROL 12 POWER 12 AUTO RESTART 12 COOLING MODE 12 DEHUMIDIFYING MODE 12 FAN ONLY MODE 13 AUTOMATIC MODE 13 FAN SPEED 13 CLOCK 13 TIMER 14 How to set the unit to automatically turn on 14 How to set the unit to automatically turn off 14 FRONT PANEL LIGHTS AN...
Page 4: ... the ratings label on the back of your unit and are needed to obtain warranty service You may also want to staple your receipt to this manual as it is the proof of your purchase and is also needed for service under your warranty Model Number Serial Number Date of Purchase To better serve you please do the following before contacting customer service If you received a damaged product immediately co...
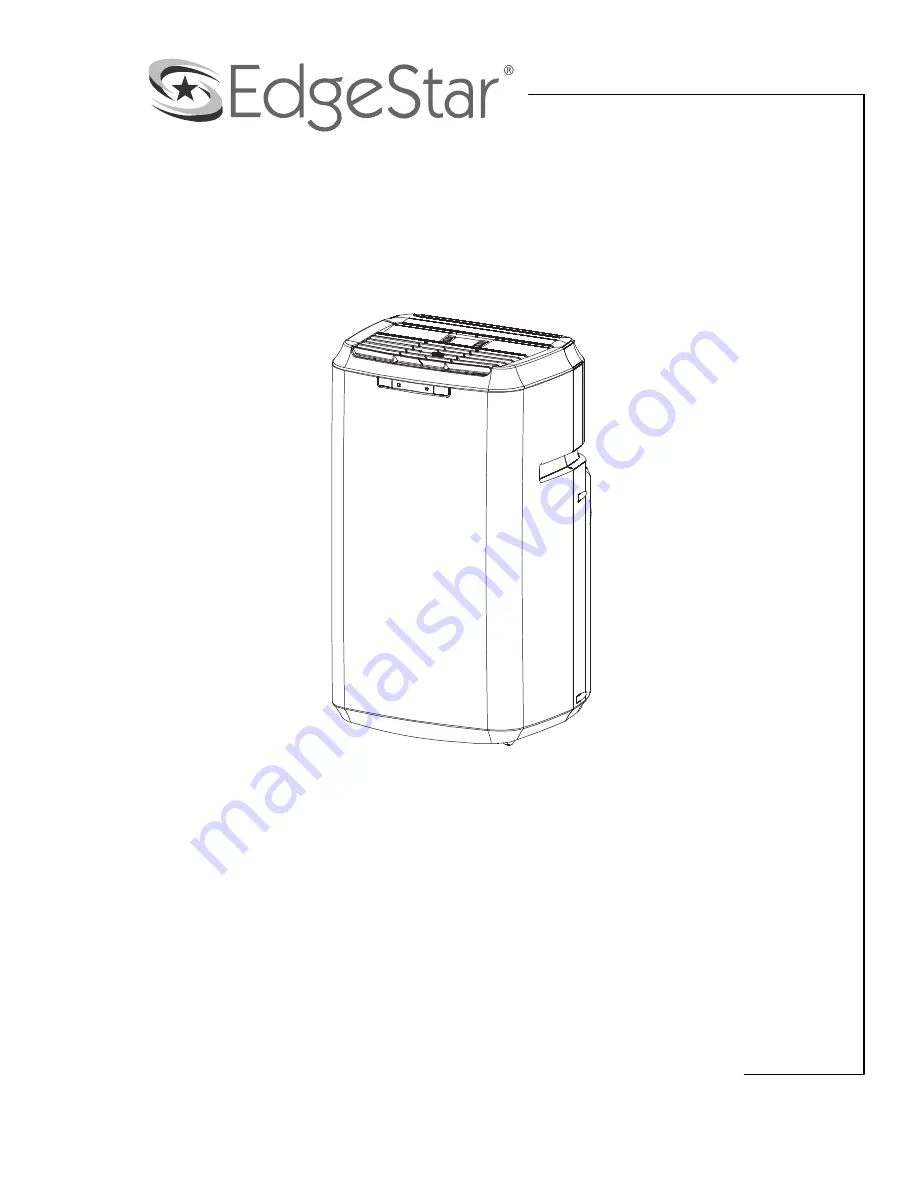
Page 5: ...tar Portable Air Conditioner 2 Parts Identification Back View Front View Air Intake Pre filter Air Intake Exhaust Outlet Power Cord Drain Port Caster Handle Remote Control Indicator Light Button Power Button ...
Page 6: ...nths or as needed It is necessary to clean the pre filter periodically Follow the steps below to install the carbon filter 1 Pull the handle on the pre filter straight up CAUTION Never operate the air conditioner without the pre filter attached 2 Place the activated carbon filter on the pre filter 3 Secure the carbon filter to the pegs on the filter frame 4 Insert the assembled pre filter into the...
Page 7: ...power requirements listed on the product label printed on the side or on the back of your portable air conditioner Your window kit can be installed on a horizontal or vertical sliding window as shown in the following pictures Follow the instructions on the next pages to install the window kit Preparations for installing the window kit 4 Duct Connectors 2 Grated Adapters 8 Screws 2 Exhaust Hoses 2 ...
Page 8: ...ter 1 Insert the round grated adapters through the back grooved side of the window kit plate with holes 2 Secure the grated adapters by fastening the screws from flat side of the window kit plate to the holes on the grated adapter ...
Page 9: ...sill Then slide the window kit plate to fit the width of the window You can use screws to secure the window kit plate from sliding 4 Lower the window to secure the window kit in place You may need to use duct tape to better secure the window kit CAUTION Secure your window by using window locks Please contact your EdgeStar retailer to purchase window locks ...
Page 10: ... hose A B 5 Attach the connectors to the hose A Extend the ends of the exhaust hose B Thread the duct connector on by turning it clockwise until it stops 20 6 Roll the unit towards the window kit Leave a space that is at least 20 inches to the wall ...
Page 11: ...portable air conditioner and start using it Connecting the duct connector to the unit Connecting the duct connector to the grated adapter 7 Align the slots on the duct connector to the tabs and snap into the back of the unit 8 Align the slots on the duct connector to the tabs on the grated adapter and snap in place ...
Page 12: ...ding additional hoses or attachments or replace it with any other hose Do not lengthen the exhaust hose by adding additional hoses or attachments Warning Longer hoses are not recommended Draining the Unit When the portable air conditioner is in cooling mode or dehumidify mode it will remove moisture from the air The condensed water from the air will be collected in an internal reservoir and will b...
Page 13: ...de you set Down Decreases the Temperature Timer or Clock settings Clock Used to set the remote control clock Timer Used to enable the timer C F Switches the temperature between Celsius Fahrenheit Up Increases the Temperature Timer or Clock settings Power Button Fan Speed Button Mode Button Down Button Clock Button Timer Button Celsius Fahrenheit Button Up Button LCD Display C F CAUTION Use only AA...
Page 14: ... Timer is enabled Timer Shows if the On Timer or Off Timer is enabled Mode Indicator Function Automatic The unit will cool dehumidify or heat some models depending on the ambient temperature The mode and fan speed changes automatically The front panel lights will change to reflect the running mode Cooling The unit will cool The front panel lights will be blue Dehumidify The unit will remove moistu...
Page 15: ...e remote control 3 Press the Mode button until the cooling indicator is selected 4 Select the fan speed by using the Speed button 5 Set the thermostat by using the Up and Down buttons The thermostat is adjustable between 64 F 90 F in one degree increments You can switch between Fahrenheit and Celsius by pressing the button During the Dehumidifying mode the unit will condense water out of the air a...
Page 16: ...ator is selected The Fan Speed button is used to change the fan speed while in Cooling and Fan Only modes Press the Fan Speed button to select the fan speed The Automatic High Medium or Low indicator can be selected Note You will not be able to change the fan speed if the unit is in Automatic or Dehumidify mode The Clock button is used to set the Clock To set the Clock 1 Press and hold the Clock b...
Page 17: ...utton again to set the timer The timed hour indicator will stop blinking The unit will automatically turn off after the selected time elapses Front Panel Lights and Controls Your portable air conditioner has a front panel that lights up different colors depending on the mode it is running Cooling mode will display a blue light Dehumidify mode will display a yellow light Fan mode will display a gre...
Page 18: ...in cooling mode for 3 or more hours to cool the room before you arrive You may want to operate the unit all day if you live in a warmer climate Minimize the heat sources direct sunlight computers servers people etc in the room Close all windows and doors Use the unit in a contained room For example a room with four walls and a ceiling instead of a partitioned studio or warehouse Make sure the unit...
Page 19: ...st and dirt then rinse thoroughly under lukewarm running water below 104 F You may use a mild soap and water solution if needed Allow the pre filter to air dry in a cool and shaded place Dry thoroughly before reinstalling Clean the pre filter periodically If the unit is used in a dusty environment you may need to clean it on a weekly basis Warning Never operate the unit without the filters If you ...
Page 20: ...ly A defective remote control Contact customer service My air conditioner is making a loud noise The unit is not level Make sure the unit is on a level surface A foreign object has jammed the fan Remove the object from the fan The floor below the unit is uneven Move the unit to a level surface My air conditioner is making a continuous metallic knocking or pinging sound Unit may have been shipped o...
Page 21: ... more than one unit to cool the area or use a larger unit Open windows and doors Close any open doors and windows Too many heat sources Remove or shut off additional heat sources such as radio equipment servers etc The room garage may be inadequately insulated Properly insulate the room to be cooled i e using fiberglass The ambient temperature is too high The unit may not work if the room temperat...
Page 22: ...Description of product Portable Air Conditioner Model AP14009COM Voltage Frequency 115V 60Hz Input Power 1250W Current 10 8A Color Silver Coolant R410A Timer 24 Hour Dimensions H x W x D 32 7 x 20 1 x 16 75 Weight 77 lbs ...
Page 23: ...ick up or repair install the product or to instruct in proper usage of the product Damages or operating problems resulting from misuse abuse operation outside environmental specifications uses contrary to instructions provided in the owner s manual accidents acts of God vermin fire flood improper installation unauthorized service maintenance negligence unauthorized installation or modification or ...
Page 24: ...il service edgestar com Register your product download owner s manuals access additional troubleshooting resources and obtain more information on other great EdgeStar products on the web at http www edgestar com Product contents and specifications may change without notice Copyright 2009 Living Direct Inc ...