– 1 –
Quick Start Guide
1.
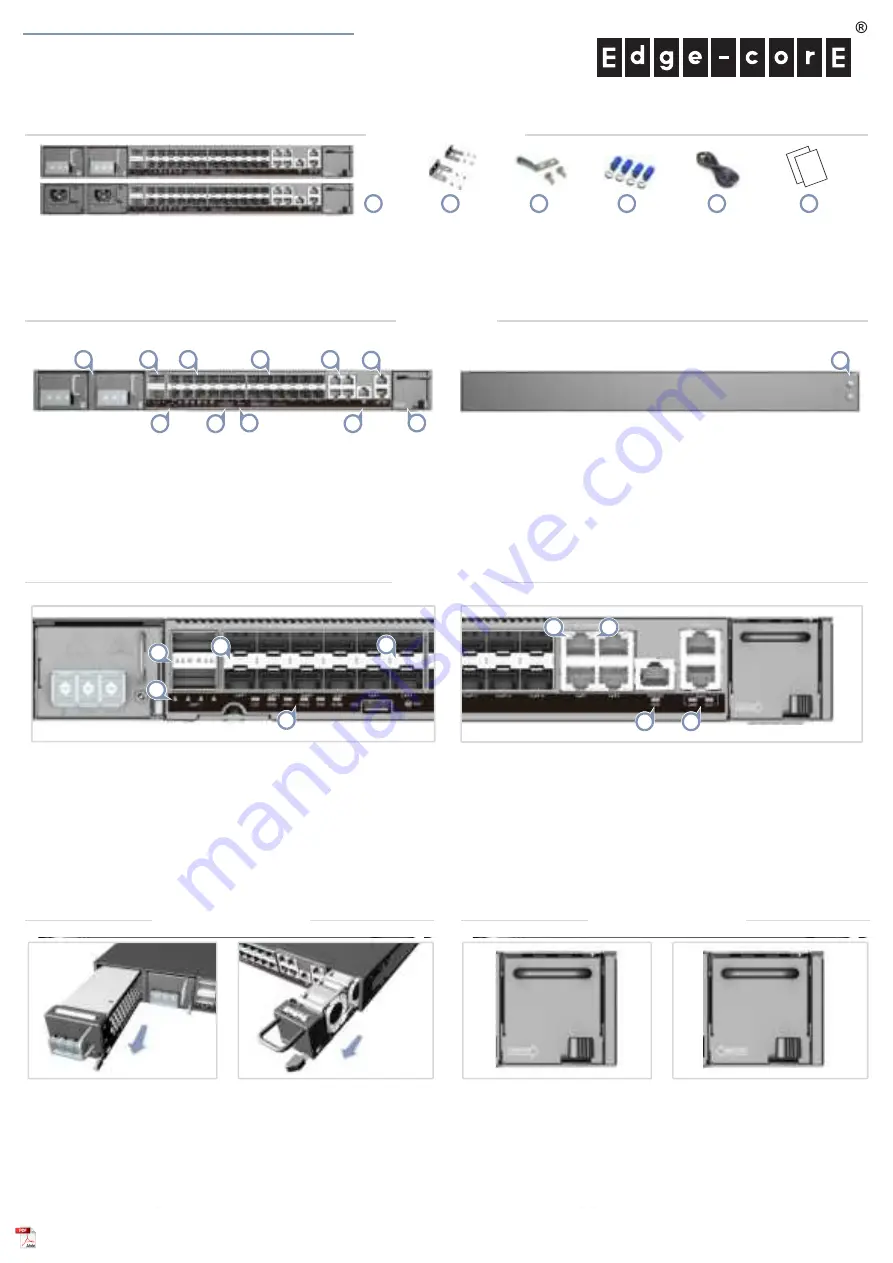
QSFP28 Port LEDs:
Blue — 100G
Green — 40G
2.
QSFP28 Breakout LEDs:
White — 2 x 50G
Blue — 4 x 25G
Green — 4 x 10G
6.
System LEDs:
LOC — Blinking Blue (OK)
DIAG — Green (OK), Orange (fault detected)
PSU1/2 — Green (OK), Orange (fault)
FAN — Green (OK), Orange (fault)
ALRM — Green (OK), Red (alarm)
7.
PPS/ToD LED:
Blinking Green (1PPS input)
8.
RJ-45 Management Port LEDs:
Left (link), Right (activity)
2
6
5
3.
SFP28 Port LEDs:
Blue (25G),
Green (10G), Cyan (1G)
4.
SFP+ Port LEDs:
Green (10G),
Amber (1G)
5.
1G RJ-45 Port LEDs:
Left (link), Right (activity)
3
8
7
4
1
5
E112021-CS-R01
150200002459A
Cell Site Gateway
CSR300/AS7315-30X
1.
CSR300/AS7315-30X (includes 2 PSUs and 1 fan tray)
2.
Rack Mounting Kit—2 brackets and 8 screws
3.
Grounding kit—grounding lug, 2 screws, and 2 washers
4.
Ring lugs (x4) (included with DC PSUs only)
5.
(Optional) AC power cord
6.
Documentation—
Quick Start Guide
(this document) and
Safety
and Regulatory Information
Fan Tray
Replacement
1.
Press the
release latch
in the fan tray
handle.
PSU
Replacement
Fan Tray Replacement
1.
Press the fan tray’s release
latch.
2.
Pull out to remove the tray.
3.
Install replacement tray with
matching airflow direction.
PSU Replacement
1.
Remove the power cord.
2.
Press the release latch and
remove the PSU.
3.
Install replacement PSU.
Package Contents
Overview
FRU Replacement
1
Status LEDs
1.
2 x DC or AC PSUs
2.
2 x 100G QSFP28 ports
3.
Product tag
4.
8 x 25G SFP28 ports
5.
USB storage port
6.
Reset button
7.
16 x 10G SFP+ ports
8.
4 x 1G RJ-45 ports
9.
PPS/ToD RJ-45 timing port
10.
Management I/O: 1000BASE-T RJ-45, RJ-45 console
11.
Fan tray
12.
Grounding screw
1
10
3
6
2
4
8
5
11
7
12
9
www.edge-core.com
*150200002459A_R01*
2
3
4
5
6
Fan Tray
Replacement
1.
Press the
release latch
in the fan tray
handle.
PSU
Replacement
2. Right-to-Left Airflow
Install a right-to-left airflow fan tray
(indicated by the arrow on the
panel).
1. Left-to-Right Airflow
Remove the left-to-right airflow
fan tray (indicated by the arrow
on the panel).
Airflow Reversal


