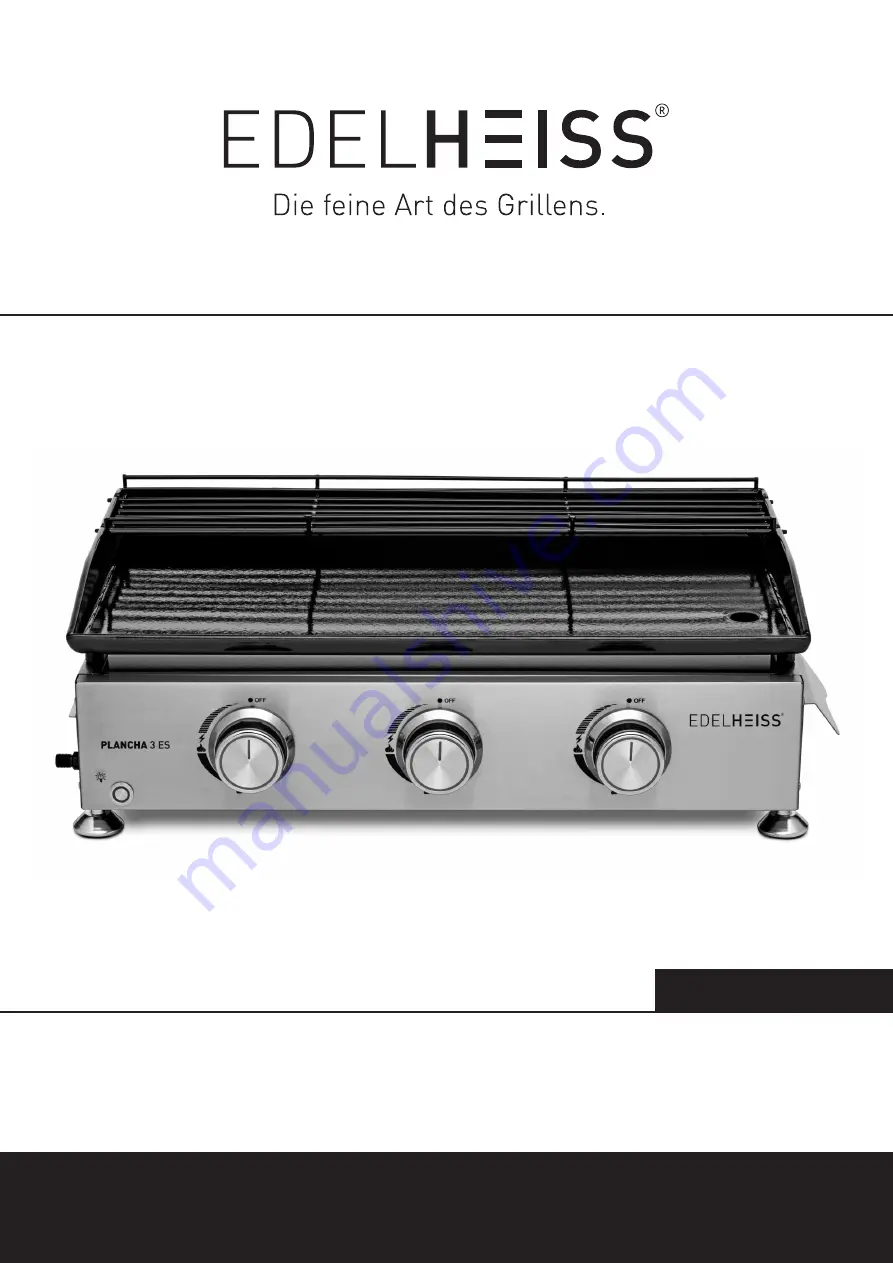
PLANCHA 3 ES
3-Brenner-Plancha mit emaillierter Grillplatte
SICHERHEIT, MONTAGE, BETRIEB UND WARTUNG
SAFETY, INSTALLATION, OPERATION AND MAINTENANCE
Artikel-Nr. 31411311
Page 1: ...PLANCHA 3 ES 3 Brenner Plancha mit emaillierter Grillplatte SICHERHEIT MONTAGE BETRIEB UND WARTUNG SAFETY INSTALLATION OPERATION AND MAINTENANCE Artikel Nr 31411311...
Page 2: ...2...
Page 3: ...htung der Bedienkn pfe Reinigungsanleitung Lagerung Teileliste und Explosionszeichnung Montageschritte Technische Daten CE Label Entsorgung Safety instructions Connecting and disconnecting a gas cylin...
Page 4: ...und befolgen Sie diese um m gliche Sch den zu vermeiden F r Sch den die durch Missachtung der Anleitung und unsachgem e Verwendung entstehen bernehmen wir keine Haftung Halten Sie Ihre Aufmerksamkeit...
Page 5: ...n 17er Schl ssel gegen den Uhrzeigersinn und kontern w hrenddessen mit dem 16er Schl ssel sodass der Schlauch vorsichtig festgezogen wird Verwenden Sie Schraubenschl ssel es ist nicht m glich die Verb...
Page 6: ...mfallen gesichert auf ebenem Grund aufge stellt werden Die Gasflasche darf niemals an einem Ort gelagert werden wo Temperaturen von ber 50 C erreicht werden k nnen Die Gasflasche darf nicht in der N h...
Page 7: ...en um die L sung auf die Anschl sse aufzutragen F r die Dichtheitspr fung ist sicherzustellen dass die Gasflasche zu 80 gef llt ist Pr fen 1 Vergewissern Sie sich dass sich die Bedienkn pfe in der OFF...
Page 8: ...n Warnhinweise Da diese Plancha kein Emissions Minderungs System f r unverbranntes Gas hat muss sie im Freien verwendet werden Sie sollte so platziert werden dass sich keine B ume Str ucher Dachschr g...
Page 9: ...ichtigen Sie Ihre Plancha immer im Betrieb lassen Sie sie nie im Einsatz unbeaufsichtigt Drehen Sie nach Gebrauch die Gaszufuhr an der Gasflasche ab 11 Die Plancha sollte in regelm igen Abst nden gere...
Page 10: ...Bedienknopf auf die OFF Position und warten 5 Minuten bis sich das Gas verfl chtigt hat bevor Sie einen erneuten Z ndversuch unternehmen 6 Wenn der Brenner gez ndet hat kann die Brennerleistung durch...
Page 11: ...abei auf die korrekte Polarit t 3 Schlie en Sie den Batteriekasten Legen Sie den Batteriekasten wieder in das Batteriefach ein und verschlie en Sie dieses Ein und Ausschalten der LEDs Zum Ein und Auss...
Page 12: ...enden Sie keine Scheuermittel Entfettungsmittel oder konzentrierte Grill Reiniger auf Kunststoffteilen Grillplatte Verwenden Sie eine milde Seifenwasserl sung Bei hartn ckigen Flecken kann nicht scheu...
Page 13: ...che muss im Freien in einem gut bel fteten Ort gelagert werden wenn sie nicht verwendet wird Stellen Sie sicher dass Sie sich im Freien und fern von Z ndquellen befinden bevor Sie Ihre Gas flasche von...
Page 14: ...g instructions carefully and follow them to avoid possible damage We do not assume any warranty for damages caused by violation of the instructions and incorrect use Always keep your attention on the...
Page 15: ...and hold against by the 16 mm spanner and while doing so gently tighten the hose connection It it essential to use spanners for the installation It is not possible to adequately tighten these connecti...
Page 16: ...m the appliance The gas cylinder must be placed outside in an upright position on a level surface and secured against falling over The gas cylinder must never be stored in a place where temperatures c...
Page 17: ...r the initial leak test make sure the L P cylinder is 80 full To test 1 Make sure that the control knobs are in the OFF position and turn on the gas supply 2 Check all gas connections and burner gas v...
Page 18: ...recommended hose length should not exceed 1 5 m Warnings Since this plancha has no emission reduction system for unburned gas it must be used outdoors It should be placed in such a way that there are...
Page 19: ...regulator cylinder 10 Always supervise your plancha when in use never leave it unattended when in use Turn off the gas supply at the gas bottle after use 11 The plancha should be cleaned at regular in...
Page 20: ...ter two attempts turn the control knob to the OFF position and wait 5 minutes for the gas to evaporate before attempting ignition again 6 When the burner has ignited the burner capacity can be adjuste...
Page 21: ...AA batteries making sure the polarity is correct 3 Close the battery box Put the battery box back into the battery compartment and close it Switching the LEDs on and off To switch the LEDs on and off...
Page 22: ...se with water Do not use abrasive cleaners degreasing agents or concentrated grill cleaners on plastic parts Grill plate Use a mild soap and water solution For stubborn stains non abrasive cleaning po...
Page 23: ...The gas cylinder must be stored outdoors in a well ventilated place when not in use Make sure that you are outdoors and away from ignition sources before disconnecting your gas cylinder from the planc...
Page 24: ...angschale ES 93301100 1 11 Batteriekasten 93301110 1 12 Gasschlauch und Druckminderer 50 mbar 93301120 1 1 2 3 4 5 6 7 8 9 10 11 12 Stellen Sie sicher dass Sie Ihre Plancha korrekt montiert haben Befo...
Page 25: ...rs and edged can cause cuts if improperly handled during assembly procedures Be careful while handling any parts during assembly It is strongly recommended that you protect hands with a pair of work g...
Page 26: ...26 Montageschritte Mounting steps 1 9 2 Hinweis Diese Schrauben sind bei Lieferung am Teil vormontiert Note These screws are pre assembled to the part when delivered 3...
Page 27: ...utzkappen auf die vier Ablagef e der Grillplatte bevor Sie diese auf das Geh use der Plancha stellen Note Place the protection caps on the feet of the griddle plate before placing it on the housing of...
Page 28: ...Gebrauch die Bedienungsanleitung Warnung Teile des Grills k nnen sehr hei werden Halten Sie Kinder von dem Ger t fern Hergestellt in China garbou GmbH Dornaper Strasse 18 42327 Wuppertal Germany 2531...
Page 29: ...ven Konsequenzen gesch tzt Materialrecycling hilft den Verbrauch von Rohstoffen zu verringern Disposal Packaging Carefully remove all packaging materials and dispose of them according to type of mater...
Page 30: ...30...
Page 31: ...31...
Page 32: ...r und so manch hilfreiche Antwort zu Ihren EDELHEISS Produkten Sollten Sie dennoch Fragen haben dann senden Sie uns eine E Mail info theBBQshop de Unser Kundendienst wird bem ht sein diese schnellstm...