


Acclarix AX4 Diagnostic Ultrasound System User Manual
Imaging
- 37 -
5.1.4. Panorama
Panorama constructs an extended field of view image as the user slides the transducer along its
long axis.
Panorama is available in live B-mode imaging. To acquire a panoramic image:
Press the
Panorama
button on the B-mode touchscreen.
Press the
Set
button on the trackpad to start acquisition.
Slide the transducer along its longitudinal axis.
The B-mode image will extend to incorporate the newly imaged anatomy.
When the full anatomy has been acquired, press the
Enter
button on the trackpad or press
the
Freeze
hardkey. System also will enter the panorama review state when exceeding the
default time.
After acquisition, the completed Panoramic image is redisplayed to fit on the screen.
Measurements, Comments and Bodymarkers are then supported.
Note:
1. The measurement accuracy in panorama mode depends on the scanning techniques
used to obtain the panorama image. If a measurement function in panorama mode is
activated, the caution information of
“The accuracy of measurements in Panorama is
limited and can be lower than measurements in B-image
” in yellow font color appears
on the bottom of the image and a caution symbol appears on the head of the
measurement results.
2. IMT measurement is not available on a panorama image.
Panorama is available only with linear transducers.
Speed Indicator
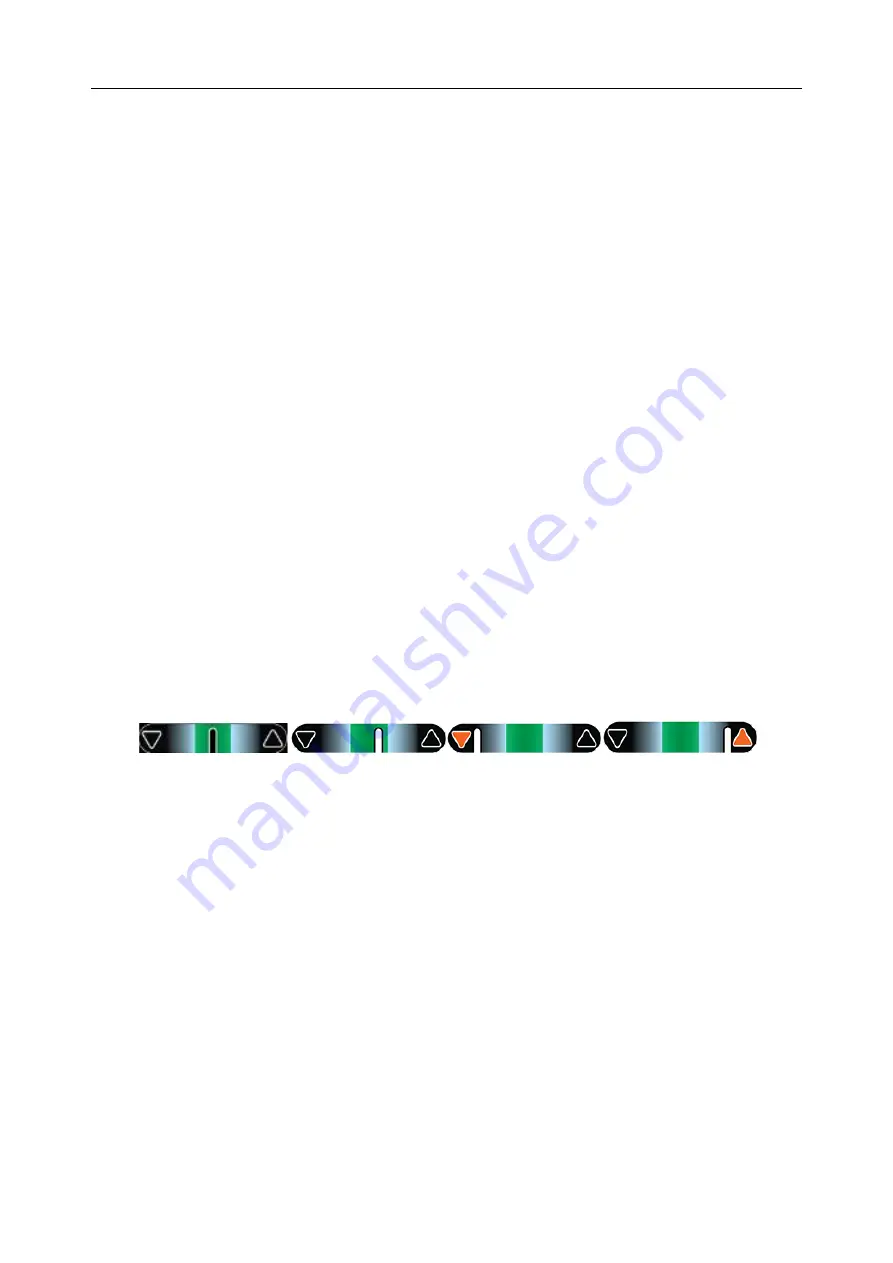
During an acquisition, a speed indicator bar on the screen will show the current scan speed. Keep
the indicator in the green center of the graphic in order to achieve best results.
Most acceptable normal speed too slow too fast
Figure 5-1 Panorama Speed Indicator
5.1.5. Zoom
Zoom is available in live or frozen B-mode and Color imaging. Press the
Zoom
hardkey to zoom
an image. There are 2 ways to zoom an image: The
Zoom
paddle key or a pinch-out gesture on
the trackpad.
Zoom
Paddle key
o
Press the upper part of the Zoom paddle to make the image bigger.
o
Press the lower part of the
Zoom
paddle to make the image smaller, down to
normal size.
Pinch Gesture: Use two fingers on the main part of the trackpad, and move the two fingers
outward from each other (“Pinch-out”). The image will enlarge.
When in
Zoom
mode, use the trackpad to pan the position of zoomed image, and the left bottom
corner of the display screen displays a live thumbnail of the full image with a green box on it
indicating the currently zoomed area.
The B image remains zoomed after entering other imaging modes.


