


35
Ba
sic
ope
rat
ion
Adjusting EQ (equalizer)
Adjusts sound quality to preferred characteristics according to the music genre and audio
source.
The sound quality can be adjusted according to music genre and then stored.This product has
a 7-band parametric equalizer which can adjust median frequency, frequency level, and Q
curve (bandwidth).
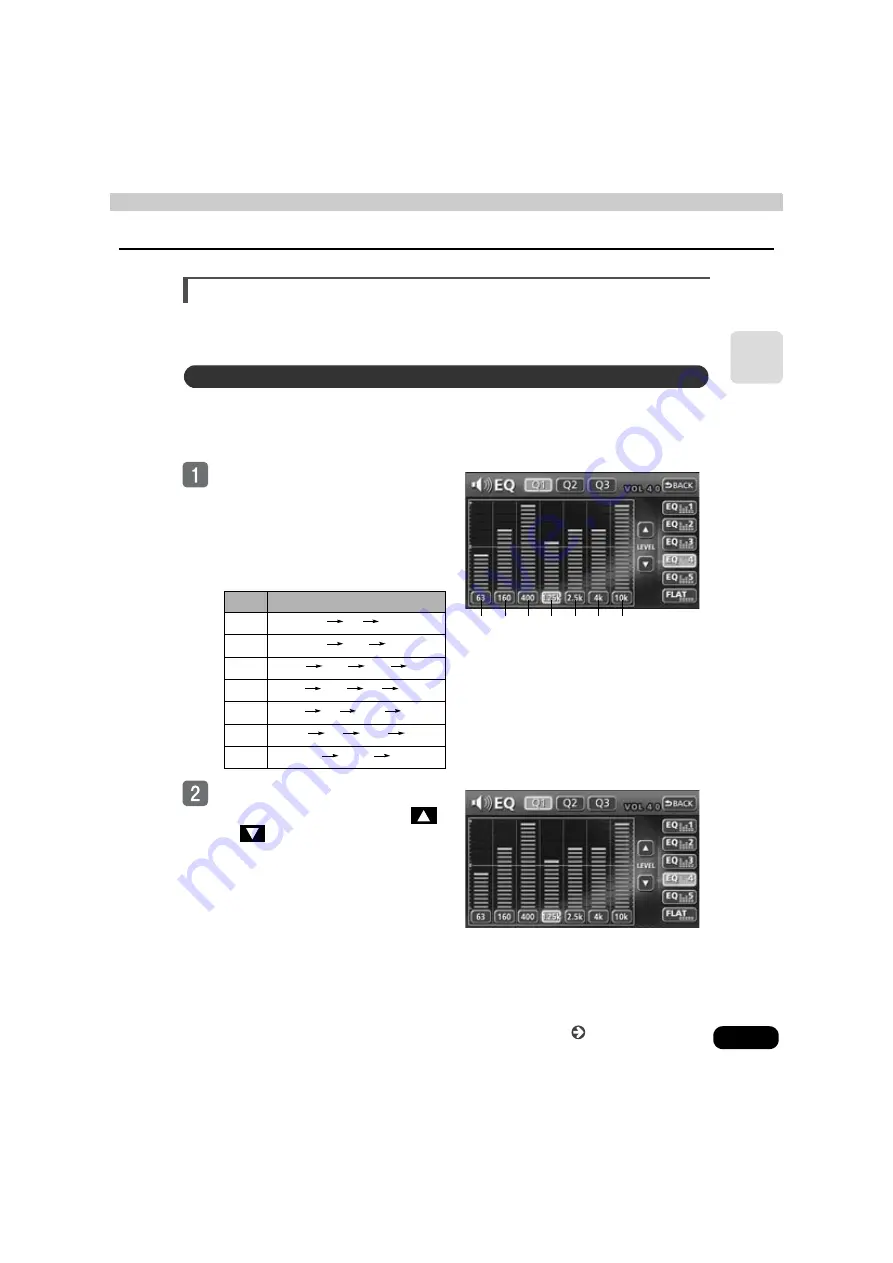
Touch the frequency of each band
to select the frequency (median
frequency) you want to adjust.
●
Each time the switch of each band is
touched, the median frequency will be
switched in the order shown below.
Touch the desired frequency level.
●
To make fine adjustments, touch
or
.
Band
Median frequency (Hz)
1
63
80
100
2
125
160
200
3
250
315
400
500
4
630
800
1k
1.25k
5
1.6k
2k
2.5k
3.15k
6
4k
5k
6.3k
8k
7
10k
12.5k
16k
Adjusting/saving EQ
1
2
3
4
5
6
7
Continue to the next page