1
©2015 Eaton Corporation
All rights reserved
Installation Guide
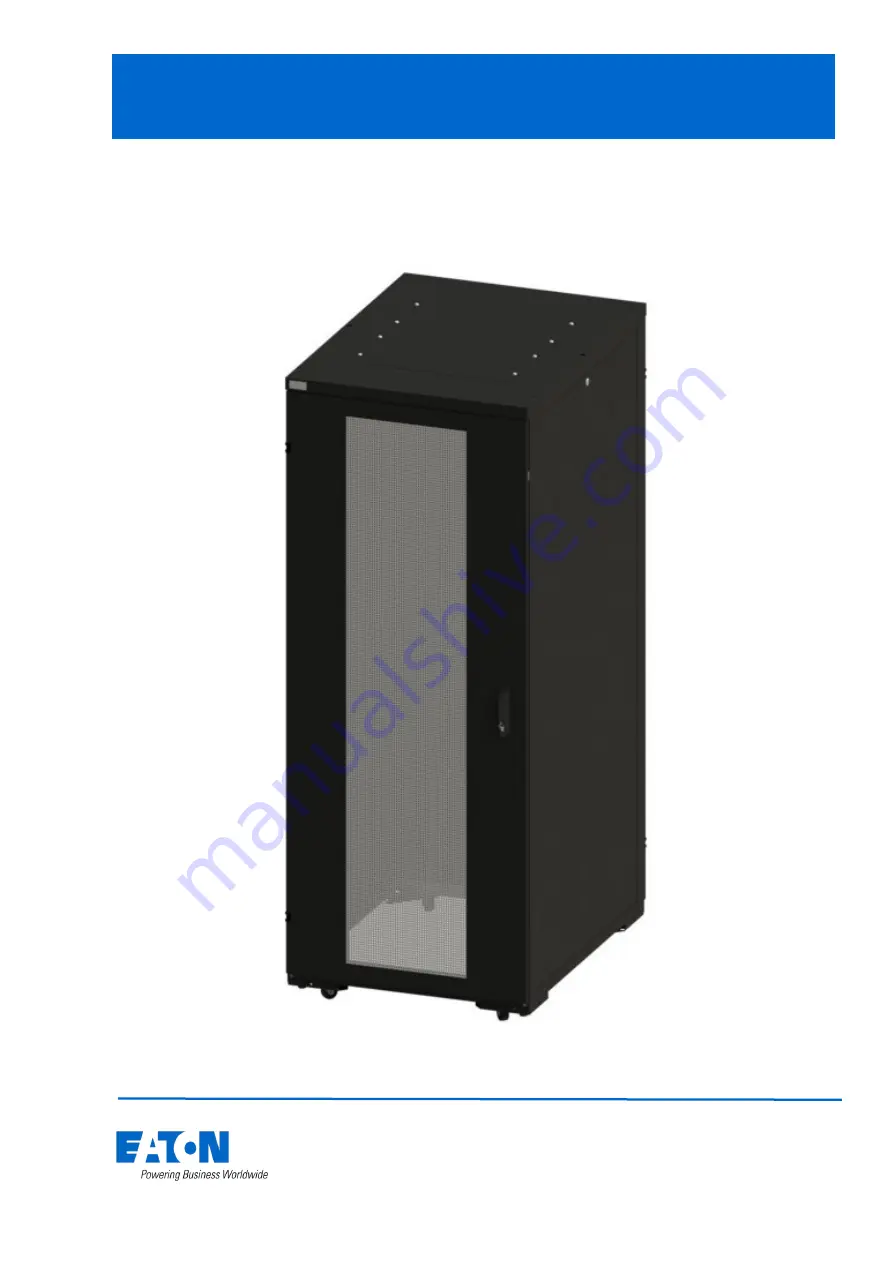
RE SERIES RACK INSTALLATION GUIDE
RE Series Enclosure Installation Guide Issue 8
Page 1: ...1 2015 Eaton Corporation All rights reserved 1 Installation Guide RE SERIES RACK INSTALLATION GUIDE RE Series Enclosure Installation Guide Issue 8...
Page 2: ...ECTION SAFETY WARNINGS 1 600 WIDE EXPLODED VIEW 2 800 WIDE EXPLODED VIEW 3 SWITCHING DOOR HANDING 4 STABILIZING 5 BAYING THE ENCLOSURE 6 SIDE PANEL 7 RACK MOUNT ADJUSTMENT 8 RACK EARTH BONDING 9 RE Se...
Page 3: ...WARNING First load the heaviest electronic devices and accessories into the bottom of the enclosure to prevent the enclosure from becoming top heavy 5 WARNING Never extend more than one roll out type...
Page 4: ...SCRIPTION 1 Steel door assy option 2 Glass door assy option 3 Vented door assy option 4 Side panel 5 6 7 Steel door supplied with vented front door Vented door supplied with glass steel front door Enc...
Page 5: ...assy option 2 Double Vented door assy option 3 Glass door assy option 4 Vented door assy option 5 6 7 8 Side panel Steel door supplied with vented double front door Double vented door supplied with gl...
Page 6: ...Fig 2 3 Re install the two hinge sections to the opposite side of enclosure frame Fig 2 4 Rotate the door 180 degrees 5 Re install the two hinge pins Fig 1 6 Loosen the two screws which secure the loc...
Page 7: ...ocat ed then equipment MUST be removed before moving the rack Each enclosure is equipped with four leveling feet Fig 1 Use a 13 mm spanner to adjust the leveling feet Ensure that each foot is in firm...
Page 8: ...cent enclosure frames Ensure that the frames are precisely aligned both vertically and front to back 3 Bolt the adjacent frames together with the 4 nuts bolts plain washers and serrated washers includ...
Page 9: ...r the upper flange 3 Lift the panel upwards to clear two locating pins Fig 2 Reinstall side panel 1 Align the two holes on the bottom of the side panel with the two pins on the enclo sure frame Fig 2...
Page 10: ...ADJUSTMENT 1 Loosen the four bolts using a 5mm Allen key do not remove the bolt Fig 1 2 Slide rails to desired location 3 Ensuring the rails are vertical tighten the bolt with 5mm Allen key Fig 1 RE S...
Page 11: ...omponents used in every application ITEM REF DESCRIPTION LENGTH QUANTITY IMAGE 1 M6 x 25mm Zinc Plated Setscrew 25mm 4 2 M6 Shake proof Washer 8 3 M6 x 12mm Setscrew 4mm Allen 12mm 4 4 M6 Plain Washer...
Page 12: ...sher Earth grounded cage nut M6 Shake proof washer M6 Thread forming screw The bolt together method for the rack frame ensures earth continuity of the rack frame components The rack roof panel infill...
Page 13: ...h bonding points to corner gussets adjacent to door hinge positions If double doors are fitted then fit main earth points to both adjacent corner gussets Note Main earthing points must be assembled so...
Page 14: ...rth lead as shown in Fig STEP 3 19 INCH RAIL EARTH BONDING Remove the side panel to improve access Fit earth assembly as shown in Fig 3 0 and tighten assembly using a torque of M6 Plain washers X2 M6...
Page 15: ...he RH side panel to the rear corner gusset M6 Plain washers X2 M6 Serrated hex flange nut M6 Earth lead 350mm To doors Fig 6 0 M6 Plain washers X2 M6 Earth lead 500mm Fig 5 0 STEP 5 EARTH BONDING TO M...
Page 16: ...eu electrical Eaton Industries Manufacturing GmbH Electrical Sector EMEA Route de la Longeraie 7 1110 Morges Switzerland Copyright 2012 All rights reserved Changes to the products to the information c...