Accessing the Network Module
Installing the Network Management Module – 12
•
•
2.5 Accessing the Network Module
2.5.1 Accessing the web interface through Network
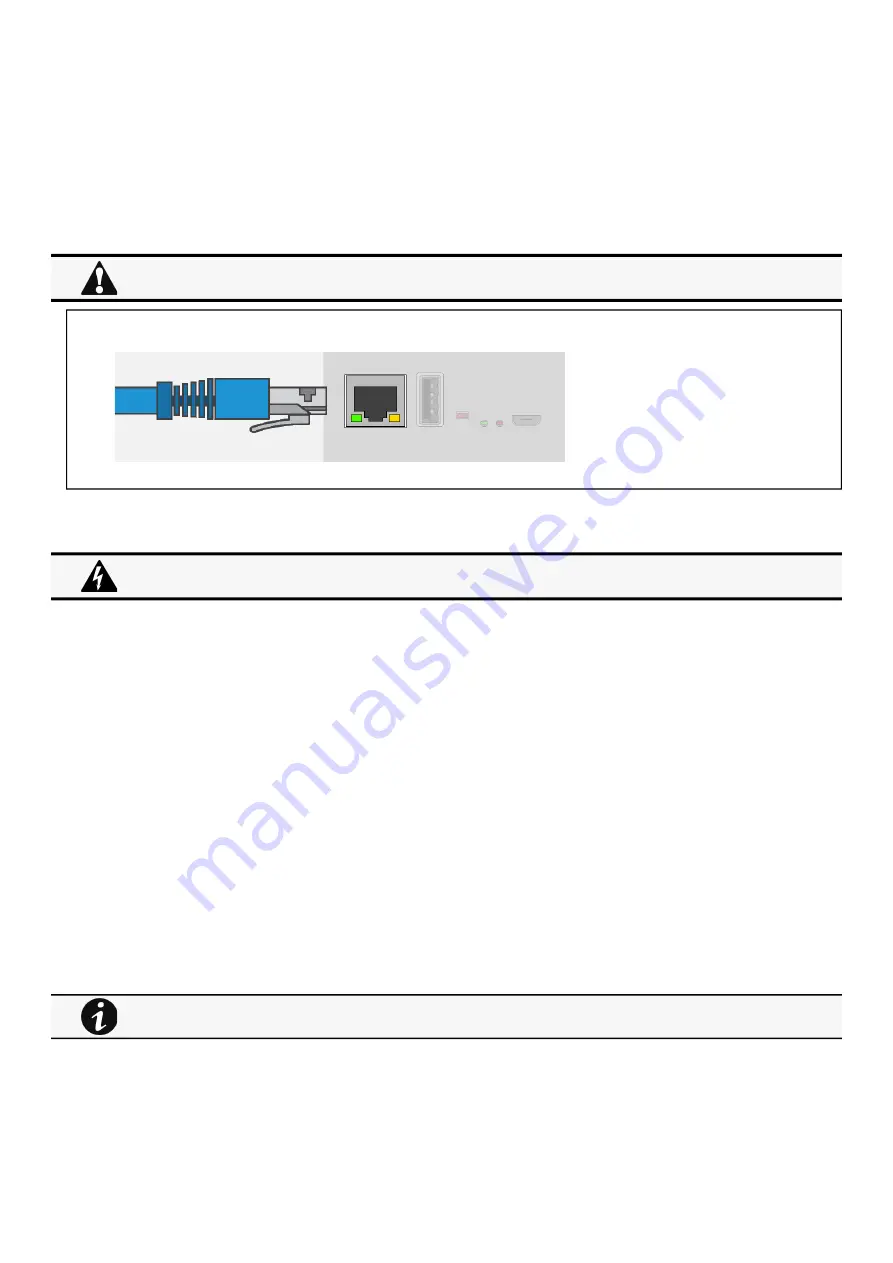
2.5.1.1 Connecting the network cable
Connect a standard
gigabit compatible shielded ethernet cable (F/UTP or F/FTP) between the network connector on the Network Module and a
network jack.
2.5.1.2 Accessing the web interface
STEP 1 – On a network computer, launch a supported web browser. The browser window appears.
STEP 2 – In the Address/Location field, enter https://
[IP address] with the static IP address of the Network Module.
STEP 3 – The login screen appears.
STEP 4 – Enter the user name in the User Name field. The default user name is admin.
STEP 5 – Enter the password in the Password field. The default password is admin.
STEP 6 – The password must be changed at first login.
STEP 7 – Click Login. The Network Module web interface appears.
At first login:
STEP 8 - Accept License Agreement. The Network Module web interface appears.
2.5.2 Finding and setting the IP address
2.5.2.1 Your network is equipped with a BOOTP/DHCP server (default)
2.5.2.1.1 Read from the device LCD
If your device has an LCD, from the LCD’s menu, navigate to Identification>>>"COM card IPv4".
Note the IP address of the card.
Go to the section: Accessing the web interface through Network.
Security settings in the Network Module may be in their default states.
For maximum security, configure through a USB connection before connecting the network cable.
It is highly recommended that browser access to the Network Module is isolated from outside access using a
firewall or isolated network.
Note: some older Devices may not be able to display the IP address even if they have an LCD. Please consult the
Device manual.
Summary of Contents for Network-M3
Page 1: ...UPS Network Management Card Network M3 User s Guide English 10 27 2023...
Page 2: ......
Page 10: ...Table of Contents 10 Applicable product Eaton UPS ATS...
Page 32: ...Home Contextual help of the web interface 32 3 2 7 1 3 Battery mode 3 2 7 1 4 Off mode...
Page 34: ...Home Contextual help of the web interface 34 3 2 7 2 3 Battery mode 3 2 7 2 4 Off mode...
Page 36: ...Home Contextual help of the web interface 36 3 2 7 3 2 Bypass mode 3 2 7 3 3 Battery mode...
Page 63: ...Protection Contextual help of the web interface 63 Example 2 Immediate OFF...
Page 64: ...Protection Contextual help of the web interface 64 Example 4 Custom Settings 1...
Page 120: ...Settings Contextual help of the web interface 120 3 7 6 3 SSH 3 7 6 4 SNMP 3 7 6 5 MQTT...
Page 287: ...Acronyms and abbreviations Information 287...
Page 294: ......


