2 Operator interface
2.3 “Start” window
BreakerVisu
06/16 MN01210001Z-EN
www.eaton.com
15
2.3.1.1 3.5“ variant
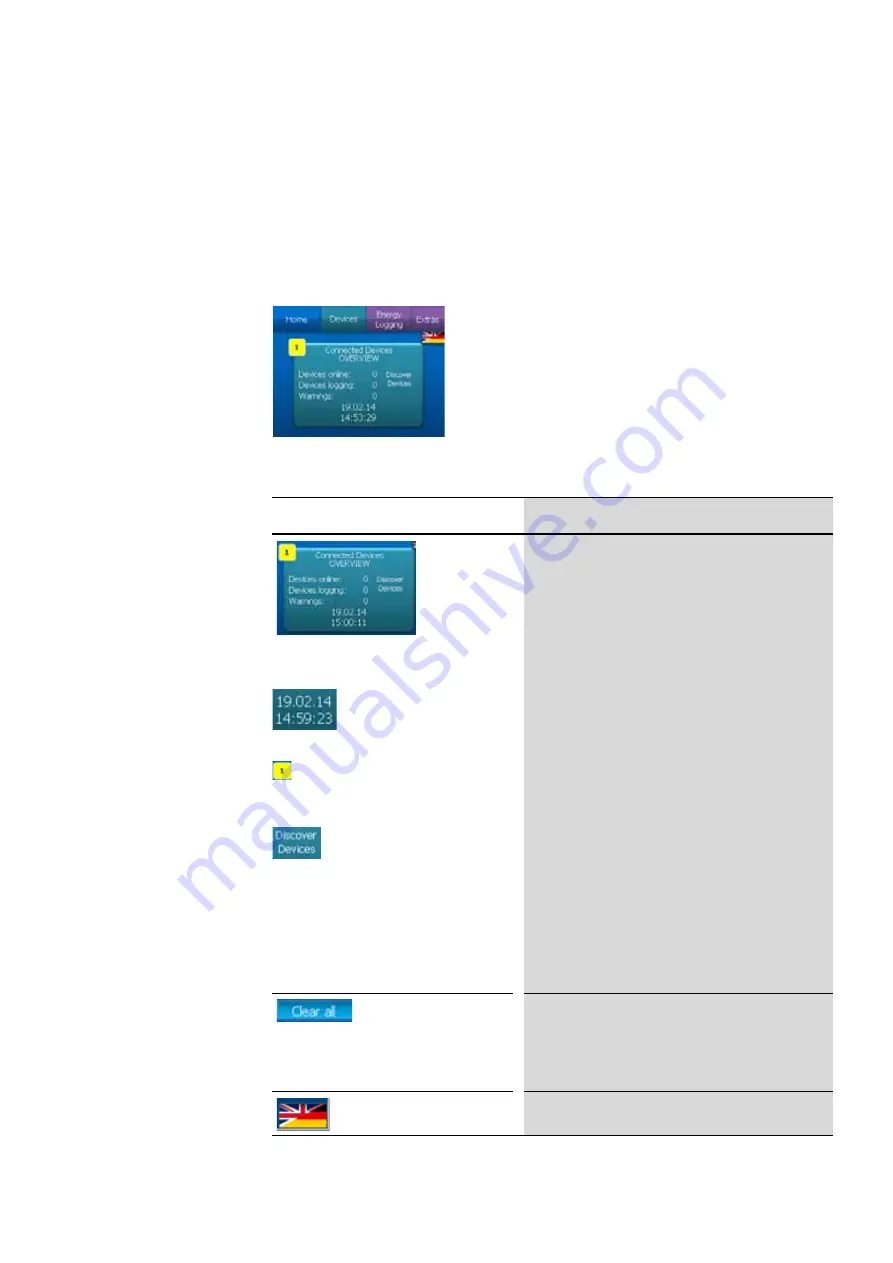
The home screen in 3.5“ device variants only has one single overview pane
with information regarding connected devices:
•
Number of connected devices
•
Number of devices measuring operational data
•
Number of warnings
Figure 5: BreakerVisu home screen (3.5“ variant)
Table 7: Home screen controls (3.5“ variant)
Control
Action
The
Connected Devices OVERVIEW
pane shows
information regarding the number of connected devices, their
measurements, the total number of warnings for all connected
devices, and the system time.
To set the BreakerVisu system‘s date and time, tap the
System time
area.
A yellow box will appear in the upper left corner whenever a
BreakerVisu program notification is generated. This box will
show the number of notifications, and tapping it will display a
list of them.
The
Discover devices
text will only appear in the Modbus
RTU variant of the 3.5“ device. Tapping this text will make the
system scan the Modbus RTU network. Make sure that all
Modbus RTU communication parameters are configured
correctly before scanning the network.
The BreakerVisu system will automatically start scanning for
SmartWire-DT devices after starting. The reason for this is
that the BreakerVisu system does not need for any SmartWire-
DT communication parameters to be configured.
If you need to scan the Modbus RTU network again, go to the
Extras
screen, then tap
Modbus-RTU
, and then tap
Discover Devices
.
The notifications list will show the last 10 notifications
generated by the BreakerVisu system.
Normally, these notifications will refer to the BreakerVisu
system‘s status and to the use of external system resources
(SD card, USB flash drive). To delete these notifications, tap
the
Clear all
button.
Tapping the languages button will take you back to the
welcome screen, where you can change the system language.
Summary of Contents for BreakerVisu NZM-XMC-MDISP35-MOD
Page 4: ...2...


