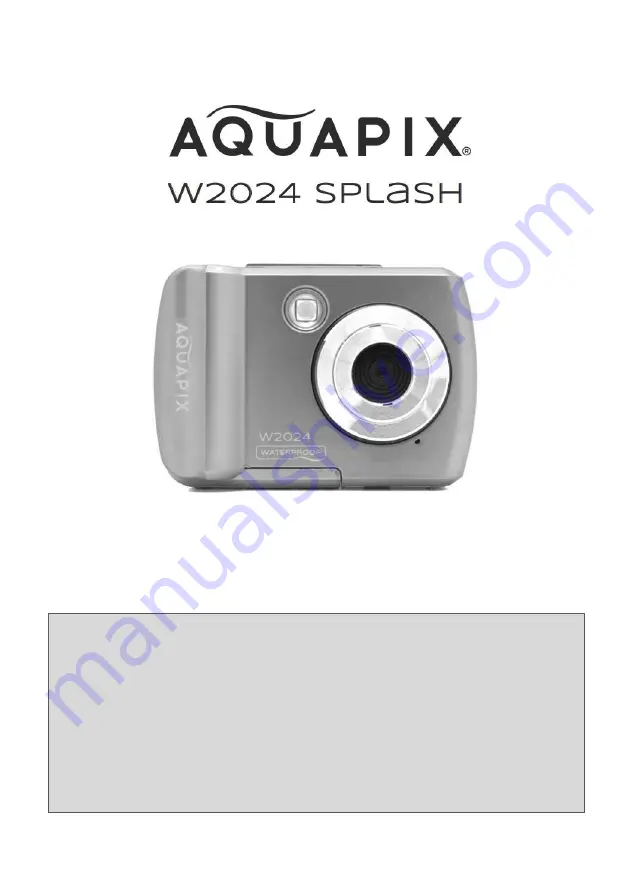
Easypix AQUAPIX W2024 Splash User Manual Download Page 1


USER MANUAL 


FR : 

Un manuel dans votre langue est disponible sur Internet: 

IT: 

Il manuale nella sua lingua può essere trovato su Internet: 

ES: 

Puede encontrar un manual en su idioma en Internet: 

PT: 

Um manual em seu idioma pode ser encontrado na Internet: 

PL: 

Instrukcję w swoim języku możesz znaleźć na stronie: 

SWE: 

En handbok på ditt språk finns på Internet: 

NL: 

Een handleiding in uw taal vindt u op internet: 

www.easypix.info/download-manuals/download/w2024/ 


Summary of Contents for AQUAPIX W2024 Splash

Page 1: ...u Internet ES Puede encontrar un manual en su idioma en Internet PT Um manual em seu idioma pode ser encontrado na Internet PL Instrukcję w swoim języku możesz znaleźć na stronie SWE En handbok på ditt språk finns på Internet NL Een handleiding in uw taal vindt u op internet www easypix info download manuals download w2024 ...

Page 2: ...roduct display 10 First steps Preparing your camera for first use 12 1 Battery installation 12 2 Format your memory card 13 Switching your camera on off 14 Camera modes 15 Photo mode 17 Video mode 18 Playback mode 18 Button functions 19 Playback mode icons 20 Camera settings 22 Time and date settings 23 Transferring files from camera to computer 24 Cleaning 26 Box contents 26 Technical specificati...

Page 3: ...his publication please notify us All pertinent state regional and local safety regulations must be observed when installing and using this product For reasons of safety and to help ensure compliance with documented system data only the manufacturer shall perform repairs to components Failure to observe this information can result in injury or equipment damage Copyright by Easypix GmbH All rights r...

Page 4: ...each person who uses the product has read these warnings and instructions and follows them Keep all safety information and instructions for future reference and pass them on to subsequent users of the product The manufacturer is not liable for cases of material damage or personal injury caused by incorrect handling or non compliance with the safety instructions Explanation of safety warnings Warni...

Page 5: ...ended for use anywhere photos or videos are taken It s 3m waterproof rating means it can also be completely submerged and used under water WATERPROOF AND DUSTPROOF PERFORMANCE The waterproof and dustproof performance described do not guarantee that the camera will remain completely waterproof or free from damage and trouble under all conditions Do not subject the camera to excessive shock vibratio...

Page 6: ...avoid swallowing please ensure any use by children is undertaken with adult supervision The camera is suitable for use underwater to a maximum depth of 3 metres Do not use the camera at depths exceeding 3 metres Do not use your camera in hot springs hot tubs or jacuzzis where it can be exposed to extreme water temperature WARNING ...

Page 7: ...camera out of the reach of small children No special maintenance is required during use Please contact the seller or manufacturer if your device displays a fault Please dispose of the waste and residues at the end of the service life of the product according to local laws and regulations If you think this product is damaged in any way please do not use the product Do not open this product without ...

Page 8: ...sed for an extended period of time To avoid the risk of electric shock do not insert the power cord with wet hands The battery compartment should only be opened with clean dry hands to also ensure that no dirt enters the camera when inserting changing or removing the batteries or SD card In order to prevent product damage or negatively affecting the sound or image quality please ensure a sufficien...

Page 9: ...hile playing and swimming etc To prevent it from sinking or getting lost in the water you can attach the included wrist strap to the camera before entering the water To prevent damage please ensure that you do not open the camera while in the water After use in swimming pool water or sea or lake salt water please rinse it with clean tap water and wipe dry before opening the battery compartment The...

Page 10: ...4 Lens 5 Microphone 6 Shutter button 7 Power button 8 Wrist strap tether 9 Display 10 UP ZOOM IN T button 11 DOWN ZOOM OUT W button 12 RIGHT FLASH LIGHT button 13 LEFT PLAYBACK button 14 MODE button 15 MENU SET button 16 Battery compartment 17 MicroSD card slot 18 USB interface ...

Page 11: ...10 Description of the product display PHOTO MODE VIDEO MODE ...

Page 12: ...otos that can still be taken Not adjustable 7 Memory card Micro SD installed confirmation 8 Zoom bar T W buttons 9 Battery power Power remaining in batteries 10 Current date Menu options 11 Metering Menu options 12 ISO value Menu options 13 Light exposure Menu options 14 Sharpness Menu options 15 White balance Menu options 16 Flash mode Flash button 17 Scene Menu options ...

Page 13: ...ery cover is firmly closed and the security lock is in the lock position before using the camera 1 Battery installation Move the Lock Unlock Switch on the battery cover to the unlock position see fig 1 Open the battery cover by pushing it in the direction of the arrow see fig 2 Fig 1 Fig 2 Fig 3 Install 2x AAA 1 5V batteries ensuring the correct polarity see fig 3 Close the battery cover and push t...

Page 14: ...amera please note the following important information Before using any micro SD card in your camera for the first time please ensure your memory card is formatted in the camera This option can be found in the camera s settings menu Menu SD Format The maximum memory card capacity supported is 32GB Use of memory cards exceeding the maximum recommended capacity may result in file errors The recording...

Page 15: ...rrectly installed 5 Close the battery cover and push the Lock unlock switch to the Lock position Switching your camera on off SWITCHING ON THE CAMERA Press the Power button to power on the camera The TFT screen turns on with the camera in Photo Capture Mode the default mode SWITCHING OFF THE CAMERA While the camera is on short press the Power button to switch the camera off Note Your camera has an...

Page 16: ...ter button The photo is automatically saved to your camera s memory card To access the various menus for the Photo mode press the Menu button while in the Photo mode When in Video Mode the Video icon will display on the top left corner of the TFT screen Use this mode to capture videos To take a video press the Shutter button to start recording A red record indicator appears and flashes on the TFT ...

Page 17: ... to scroll through and view the photos and videos that you have previously taken You can also delete or edit them as desired To access the various menus for the Playback mode for photos and videos press the MENU button while in the Playback mode NOTE You can also press the PLAYBACK button to enter the Playback mode directly ...

Page 18: ...ra steady and press the Shutter button The photo is taken and saved to the memory card NOTE When you see the Card Full message on the screen the memory card has run out of capacity You must therefore download and save the images stored on the card to a computer in order to free up memory card capacity for further use Alternatively you can simply insert a new memory card ensuring it is formatted in...

Page 19: ...emory card Playback mode 1 Press the Playback button to enter the playback mode The last image photo or video is displayed on the screen 2 Press the Left previous image or Right next image buttons to scroll through the all images 3 JPG appears under the Mode icon to indicate that the displayed image is a photo AVI appears under the Mode icon to indicate that the displayed image is a video When the...

Page 20: ...n Zoom in W Wide Zoom out Zoom out Zoom out To activate photo thumbnail view To activate thumbnail image view Flash Right Select the flash option Force off Force on Auto Red eye reduction Next photo Shift right Next video Playback Left Previous photo Shift left Previous video Stop a video playing Mode Change mode Exit menu Change mode Exit menu Exit playback mode and return to previous mode Exit p...

Page 21: ...status icons are displayed when reviewing photos or playing video PHOTO PLAYBACK MODE 1 Camera mode 2 Current image no Total quantity 3 Memory card 4 Zoom bar 5 Magnification factor 6 Battery power 7 Date time stamp 8 Current image format ...

Page 22: ...g the Mode button for 2 seconds Short press the Mode button to make the settings visible again 1 Playback mode 2 Resolution 3 Current image no Total quantity 4 Memory card 5 Battery power 6 Playback time counter 7 7 Press shutter button to play the video 8 8 Current file format ...

Page 23: ...for the current mode 3 Press the Up T or Down W direction control buttons to highlight a menu option 4 Press the Set button to confirm and save the highlighted menu option 5 If the selected option can be remembered by the camera a selection icon will appear to the right of the selected menu option Menu Use direction buttons to select menu and its option Options Menu selected UP DOWN TO THE RIGHT T...

Page 24: ...ettings 1 In photo mode or video mode press the Set button to enter the settings options 2 Press the Left or Right button to scroll to and select the Date Time menu 3 Press the Up or Down button to highlight the Date Setup menu option then press the Set button to select it The Date Setup sub menu will open as the image above 4 Scroll through the window with the Right and Left buttons 5 For each fi...

Page 25: ...ra 3 MSDC appears on the TFT screen 4 A window appears with a list of options Select Open folder to view files and click OK 5 Open the DCIM folder and the folder inside to view the media files 6 Select the media and copy the files from this folder into your computer Alternatively select the files and choose Copy from the Edit menu Then select a folder and choose Paste from the Edit menu 7 Do not d...

Page 26: ...to view the media files 6 Select the files and drag them to your computer Alternatively select the files and choose Copy from the Finder s Edit menu Then select a folder and choose Paste from the Edit menu 7 Do not disconnect the cable during transfer Doing so will cancel the current transfer of files to your computer 8 When finished ensure the device icon is dragged to the bin before disconnectin...

Page 27: ...ter air bubbles may be seen coming from the water drain holes of the camera such as openings in the microphone or speakers This is not a malfunction Do not use soap or detergents as they could negatively affect the integrity of the waterproof seals on the camera Allow the camera to dry at room temperature after rinsing Box contents Camera Hand strap USB cable Manual EN DE Manuals in further langua...

Page 28: ...rmat JPEG Photo AVI Video External Memory Compatible with MicroSD Cards up to 32GB not included LCD Display 2 4 6 1cm Colour display Lens F 2 8 f 6 8mm Zoom 8x digital zoom Exposure 3 0EV 3 0EV White Balance Auto Daylight Cloudy Fluorescent Incandescent ISO Auto 100 200 400 Flash Off On Auto Red Eye Reduction Self Timer 2 sec 5 sec 10 sec Off Auto Power Off 1 min 3 min 5 min 10 min Off Microphone ...

Page 29: ... be disposed of as a household waste You must dispose of your waste equipment and or battery by handling it over to the applicable take back scheme for the recycling of electrical and electronic equipment and or battery For more information about recycling of this equipment and or battery please contact your city office the shop where you purchased the equipment or your household waste disposal se...

Page 30: ...t W2024 Splash we hereby confirm that it meets the basic requirements laid down in 2014 53 EU 2011 65 EC RoHs 2014 30 EU EMV 2012 19 EC WEEE The EC Declaration of Conformity can be downloaded here http www easypix info download pdf doc_w2024 pdf ...

Reviews: