background image

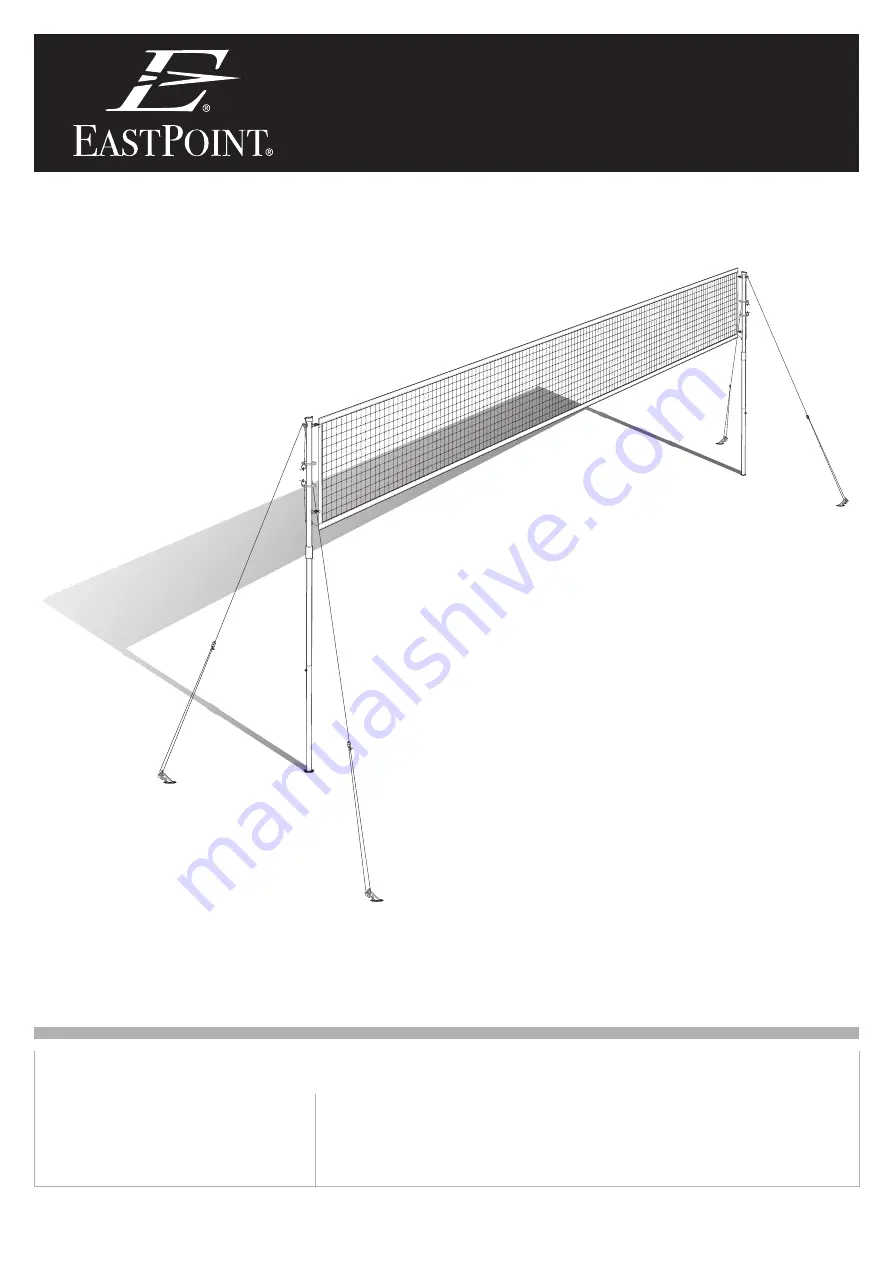
NET SYSTEM

US PATENT #  13/098431

Assembly Instructions

Net System  1-1-23620
  CONTACT INFO

  Hours 

   Monday to Friday

   (9am to 5pm EST)

  Technical Support 

    Email us at :             

[email protected]

    Visit us at: www.eastpointsports.com
    Call: 973-585-4747

www.eastpointsports.com

Summary of Contents for Net System 1-1-23620

Page 1: ...sembly Instructions Net System 1 1 23620 CONTACT INFO Hours Monday to Friday 9am to 5pm EST Technical Support Email us at consumerservice eastpointsports com Visit us at www eastpointsports com Call 973 585 4747 www eastpointsports com ...

Page 2: ...P 10 9 x2 Guide Rope STEP 10 10 x2 Tension Adjuster Ball PRE INSTALLED 11 1 Required TOOLS 1 Rubber Mallet for Ground Stakes Not Included How to use the PARTS IDENTIFIER Before you begin assembly please make sure that you have all the parts listed and in the correct quantities This will ensure the quickest and most organized assembly 1 STEP 1 Part Name 52703 QT x2 Instructions Parts ID Item Part N...

Page 3: ...TEP 2 COMPONENTS QTY Step1Assembly x2 Pole Top x2 3 Please review the Parts Identifier and make sure that you have all parts before beginning assembly All parts and accessories are listed in the Parts Identifier BEFOREBUILDING Pleaseinspectandlayoutallyour PARTS START Net Assembly for Competitive Volleyball 96in 2 44m ASSEMBLY INSTRUCTIONS 1 2 3 Step1Assembly ...

Page 4: ...bly x2 KeyLock x4 4 Twist the Key Lock into place Then slide the Tension Adjuster Ring down the Poles Repeat for second Pole Set NOTE STEP 3 COMPONENTS QTY Step2Assembly x2 KeyLock x2 4 TensionAdjusterRing x4 5 Lay out Net NOTE STEP 5 COMPONENTS QTY Net x1 6 5 4 4 4 Step2Assembly Step3Assembly 6 6 ...

Page 5: ...l x2 7 A B Attach Step 5 Assembly to Step 4 Assembly with the elastic loop Repeat for both sides NOTE STEP 6 COMPONENTS QTY Step4Assembly x2 Step5Assembly x1 Connect the Tension Adjuster Balls to the Tension Adjuster Rings Repeat for Both Sides NOTE STEP 8 COMPONENTS QTY Step7Assembly x1 B A A B 7 Step6Assembly Step7Assembly Step4Assembly Step5Assembly ...

Page 6: ...ults place Step 8 Assembly into the ground using the Pole Stabilizers NOTE STEP 9 COMPONENTS QTY Step8Assembly x1 PoleStabilizer x2 8 Adjust Guide Ropes as needed Repeat for both ends of the Net NOTE STEP 11 COMPONENTS QTY Step10Assembly x1 8 Step8Assembly TOP VIEW COURT 9 10 Step9Assembly Step10Assembly NOTE Put Stakes in at 450 angle NOTE Rubber Mallet is needed for this Step ...

Page 7: ...on Adjuster Balls as needed Push down to tighten top of Net Push up to tighten bottom of Net NOTE STEP 12 COMPONENTS QTY Step11Assembly x1 Step11Assembly TOP VIEW COURT HAVE FUN Consult Rule Book for court size and game rules for Volleyball ...

Page 8: ... in the Pin Lock from Hole Lower the Poles down until the Pin Lock clips into Hole NOTE STEP 1 Adjust Guide Ropes as needed Repeat for both ends of the Net NOTE STEP 2 HOLE HOLE Net Assembly for Competitive Volleyball 84in 2 13m ASSEMBLY INSTRUCTIONS ...

Page 9: ...e Ropes and Tension Adjuster Balls as needed Push down to tighten top of Net Push up to tighten bottom of Net NOTE STEP 3 STEP 4 TOP VIEW COURT HAVE FUN Consult Rule Book for court size and game rules for Volleyball ...

Page 10: ... same or equivalent value without charge How to Obtain Warranty Service In order to enforce your rights under this LimitedWarranty you must follow these procedures You must return the ORIGINAL COPY OFYOUR SALES RECEIPT to the Company showing a purchase from an authorized retailer You must call the Company s Consumer Service Department at 1 973 585 4747 on Monday through Friday between the hours of...

Page 11: ...10 ...

Page 12: ...1 1 23620 IM 185 186 20 Commerce Boulevard Succasunna NJ 07876 1 973 585 4747 PRINTED IN CHINA ...

Reviews: