PLEASE CALL
IF YOU ARE MISSING ANY PARTS OR HAVE ANY QUESTIONS
REGARDING THE SAFE OPERATION OF THIS PRODUCT.
(574-848-7491 OR 800-
294-0671)
APPELEZ SI VOUS
MANQUEZ N’IMPORTE QUELLES PIECES OU VEUILLEZ
AYEZ TOUTES LES QUESTIONS CONCERNANT L’EXPLOITATION SURE DE CE
PRODUIT.
(574-848-7491 OR 800-294-0671)
LLAME SI USTED ESTÁ
FALTANDO CUALESQUIERA PIEZAS O TENGA POR
FAVOR CUALQUIER PREGUNTA CON RESPECTO A LA OPERACIÓN SEGURA
DE ESTE PRODUCTO.
(574-848-7491 OR 800-294-0671)
OPERATING INSTRUCTIONS
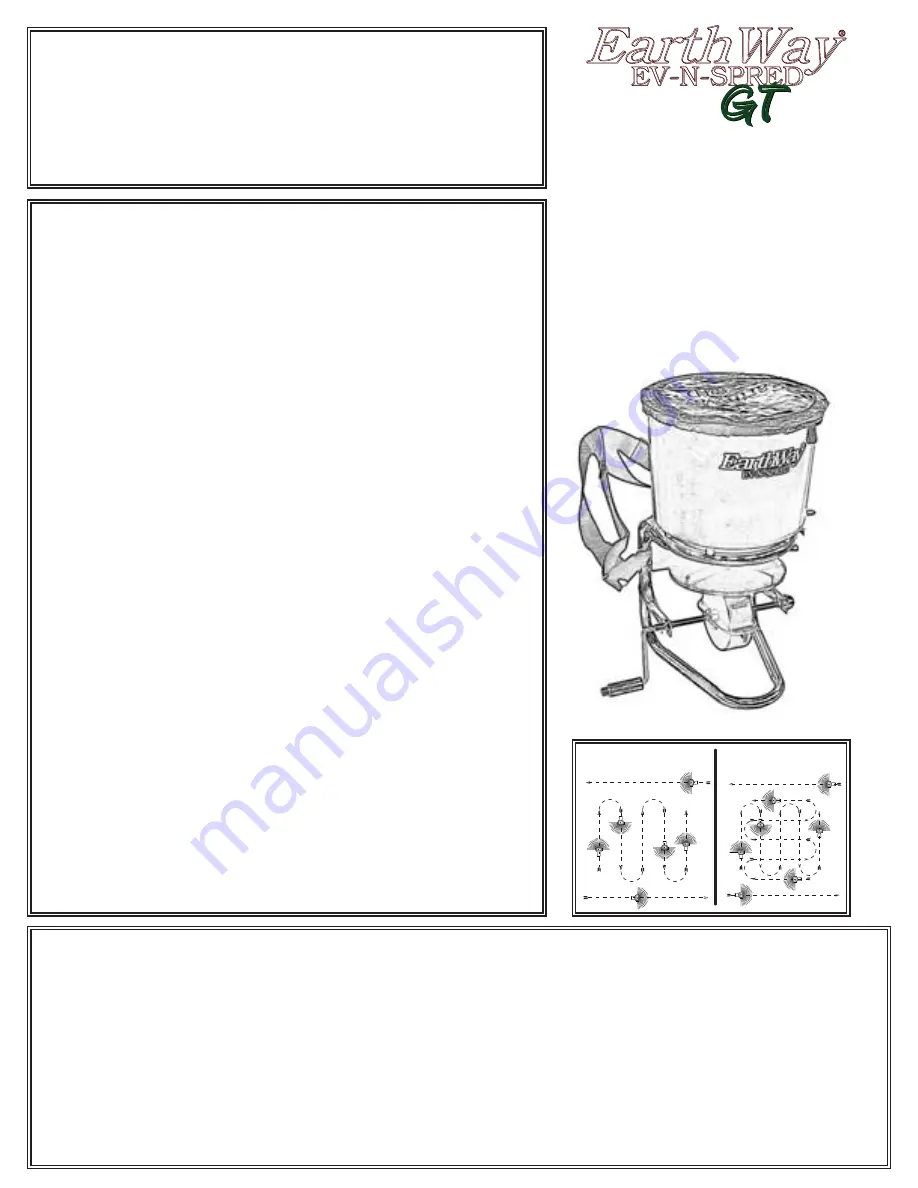
Before filling hopper, become familiar with the operation of this spreader.
Obtain proper setting for material to be used from the SETTING MATRIX
included with this spreader.
Move stop bolt on rate gauge assembly to the proper setting.
While turning handle crank and walking forward, push control lever forward
to the stop bolt. To stop, pull lever back to close flow holes while continuing to
crank handle and walking forward.
When finished, empty any remaining material from hopper.
Thoroughly wash spreader and allow to dry before storing.
No oiling is necessary.
DIRECTIVES D’UTILISATION
Avant de remplir la trémie, familiarisez-vous avec le mode d’emploi de
l’épandeur.
Consultez le TABLEAU DE RÉGLAGE afin de savoir lequel utiliser selon le
type de produit que vous appliquez.
Placez le boulon d’arrêt au bon réglage sur le sélecteur.
En tournant le fanatique de poignée et en marchant en avant, le levier de
contrôle de poussée envoie au verrou d’arrêt. S’arrêter, retenir le levier pour
fermer des trous d’écoulement en continuant à lancer à la manivelle la poignée
et en marchant en avant.
Lorsque vous avez terminé, videz complètement la trémie.
Nettoyez l’épandeur à fond et laissez-le sécher avant de le ranger.
Il ne nécessite aucun huilage.
INSTRUCCIONES DE FUNCIONAMIENTO
Antes de llenar la tolva, conviértase al corriente de la operación de este
esparcidor.
Obtenga el ajuste apropiado para que el material sea utilizado de la TARIFA
QUE FIJA LA CARTA incluida con este esparcidor.
Mueva el perno de la parada en el montaje de galga de la tarifa al ajuste
apropiado.
Girando el mango arrancan con la manivela y andando avanzado, palanca de
control de empuje avanzada al cerrojo de parada. Pararse, retirar la palanca
para cerrar el flujo agujerea siguiendo arrancando con la manivela el mango y
andando avanzado.Cuando está acabado, vacié cualquier material restante de la
tolva.
Lave a fondo el esparcidor y permita para secarse antes de almacenar.
No hay el engrasar necesario.
The settings furnished on the Rate Setting Chart are intended as a guide only. Variations in physical characteristics of material applied,
walking speed, and roughness of ground surface may require slightly different spreader settings. Due to the above conditions, there is no
warranty as to the uniformity of coverage actually obtained from the settings listed.
Les arrangements meublés sur le taux plaçant le diagramme sont prévus comme guide seulement. Les variations des caractéristiques
physiques de matériel appliquées, de la vitesse de marche, et de la rugosité de la surface au sol peuvent exiger les arrangements légèrement
différents d’écarteur. En raison des conditions ci-dessus, il n’y a aucune garantie quant à l’uniformité de l’assurance réellement obtenue à
partir des arrangements énumérés.
Los ajustes equipados en la tarifa que fija la carta se piensan como guía solamente. Las variaciones en las características físicas del material
aplicadas, la velocidad que camina, y la aspereza de la superficie de tierra pueden requerir ajustes levemente diversos del esparcidor.
Debido a las condiciones antedichas, no hay garantía en cuanto a la uniformidad de la cobertura obtenida realmente de los ajustes
enumerados.
Pt. #52118
EarthWay
EarthWay
EV-N-SPRED
EV-N-SPRED
®
®
GT
GT
ASSEMBLY and OPERATING INSTRUCTIONS
for Model
3100
Broadcast Spreader
DIRECTIVES D’ASSEMBLAGE
et D’UTILISATION
pour
Model
3100
Épandeur Centrifuge
INSTRUCCIONES de la ASAMBLEA y
de FUNCIONAMIENTO
para Modelo
3100
Sembrador o
Esparcidor
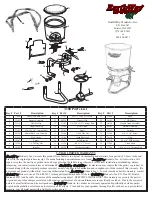
Full Rate Path
Half Rate Path
Start
Finish
Start
Finish


