background image

PART #361591

EG10066

Revised 02/09

Eagle Foodservice Equipment, Eagle MHC, SpecFAB

®

, and Retail Display are divisions of Eagle Group. ©2009 by the Eagle Group

• 100 Industrial Boulevard, Clayton, Delaware 19938-8903 U.S.A. • www.eaglegrp.com

• Phone: 302/653-3000 • (Foodservice) 800/441-8440 • (MHC/Retail) 800/637-5100

• Fax: 302/653-2065

INSTALLATION / OPERATING INSTRUCTIONS

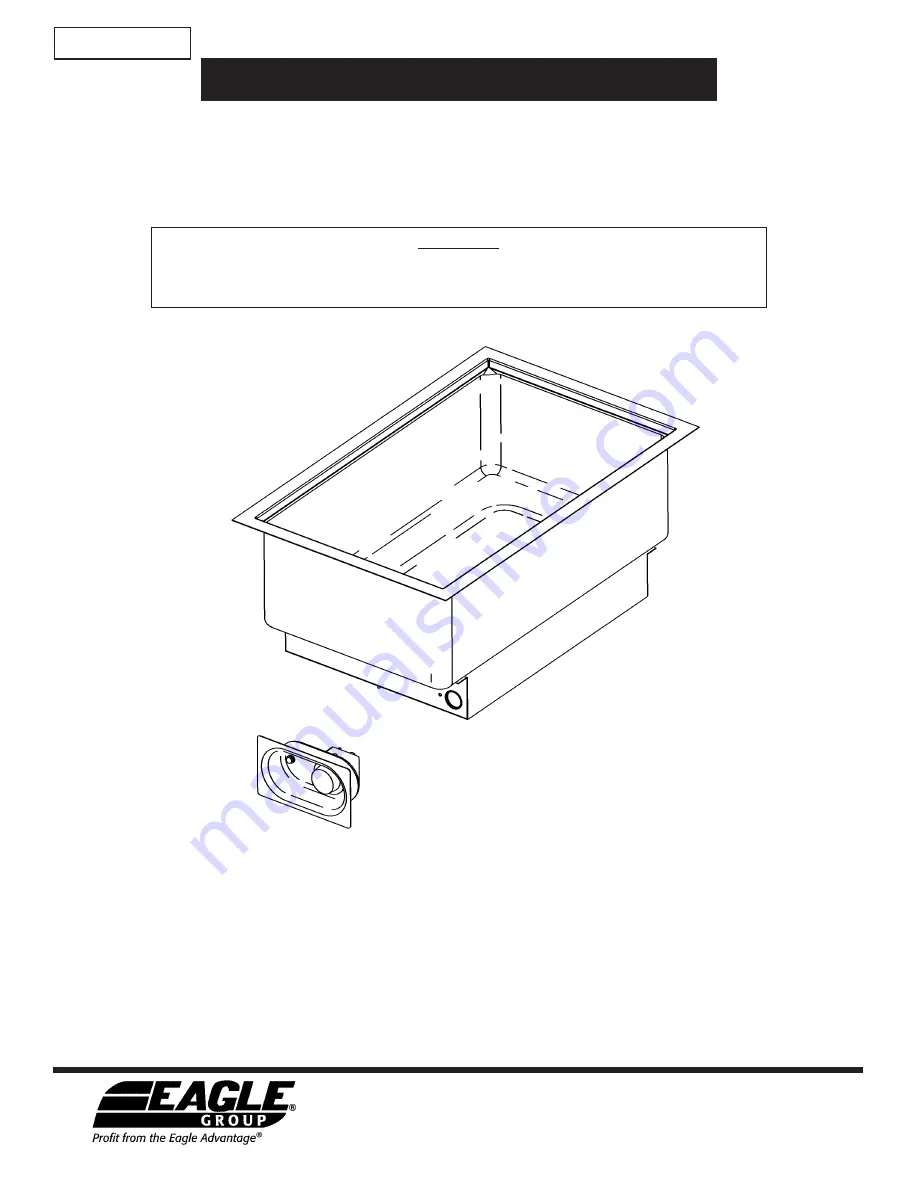
Bottom Mount Food Warmers

Models #BM1220FW-120 / -120T / -120-D / -120T-D

This food warmer will work most efficiently when used with water in the pan liner. The hot water will give a better distribution of heat

and help keep food from drying out. It is not designed for cooking foods but merely to keep hot foods at desired temperatures for

serving.

During initial operation, a little smoke or odor may be detected. This will occur when the coating on the heating element burns

off. This should stop after 1/2 hour of operation.

This warmer is equipped with a variable control for different heat selections.

Suffix “-120” may be replaced with suffix “-208” for 208 volt models or suffix “-240” for 240 volt models.

Suffix “T” indicates thermostatic control.

Suffix “-D” indicates unit with drain.

CAUTION

INSPECT CONTENTS IMMEDIATELY AND FILE CLAIM WITH DELIVERING

CARRIER FOR ANY DAMAGE.

SAVE YOUR BOX AND ALL PACKING MATERIALS.

YOU ARE RESPONSIBLE FOR DAMAGE TO YOUR UNIT IF RETURNED IMPROPERLY PACKED.

Summary of Contents for BM1220FW-120

Page 1: ... keep food from drying out It is not designed for cooking foods but merely to keep hot foods at desired temperatures for serving During initial operation a little smoke or odor may be detected This will occur when the coating on the heating element burns off This should stop after 1 2 hour of operation This warmer is equipped with a variable control for different heat selections Suffix 120 may be ...

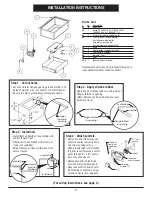
Page 2: ...control knob mounting screws 2 screws or rivets not included 4 recessed control panel Step 4 Attach controls Remove control from recessed control panel by removing knob and two mounting screws With indicator light still attached to panel insert recessed control panel through 23 4 x 51 8 cutout from rear of enclosure Remount control to recessed control panel and attach knob Recessed control panel s...

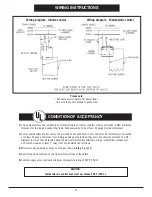
Page 3: ...ot allow the entrance of a 3 4 diameter rod must not be located directly below uninsulated live terminals wiring or electrical components and must be located at least 1 away from any insulated live terminals 3 Minimum spacing between drop ins or edges shown in Step 1 page 2 4 Controls shall be mounted on the front vertical surface of the fixture 5 Cabinet supply wires shall have minimum temperatur...

Page 4: ...f power disconnect switch 4 Unit should be operated with feet provided to prevent overheating and damage to countertop or cord Check feet every 30 days to assure they are tight 5 Check cord and plug appearance for damage cracking or deterioration If visible have both replaced by an authorized service agency This equipment is designed and sold for commercial use only by personnel trained and experi...

Reviews: