This user guide also contains tips on effective
washing and important safety notes.
Please read this user guide carefully before use.
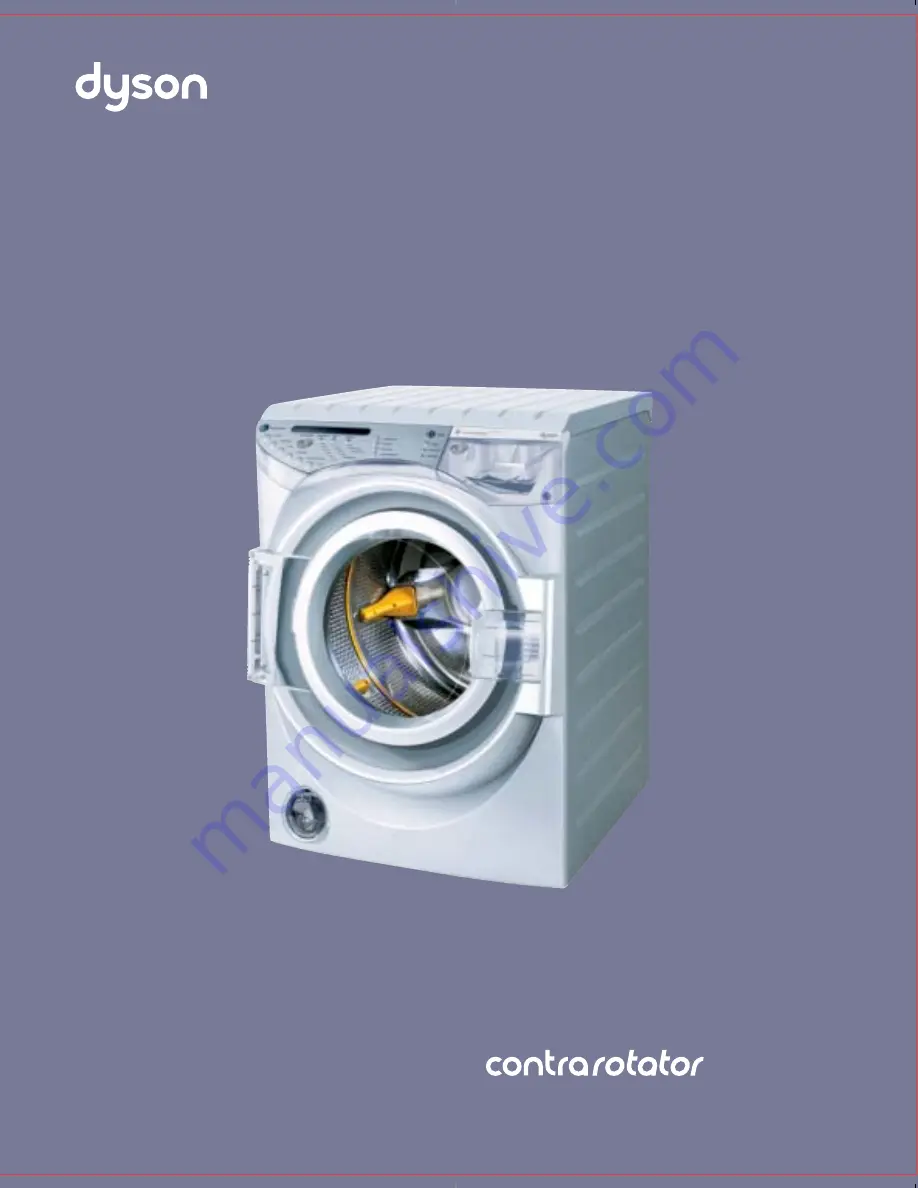
User guide
www.dyson.com
8887_CRO2_OPS_COVERS.qxd 5/11/03 3:24 pm Page 3
Page 1: ...This user guide also contains tips on effective washing and important safety notes Please read this user guide carefully before use User guide www dyson com...
Page 2: ......
Page 3: ...settings To personalise the default wash programmes Fabric care Programme table Self clean cycle and cleaning Coin trap Water filter Emergency door release Troubleshooting 01 01 01 01 01 02 03 01 01...
Page 4: ...se hook Power cable plug Inner door Rating plate Adjustable feet Drainage hose adjustable clip RollerjackTM Coin trap 4 01 6 01 5 01 5 02 5 01 5 02 5 02 5 03 4 01 10 02 6 01 6 01 6 01 3 01 10 01 7 01...
Page 5: ...undry cleaner faster and in larger loads This product is protected by the following Patents and Patent Applications A B C D E F G H I Registered Designs GB 2090907 CN 191339 DE 40008214 4 FR 004914 AU...
Page 6: ...tration User Instructions 3 01 Registering your Dyson washing machine Every Dyson washing machine comes with a complimentary 2 year guarantee with an option to extend the guarantee for a further 1 to...
Page 7: ...ed for final positioning only and not suitable over long distances Do not push with your foot 5 Inner transit packaging removal Before installation 4 01 Before installation check the machine for damag...
Page 8: ...ble The layout of the drainage taps and power socket and their distance from the machine are illustrated below The water inlet hoses drainage hose and electrical mains lead must be positioned carefull...
Page 9: ...open while you rotate the hose Ensure the hose is inserted properly before releasing the clip Thread the drainage hose through the hose hook and adjust the protruding end to a distance of 30mm The hos...
Page 10: ...tap Once all connections have been made turn on the tap s to check that there are no leaks tighten by hand if necessary Electrical installation Warning This machine must be earthed Any electrical wor...
Page 11: ...Colour care Whites Conventional biological or non biological Wool silk Non biological wool silk Detergent format Place wash balls and nets directly into the drums of the washing machine Do not place w...
Page 12: ...or Duvet cycle Temperature spin and soil type settings will automatically adjust to the default settings to give the best options for the selected wash Please see section 01 for details of how to chan...
Page 13: ...To pause the wash for example to add a forgotten item to the wash press the Start button Press Start once more to resume the wash When a programme is paused the door may remain locked for safety reaso...
Page 14: ...programmes Adjust your programme After selecting the fabric type press the temperature spin and soil type buttons to scroll through the options and select your preferred settings Note on certain prog...
Page 15: ...k when the machine is not in use to keep the outer door locked Press and hold the Minimum iron button to activate or cancel the Child lock before starting the cycle Additional options To activate any...
Page 16: ...ecommend a maximum spin speed of 500 rpm To load the duvet into the machine feed the corner into the rear of the drum and continue to feed the duvet along its outer seam Care symbol Cotton A wash tub...
Page 17: ...1400 rpm 0 1400 rpm 0 1100 rpm 0 800 rpm 0 500 rpm 0 500 rpm 0 800 rpm 3 5 kg 7 kg 4 kg 2 kg 3 kg 1 5 kg Up to 13 5 tog Based on 40O C programmes and will vary according to temperature hot cold fill a...
Page 18: ...place The outer door is designed to pop out of its hinge if leant on however it is not designed to support a load 10 01 Always disconnect the machine from the mains before cleaning or carrying out an...
Page 19: ...Always cancel cycle switch off machine and allow the water to cool before opening the coin trap Empty the coin trap when a blockage has occurred 1 Place a tray or shallow dish underneath the coin tra...
Page 20: ...10 10 10 03 To access the back of the machine ensure the feet are screwed into the cabinet before using the RollerjackTM handle to pull the machine out see section 01 for details Cleaning the water i...
Page 21: ...cannot be selected Cannot open door Machine leaks water Machine shakes during the cycle Machine displays Close outer door then press start Machine displays Not emptying check hose coin trap Machine d...
Page 22: ...t packaging see section 01 Call Dyson helpline Check orientation of hot and cold pipes 4 4 5 5 5 5 10 10 9 LCD display is blank Certain spin speeds temperatures or soil types cannot be selected Cannot...
Page 23: ...e you may be charged NOTE The two drums make an unusual noise when they are counter rotating this is nothing to worry about Hold down the Minimum iron button until Child lock off is shown on the LCD I...
Page 24: ...Dyson Dyson Call Centre Helpline 8 till 8 every day UK 08705 275104 ROI 01 475 7109 service dyson co uk www dyson com Dyson Ltd Tetbury Hill Malmesbury Wiltshire SN16 ORP JN 8887 30 10 03 PN 50351 04...