Maintenance Manual (960-948)
3-4
Tests and Diagnostics
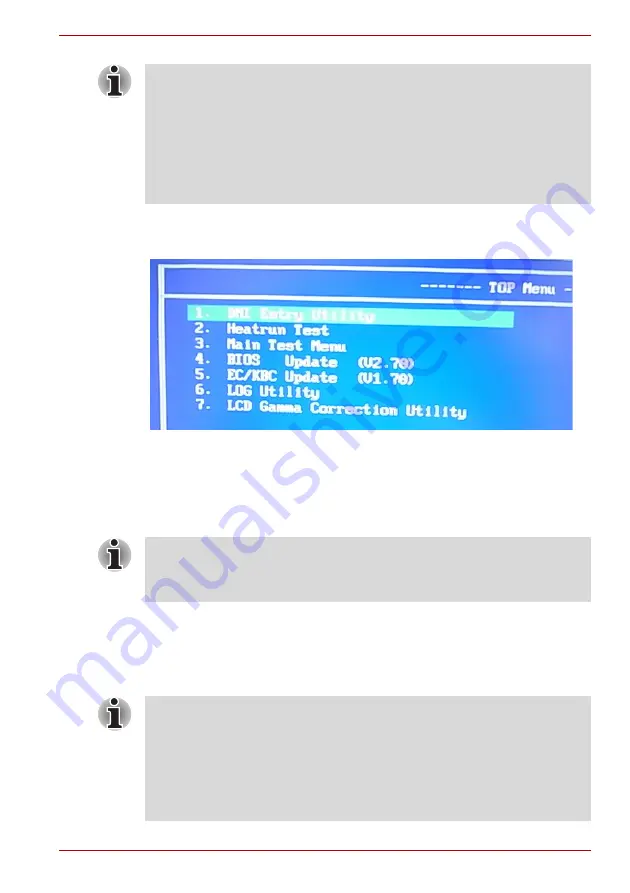
After the work for procedures 1-4 is completed, the following
test program menu (Top Menu) is displayed.
(The menu below shows an example of screen.)
Select Menu ( [NUm] or[↑][↓] – → [Enter]
To start the DMI Entry Utility, press
1
and
Enter
.
To start the Heatrun Test, press
2
and
Enter
.
To start the Main Test Menu, press
3
and
Enter
.
To start the LCD Gamma Correction Utility, press
7
and
Enter
.
3.3 Entry of the DMI information
To execute the DMI Entry Utility, select
1
from the test program menu (Top
Menu), press
Enter
.
1. Connect the AC adaptor and the charged battery to the computer when
you update the BIOS, EC/KBC or ME FW.
2. Do not turn off the power while you are updating the BIOS or EC/KBC.
If the update fails, it might be impossible to start up the computer.
3. If the update rewrite fails, when you next turn on the power, a message
may be displayed that the contents of the BIOS or EC/KBC have been
erased. In that case, turn on the power again and perform Procedure 2
or 3.
Before starting the diagnostics, be sure to follow these steps:
1. Check all cables are connected firmly.
2. Exit any application and close Windows.
When replacing the system board, be sure to execute the following
procedures.
Before replacing the system board, make a note of DMI information of the
current PCB. The information can be confirmed by the “System
Information” screen displayed after start of test program.
After replacing the system board, execute “DMI Entry utility” to register the
DMI information to the new system board according to the note.


