DW Star-Light Plus DWC-PTZ220XW User Manual Download Page 19

19 

3.7 Pattern  

The Pattern feature records user control of the selected PTZ camera. Up to 8 Patterns 
can be stored and played back by pressing No. + PTRN keys subsequently. 
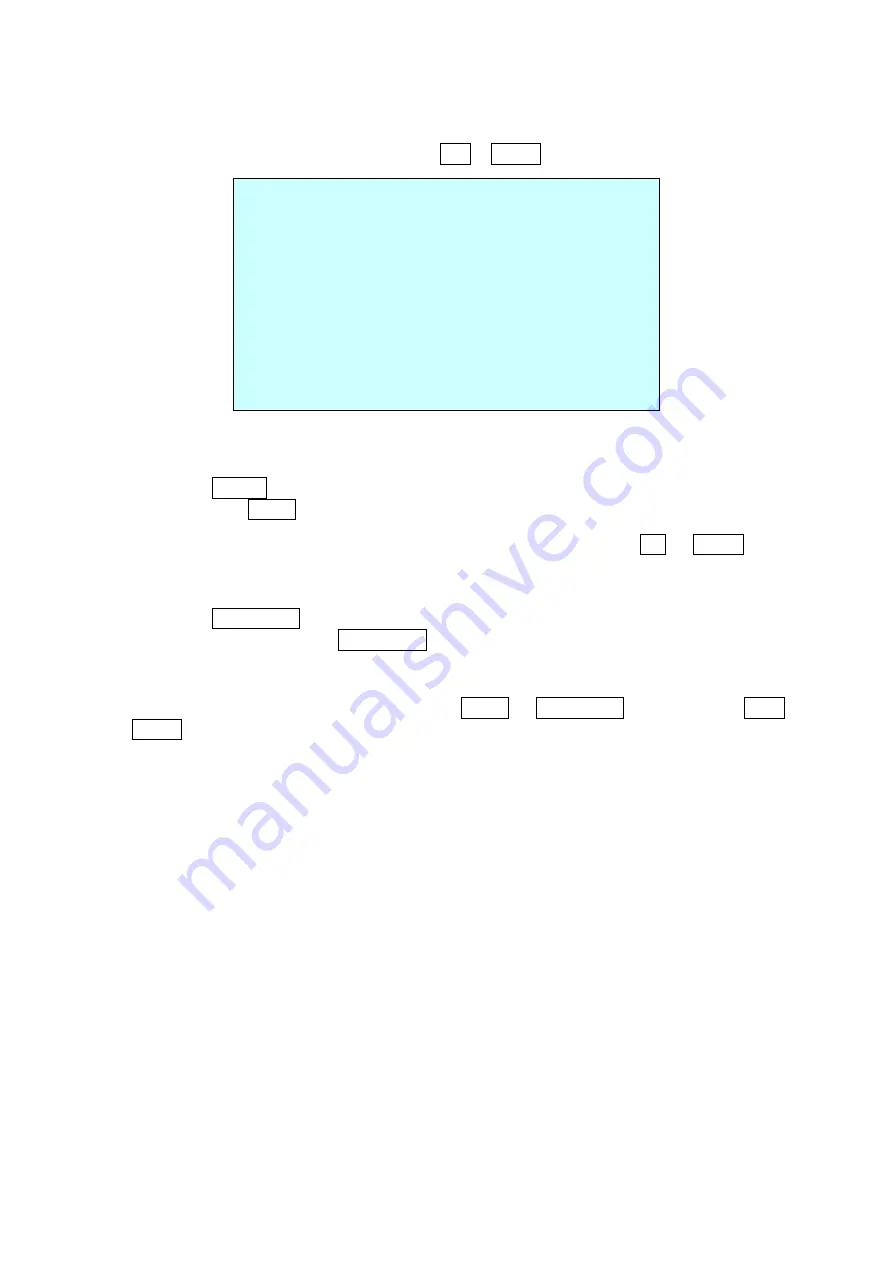


PATTERN SETUP 

(CTRL KEY) 

NO     TITLE    SEC   PERCENT 
1  :   P01      000   00.0% 

2  :   P02      000   00.0% 

3  :   P03      000   00.0% 
4  :   P04      000   00.0% 

5  :   P05      000   00.0% 

6  :   P06      000   00.0% 
7  :   P07      000   00.0% 

8  :   P08      000   00.0% 

SAVE AND EXIT(ESC TO CANCEL) 


Follow steps below to program the Pattern:  

1.


Press the MENU key to display the main menu on the monitor. Scroll to Pattern 
and press the Right key to enter the Pattern menu.  

2.


Select the desired Pattern to be programmed by pressing the Up or Down key. If 

the Pattern is not 000, a Pattern has already been recorded. Patterns can be 

overwritten.  

3.


Press the IRIS Open key then the “CONTROL” displays. Move the position and the 
zoom position. Press the IRIS Close key then the “CONTROL” disappears.  

4.


To edit the “TITLE”, follow the procedure of the Auto Scan above to edit titles.  

5.


Select “SAVE AND EXIT” and press the Right or IRIS Open key. Press the IRIS 

Close key to exit the program without saving.  

NOTE: If Pattern recording time reaches 500 seconds, it will automatically stop for 

a moment.  


Summary of Contents for Star-Light Plus DWC-PTZ220XW

Page 1: ...User sManual 7FS 04 20 FGPSF JOTUBMMJOH BOE VTJOH UIF DBNFSB QMFBTF SFBE UIJT NBOVBM DBSFGVMMZ F TVSF UP LFFQ JU IBOEZ GPS GVUVSF SFGFSFODF Star Light PlusTM 2 1MP 1080p PTZ Camera 8 PTZ220XW...

Page 2: ...GJSF FMFDUSJD TIPDL PS GBMMJOH PCKFDUT P OPU JOTUBMM UIF VOJU JO IVNJE EVTUZ PS TPPUZ MPDBUJPOT PJOH TP NBZ DBVTF GJSF PS FMFDUSJD TIPDL G BOZ VOVTVBM TNFMMT PS TNPLF DPNF GSPN UIF VOJU TUPQ VTJOH UIF...

Page 3: ...XFU CBTFNFOU OFBS B TXJNNJOH QPPM FUD MFBO POMZ XJUI ESZ DMPUI 6OQMVH UIJT QSPEVDU GSPN UIF XBMM PVUMFU CFGPSF DMFBOJOH P OPU VTF MJRVJE DMFBOFST P OPU CMPDL BOZ WFOUJMBUJPO PQFOJOHT OTUBMM JO BDDPSE...

Page 4: ...the on screen menu 12 3 4 Auto scan 13 3 5 Preset 15 3 6 Tour 17 3 7 Pattern 19 3 8 Privacy Zone 20 3 9 Camera Menu 21 3 9 1 FOCUS CONTROL 21 3 9 2 WB White Balance CONTROL 22 3 9 3 AE CONTROL 22 3 9...

Page 5: ...control via coaxial UTC 20x optical zoom 16x digital zoom Smart DNR 3D digital noise reduction True day night with mechanical IR cut filter Programmable privacy zones Auto gain control AGC Backlight c...

Page 6: ...1x 5 pin terminal block NOTE Check your package to make sure that you received the complete system including all components listed above NOTE Adaptor for 12VDC and 24VAC is not supplied NOTE The camer...

Page 7: ...nscrew the locking screw on the side of the PTZ s base and fit the tab of the mounting bracket into the locking slot b Screws A should not be too tight or too loose when the PTZ is in the locked posit...

Page 8: ...a power 2 2 pin terminal block Tx RS485 A TX RS485 B 3 5 pin terminal block A1 alarm input 1 A2 alarm input 2 A3 alarm input 3 A4 alarm input 4 GND 4 4 pin terminal block AO1 alarm output 1 GND AO2 al...

Page 9: ...ectively in the S1 switch S1 D1 Video signal S1 D2 Video type OFF HD TVI output OFF NTSC ON HD Analog Output ON PAL 2 Set the camera s CVBS output with D1 in the S2 switch S2 D1 WDR type WDR off on CV...

Page 10: ...external devices to signal the camera to react to events Mechanical or electrical switches can be wired to the A1 A2 A3 A4 Alarm Input 1 2 3 4 and G Ground connectors See 3 Program and Operation for m...

Page 11: ...mounted turn the power on to the camera The camera will start a configuration sequence OSD position 001 AF AE EMPTY DATA ALARM 1 PTZID 0001 360 0 090 0 Information display Camera title and ID Functio...

Page 12: ...nu utility on your monitor by pressing the MENU key on the keyboard or DVR the following on screen menu utility will appear PTZ MENU AUTO SCAN PRESET TOUR PATTERN PRIVACY ZONE CAMERA PTZ COMMUNICATION...

Page 13: ...CCW counter clockwise or CW clockwise SWAP Swap the start point for the endpoint DWELL Set the dwell time at both ends 01 99 seconds FOCUS Set to auto or manual To program the camera to Auto Scan 1 P...

Page 14: ...interval press the Tele or Wide key at the zoom field 7 Select END ANGLE Press the IRIS Open key then the CONTROL displays Move the desired position and the zoom position Press the IRIS Close key then...

Page 15: ...llow steps below to store the Preset positions 1 Press the MENU key to display the main menu on the monitor Scroll to Preset and press the Right key 2 Select the blank Preset position to be stored by...

Page 16: ...HOLD TIME 03 99 seconds Select AE SETUP and press the Right or Left key Then the AE setup displays Refer to the AE SETUP in the camera setup 6 Set DWELL time 03 99 seconds 7 To select the next page o...

Page 17: ...program the Tours 1 Press the MENU key to display the main menu on the monitor Scroll to Tour and press the Right key to enter the Tour menu 2 Select NUMBER and set the desired number by pressing the...

Page 18: ...e the camera travel from a Preset position to another Preset position at a specific speed Example Preset 001 002 003 004 005 006 Auto Scan 01 starts at Preset 002 ends at Preset 003 Auto Scan 02 start...

Page 19: ...oll to Pattern and press the Right key to enter the Pattern menu 2 Select the desired Pattern to be programmed by pressing the Up or Down key If the Pattern is not 000 a Pattern has already been recor...

Page 20: ...the IRIS Open key then the privacy area menu displays Move the desired position Press the IRIS Close key then the CONTROL disappears To adjust the size press the Tele or Wide key Returns to the previo...

Page 21: ...gital range MAX Zoom is extendable up to the Max digital range IMAGE FLIP This function turns the video output from the camera upside down and reverses it horizontally This option is helpful to instal...

Page 22: ...mps OUTDOOR Outdoor white balance mode MANUAL Manual mode you can change R and B Gain manually R GAIN 0 255 B GAIN 0 255 R GAIN B GAIN modes are controllable only in MANUAL Mode 3 9 3 AE CONTROL AE SE...

Page 23: ...turn On the NIGHT SHOT mode ON B W mode OFF Color mode NOTE AUTO in the NIGHT SHOT function is not applied in the MANUAL mode of AE Control ADDITIONAL AE ADDITIONAL AE SETUP WDR OFF WDR WEIGHT BLC OF...

Page 24: ...CEL PTZ ID 1 3999 PROTOCOL AUTO F2 F2E PELCO PD BAUDRATE 2400 4800 9600 19200 38400 bps PARITY NONE EVEN ODD TERMINATION RS 485 OFF ON The device connected at end of the line whether it is a PTZ camer...

Page 25: ...ated OFF Alarm message will disappear from the screen after programmed hold time when alarm input is deactivated DWELL Means the dwell time during multiple alarms 03 to 99 seconds ALARM OUT SETUP OUT1...

Page 26: ...that the camera automatically goes to Tour Pattern Auto Scan or Preset after the keyboard or DVR has been idle for a specified amount of time For example if the controller is idle for 120 seconds the...

Page 27: ...limit the view angle as there is some obstruction in zooming out on specific areas of the tilt angle NOTE Focus issues may occur in certain conditions PANNING RANGE When the camera is installed near...

Page 28: ...verride offset values Only the default settings option in this menu will set the offset value to zero This can be used to avoid ceiling obstructions 3 12 4 FACTORY DEFAULT Select FACTORY DEFAULT to in...

Page 29: ...ELLOW GREEN BLUE 3 12 7 SYSTEM SETUP SYSTEM SETUP MOTOR SETUP PASSWORD EDIT ORIGIN CHECK CALIBRATION ON PASSWORD ENABLE OFF MENU TIMEOUT OFF PTZ ANSWER OFF PRESET FOCUS AUTO SAVE AND EXIT ESC TO CANCE...

Page 30: ...RD EDIT PASSWORD EDIT SETUP CTRL KEY INPUT PASSWORD PASSWORD A B C D E F G H I J K L M N O P Q R S T U V W X Y Z 0 1 2 3 4 5 6 7 8 9 SAVE AND EXIT ESC TO CANCEL You can change the password with a 6 di...

Page 31: ...lect the desired function by pressing the Up or Down key 2 Select the number by pressing the Tele or Wide key in PRESET PATTERN TOUR and SCAN 3 Press the IRIS Open key to execute NOTE To execute a fun...

Page 32: ...YSTEM INFORMATION SYSTEM INFORMATION CAMERA TYPE xxxx Vx xx H W VERSION Vx xx xxxx ROM VERSION Vx xxxxxx PROTOCOL xxxx BAUDRATE 9600 NONE EXIT ESC TO EXIT The system information provides essential inf...

Page 33: ...zoom 16x digital zoom Alarm input output 4 1 OPERATIONAL Shutter mode Auto manual Shutter speed 1 30 000 x 8sec Backlight On off De fog On off Wide dynamic range WDR True WDR on off night off 100dB S...

Page 34: ...rating IP66 rated weather and tamper resistant Other certifications FCC CE ROHS ELECTRICAL Power requirement 12VDC 24VAC Power consumption Max 1A 12W 12VDC 24VAC MECHANICAL Material Aluminum PTZ polyc...

Page 35: ...Solution No video Verify that power is connected to all pieces of equipment in the system Verify that the power switches are in the ON position Check the video connections Poor video quality Check th...

Page 36: ...NF TUBUFT EP OPU BMMPX UIF FYDMVTJPO PS MJNJUBUJPO PG JODJEFOUBM PS DPOTFRVFOUJBM EBNBHFT PS MJNJUBUJPOT PO IPX MPOH BO JNQMJFE XBSSBOUZ MBTUT TP UIF BCPWF FYDMVTJPOT PS MJNJUBUJPOT NBZ OPU BQQMZ UP Z...

Page 37: ...DFJQU PS PUIFS QSPPG PG UIF EBUF PG UIF PSJHJOBM QVSDIBTF JT SFRVJSFE CFGPSF XBSSBOUZ TFSWJDF JT SFOEFSFE 5IJT XBSSBOUZ POMZ DPWFST GBJMVSFT EVF UP EFGFDUT JO NBUFSJBMT BOE XPSLNBOTIJQ XIJDI BSJTF EVS...

Page 38: ...5BNQB 8 WFTU CPBTU PGGJDF BOE XBSFIPVTF MPPNGJFME WF FSSJUPT BMJGPSOJB 64 1 9 XXX JHJUBM 8BUDIEPH DPN UFDIOJDBMTVQQPSU EXDD UW 5FDIOJDBM 4VQQPSU 1 64 BOBEB OUFSOBUJPOBM SFODI BOBEJBO 5FDIOJDBM 4VQQPSU...

Reviews: