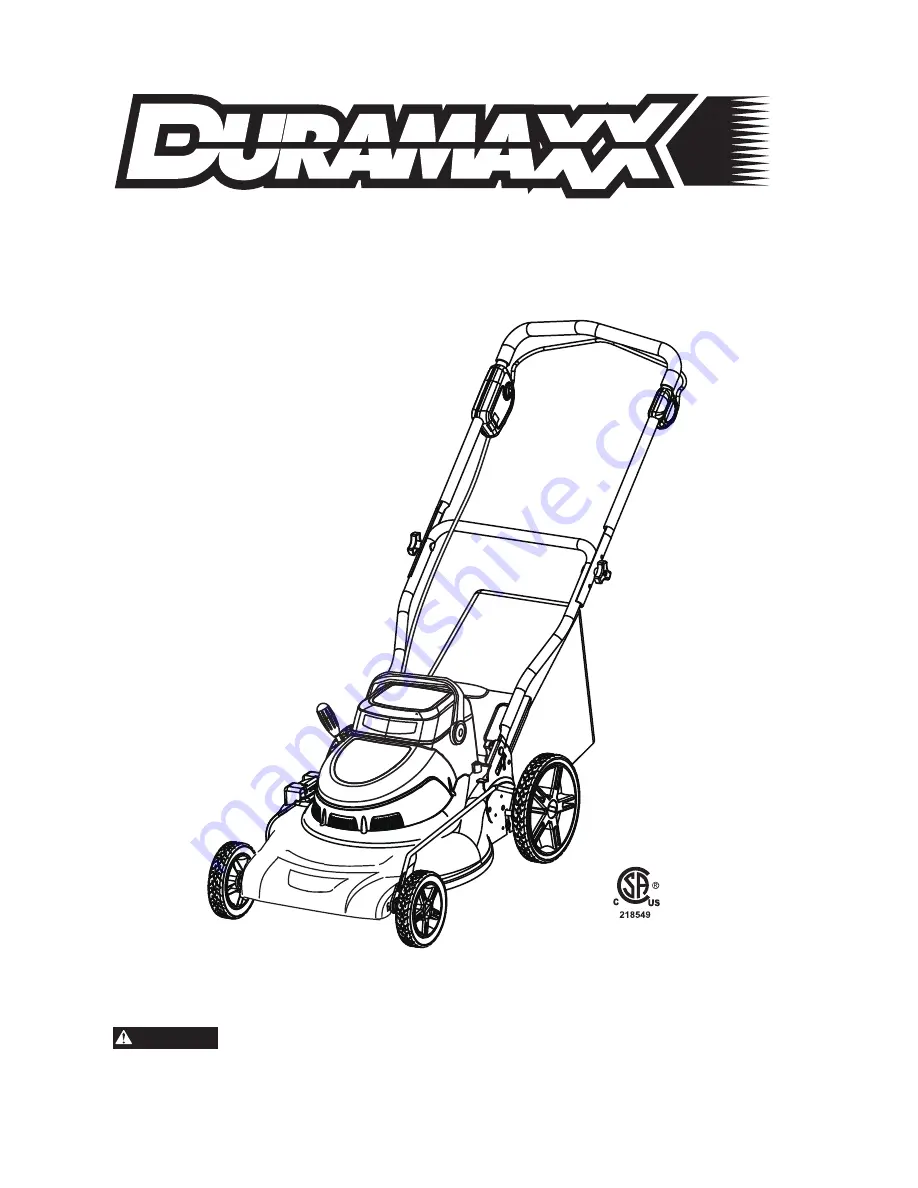
24 V CORDLESS
LAWN MOWER
TM
O wner' s Man u a l
Read all safety rules and operating instructions carefully before using this product.
W AR N I N G
TOLL F R EE HELPLINE: 1 - 866 - 456 - 8934
Page 1: ...24 V CORDLESS LAWN MOWER TM Owner s Manual Read all safety rules and operating instructions carefully before using this product WARNING TOLL FREE HELPLINE 1 866 456 8934 WARNING...
Page 2: ...s capable of amputating body parts and throwing objects Failure to observe the following safety rules could result in serious injury or death Basic safety precautions should always be followed when us...
Page 3: ...milar lightweight footwear Wear protective footwear that will protect your feet and improve your footing on slippery surfaces Do not leave the mower unattended while running Keep hands and feet away f...
Page 4: ...lade when crossing gravel surfaces Objects struck by the lawn mower blade can cause severe injuries to persons The lawn should always be carefully examined and cleared of all objects prior to each mow...
Page 5: ...ic shock Do not touch uninsulated portion of output connector or uninsulated battery terminal Do not expose charger to wet or damp conditions Water entering charger will increase the risk of electric...
Page 6: ...s necessary a full face shield when operating this product Failure to use in dry conditions and to observe safe practices can result in electric shock To reduce the risk of injury user must read and u...
Page 7: ...e suggest you return the product to your nearest AUTHORIZED SERVICE CENTER for repair When servic ing use only identical replacement parts WARNING To avoid serious personal injury do not attempt to us...
Page 8: ...YOUR LAWN MOWER 8 Fig 1 GRASS CATCHER MOTOR HOUSING MULCHING PLUG HEIGHT ADJUSTMENT LEVER SIDE DISCHARGE DEFLECTOR SIDE DISCHARGE COVER POWER SWITCH ASSEMBLY LOWER HANDLE UPPER HANDLE CHARGER SWITCH...
Page 9: ...GHT ADJUSTMENT LEVER The height adjustment lever provides cutting height adjustments MOTOR BLADE CONTROL ASSEMBLY The motor blade control located on the upper handle of the mower engages and disengage...
Page 10: ...Plug Grass Catcher Charger Operator s Manual WARNING If any parts are damaged or missing do not operate this product until the parts are replaced Failure to heed this warning so could result in seriou...
Page 11: ...acking material which may be between the upper and lower handles for shipping purposes Pull up and back on the upper handle to raise the handle into operating position Make certain the handles snap in...
Page 12: ...Lift the side discharge door 1 Align the grooves on the deflector 2 with the pins on the underside of the door Lower the deflector until the hooks on the mower deck are secured in the openings in the...
Page 13: ...lug do not install either the side discharge deflector or the grass catcher Lift the rear discharge door 1 Grasp the mulching plug 2 by its handle and tilt at an approximate 15 degree angle Insert the...
Page 14: ...ng plug Lift the rear discharge door 1 Lift the grass catcher 2 by its handle and place under the rear discharge door so that the hooks on the grass catcher are seated on the door rod 3 Release the re...
Page 15: ...stage charger Step 1 The red light will light up during the recharge cycle Step 2 The green light will light up when the battery is fully charged 1 Remove the jack cover 2 Plug the charger connector i...
Page 16: ...ndicate the battery s capacity according to the following chart ASSEMBLY Lights 3 Green Lights 2 Green Lights 1 Green Light Yellow Light Red Light At Full capacity At 60 capacity At 45 capacity At 25...
Page 17: ...ple and pets remain at least 100 30 m away when the mower is in use STARTING AND STOPPING Fig 8 17 Switch key 1 Power button 2 Bail switch 3 To start the motor 1 Remove the switch key 1 2 Press and ho...
Page 18: ...ited for your lawn The average lawn should be between 1 1 2 in to 2 in during cool months and between 2 in and 3 1 4 in during hot months To set the blade height To raise the blade height grasp the he...
Page 19: ...etween 23 and 104 F 5 and 40 C The battery supplied is sealed maintenance free and spill free BATTERY USE CARE Charge the mower battery in a dry area that is protected from the weather Do not expose t...
Page 20: ...eater than 15 as shown on the slope gauge 6 Do not mow wet or damp grass Unstable footing could cause slipping SLOPE GAUGE Use this page as a guide in order to identify slopes that cannot be mowed saf...
Page 21: ...e grass catcher by its handle and lift to remove from mower Empty grass clippings Lift the rear discharge door and reinstall the grass catcher as described earlier in this manual EMPTYING THE GRASS CA...
Page 22: ...h light oil Remove the blade and blade hub assembly and lubricate the motor shaft with light oil or engine oil See Replacing the Cutting Blade for instructions on removing the blade GENERAL MAINTENANC...
Page 23: ...he fan assembly is pushed completely against the motor shaft Place the new blade on the shaft against the fan assembly Make sure it is installed with the curved ends pointing up toward the mower deck...
Page 24: ...instructions in the Replacing the Cutting Blade section remove the mower blade DO NOT attempt to sharpen the blade while it is attached to the mower Using a fine tooth file or stone sharpen cutting e...
Page 25: ...pecially the motor To check the blade balance Clamp a screwdriver horizontally in a vise as shown NOTE If a vise is not available a straight nail can also be used Place the center hole of blade on the...
Page 26: ...on any damaged or missing parts Store mower indoors in a clean dry place out of the reach of children Do not store near corrosive materials such as fertilizer or rock salt To lower the handle before s...
Page 27: ...certified for Lead disposal WARNING If the battery pack cracks or breaks with or without leaks do not recharge it and do not use Dispose of it and replace with a new battery pack DO NOT ATTEMPT TO REP...
Page 28: ...vibrating at higher speed High grass rear of mower housing and blade dragging in heavy grass or cutting height too low Blade is unbalanced Bent motor shaft Balance the blade by grinding each cutting...
Page 29: ...als directions and regulations in order to be valid ITEMS NOT COVERED BY WARRANTY 1 Any part that has become inoperative due to misuse commercial use abuse neglect accident improper maintenance or alt...
Page 30: ...EXPLODED VIEW PARTS LIST 30 1 2 3 4 5 6 7 8 9 1 0 23 25 26 24...
Page 31: ...40 1 6 1 1 1 1 2 1 1 2 1 1 2 1 2 1 1 1 1 1 1 3 1 1 6 1 1 1 1 1 2 2 2 1 4 1 1 1 1 1 1 4 2 4 1 4 4 20 24V deck screw rear enclosure side discharge chute side discharge cover side discharge shaft rubber...
Page 32: ...20575 3220439 3220137 3320238 3410237 33313250 3410535 3331435 3221037 34201227 2 3331638 3110392 5C 2 2 2 1 1 1 1 2 4 4 3 1 1 1 1 1 1 2 4 1 10 in wheel assy L washer for wheel white nut M6 pull sprin...
Page 33: ...EXPLODED VIEW PARTS LIST 33...
Page 34: ...9 34104226 1 3690292 34105229 33301229 34103229 3050102 3050110 3030175 3650211 3650239 screw battery Housing screw rubber cover for connector 2 X 12 V 20Ah SLA BATTERY connector terminal wire blue wi...