84
5. Using On-Screen Menu
❽
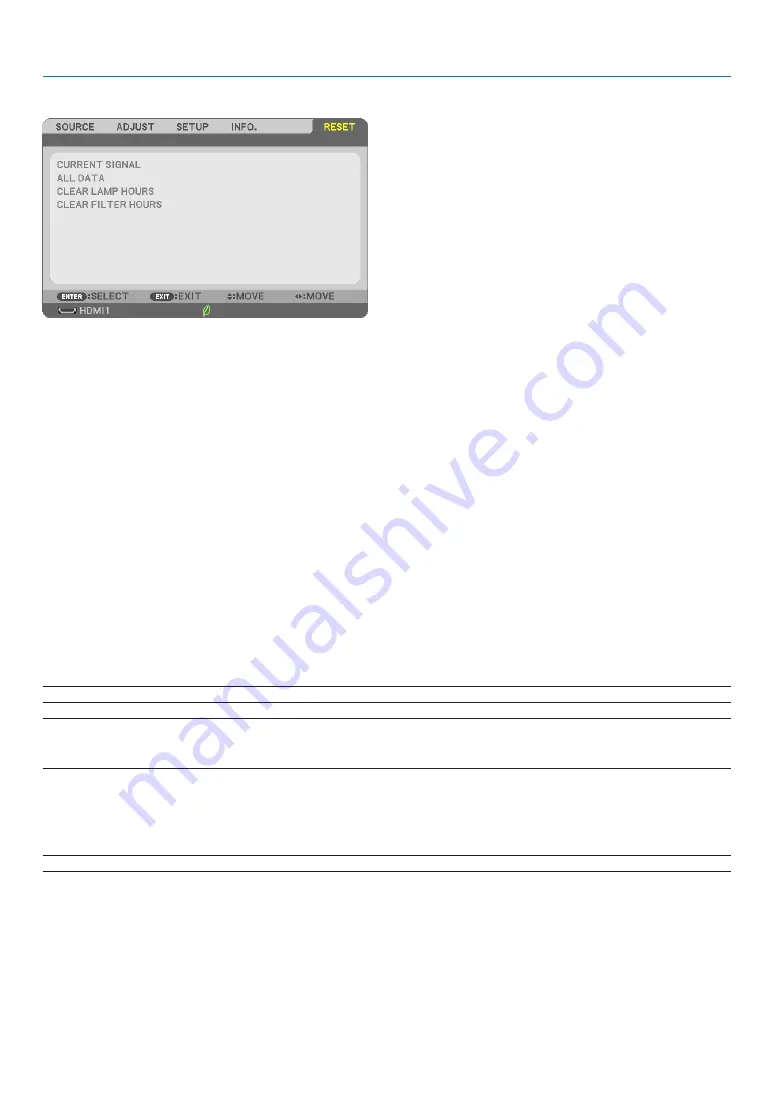
Menu Descriptions & Functions [RESET]
Returning to Factory Default [RESET]
The RESET feature allows you to change adjustments and settings to the factory preset for a (all) source (s) except
the following:
[CURRENT SIGNAL]
Resets the adjustments for the current signal to the factory preset levels.
The items that can be reset are: [PRESET], [CONTRAST], [BRIGHTNESS], [COLOR], [HUE], [SHARPNESS], [AS
-
PECT RATIO], [HORIZONTAL], [VERTICAL], [CLOCK], [PHASE], and [OVERSCAN].
[ALL DATA]
Reset all the adjustments and settings for all the signals to the factory preset.
All items can be reset
EXCEPT
[LANGUAGE], [BACKGROUND], [ORIENTATION], [FILTER MESSAGE], [SECU
-
RITY], [COMMUNICATION SPEED], [CONTROL ID], [STANDBY MODE], [FAN MODE], [CARBON CONVERT],
[CURRENCY], [CURRENCY CONVERT], [LAMP LIFE REMAINING], [LAMP HOURS USED], [FILTER HOURS
USED], [TOTAL CARBON SAVINGS], [WIRED LAN], and [WIRELESS LAN].
To reset the lamp usage time, see “Clearing Lamp Hour Meter [CLEAR LAMP HOURS]” below.
Clearing Lamp Hour Meter [CLEAR LAMP HOURS]
Resets the lamp clock back to zero. Selecting this option displays submenu for a confirmation. Select [YES] and
press the ENTER button.
NOTE: Elapsed time of the lamp use will not be affected even when [RESET] is done from the menu.
NOTE: The projector will turn off and go into standby mode when you continue to use the projector for another 100 hours after the lamp has
reached the end of its life. In this condition you cannot clear the lamp hour meter on the menu. If this happens, press the HELP button on the
remote control for 10 seconds to reset the lamp clock back to zero. Do this only after replacing the lamp.
Clearing the Filter Usage Hours [CLEAR FILTER HOURS]
Resets the filter usage back to zero. Selecting this option displays submenu for a confirmation. Select [YES] and
press the ENTER button.
NOTE: Elapsed time of the filter use will not be affected even when [RESET] is done from the menu.
Summary of Contents for 6647W
Page 98: ...87 6 Installation and Connections ...
Page 101: ...90 6 Installation and Connections ...


