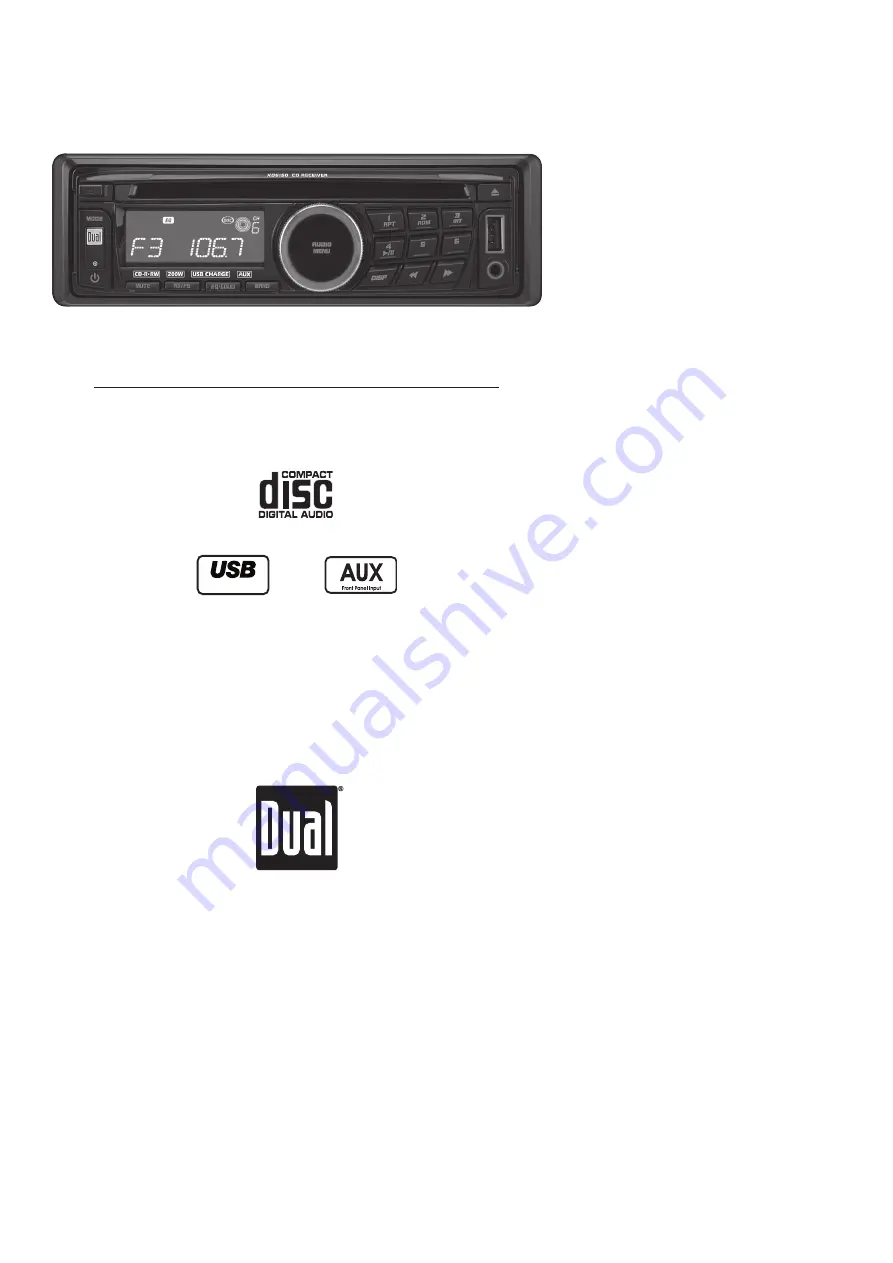
INSTALLATION/OWNER'S MANUAL
AM/FM/CD Receiver with 3.5mm Auxiliary Input, USB Charging Port
and Detachable Face
XD6150
Charge Port
All manuals and user guides at all-guides.com
all-guides.com
Page 1: ...INSTALLATION OWNER S MANUAL AM FM CD Receiver with 3 5mm Auxiliary Input USB Charging Port and Detachable Face XD6150 Charge Port All manuals and user guides at all guides com a l l g u i d e s c o m...
Page 2: ...on top of the unit Insert the supplied keys into the slots as shown and slide the unit out of the mounting sleeve Install mounting sleeve into opening bending tabs to secure Connect wiring harness an...
Page 3: ...able sold separately AMP BLUE BLACK RED YELLOW Remote Turn On Connect to amplifier or power antenna Insulate wire if not used Ground Connect to vehicle chassis ground Accessory Connect to ignition cir...
Page 4: ...ecting your MP3 player to the detachable face for security assurance this head unit has you covered XD6150 OPERATION Control Locations Receiver Release Mode Audio Menu Preset 1 Repeat Preset 4 Play Pa...
Page 5: ...n 1 2 3 4 5 6 7 8 9 10 11 12 13 14 15 16 17 18 Power Audio Menu Volume Up Mode Tune Track Up Volume Down Auto Store Preset Scan Preset 3 Intro Preset 2 Random 2 3 6 5 8 7 10 17 11 12 15 16 9 13 14 1 4...
Page 6: ...the 3 5mm connector to the headphone output of an audio device MP3 player etc Press MODE to select AUX mode Insert the USB connector of a battery powered USB device into the USB charging port on the...
Page 7: ...USA Programs unit to USA tuner spacing 200kHz for FM and 10kHz for AM FREQ EUR Programs unit to European tuner spacing 50kHz for FM and 9kHz for AM Clock Display CLK OFF Programs unit to not display...
Page 8: ...eft or right BAL L12 BAL R12 BAL 00 represents equal balance Press AUDIO MENU until FAD appears Rotate the volume knob left or right to direct the sound output to the front or rear FAD F12 FAD R12 FAD...
Page 9: ...ore a station select the desired band and station Press and hold the desired preset button 1 6 for more than two seconds When stored the preset number will appear in the display The station can be rec...
Page 10: ...Press l II to temporarily stop CD playback Press l II again to resume playback Press RPT to continuously repeat the selected track Press RPT again to cancel Press RDM to play all tracks in random orde...
Page 11: ...peaker wires touching chassis ground Check for pinched wire Incorrect fuse rating Use fuse with correct rating Excessive skipping Unit is not mounted correctly or backstrap is not secure Check mountin...
Page 12: ...o 1 Before you call for service check the troubleshooting guide in your owner s manual A slight adjustment of any custom controls may save you a service call 2 If you require service during the warran...
Page 13: ...perating voltage 11 16 VDC negative ground Speaker output impedance 4 8 ohms Line output voltage 2 Volts RMS Dimensions 7 x 2 x 7 178 x 51 x 178 mm Design and specifications subject to change without...
Page 14: ...terference in a residential installation This equipment generates uses and can radiate radio frequency energy and if not installed and used in accordance with the instructions may cause harmful interf...
Page 15: ...15 XD6150 NOTES All manuals and user guides at all guides com...
Page 16: ...e 1 866 382 5476 www dualav com 2009 Dual Electronics Corp All rights reserved Other trademarks and trade names are those of their respective owners NSA0509 V01 All manuals and user guides at all guid...