


SOL8SDR Hardware Guide
Commercial in Confidence
Revision 8.0
The information contained in this document is the property of Domo Tactical Communications (DTC) Ltd.
Any copying or reproduction in any form whatsoever is prohibited without the written permission of DTC.
© 2016 Copyright Domo Tactical Communications (DTC) Limited. All rights reserved.
Page 4-34
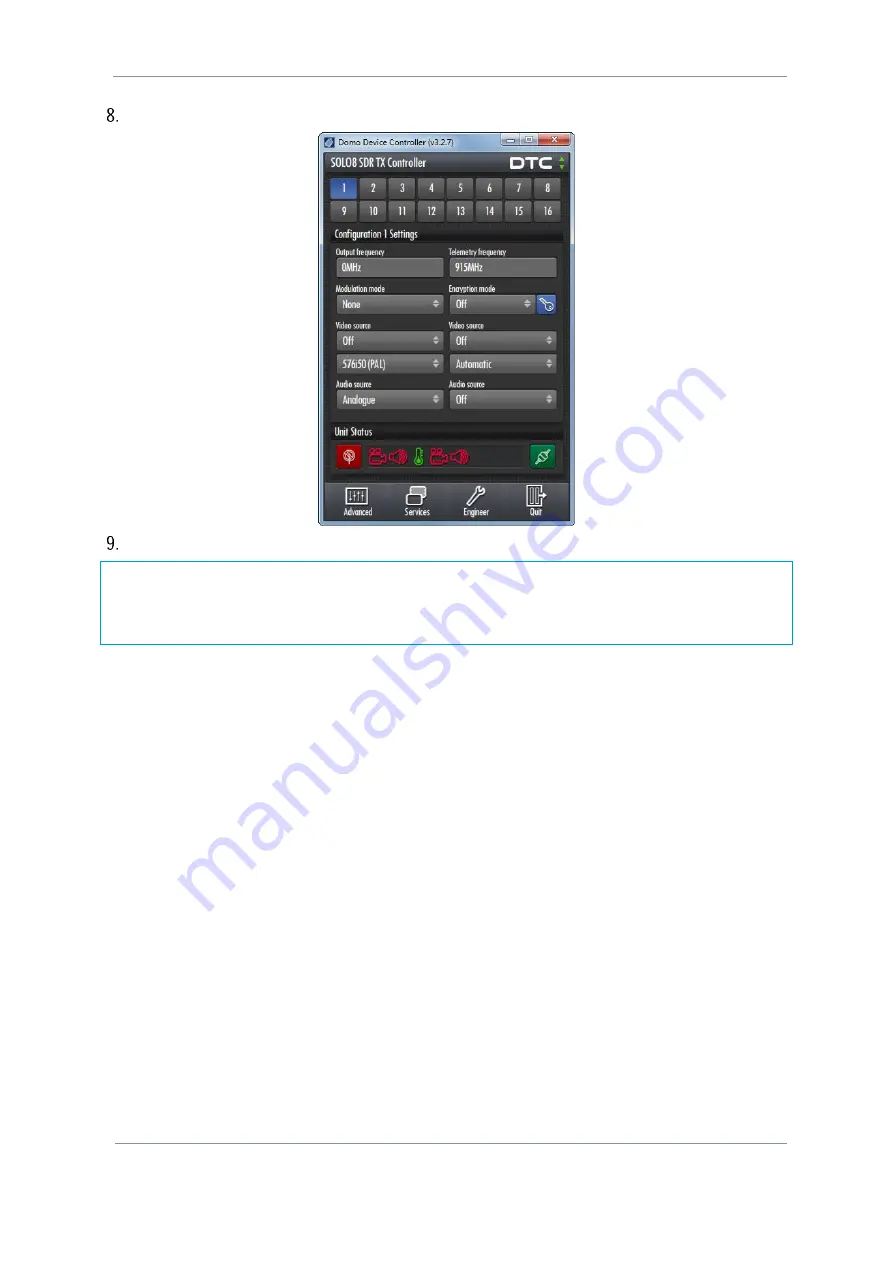
Click the
Connect
button. The SOL8SDR should connect and the Primary Page will open
See that the green
Connect
button is showing. This means you are connected.
Note
: We selected
Serial Port
in item 5 but we connected the PC to the transmitter with a
USB cable
. Why
not select the USB entry that was in the list?
The SOL8SDR handles the serial cable and the USB cable as serial connections. If we use one of these two
cables we
must
select
Serial Port
. USB only appears in the list to deal with legacy products.
4.10.4
Troubleshooting
SOL8SDR won’t connect!
SOL8SDR will only connect to Domo Device Controller if it is configured as a Transmitter. Connect using
the web browser and go to the
Configuration>Global
Tab and change the
Application
to
TX
.
My SOL8SDR2X2W-P won’t connect!
SOL8SDR2X2W-P will only connect using IP. Change the
Device Controller
connection type to
TCP
Socket
, see
section 4.9
4.11
Further Reading
Depending on the license of the SOLO8 Software Defined Radio and how you wish to use it, you will need to
refer to the specific Software User Guide for detailed software operation.
When configured as a Transmitter or Encoder, refer to
SOL8SDR Transmitter and Encoder Software User
Guide
.
When configured as a Receiver, refer to
SOL8SDR Receiver Software User Guide
.
When configured as a Mesh, refer to
NETNode Phase 5 Software User Guide
.
These documents can be found in DTC’s WatchDox facility, see
section 6.1


