Switching Hub
Before you start, please check the contents of the product package. The package should
contain the following items:
ȭ
SH2500 Switch
One Power Cord
ȭ
One RS232 Cable
Rack Mount Kit and screws
ȭ
Operation Manual CD
If any of the above items is missing, please contact our reseller or distributor immediately.
SH250
SH2500
Quick Start Guide
Quick Start Guide
SH2500 is a 24-Port 10/100Mbps switch with 24-Port PoE. The provided Power
over Ethernet (PoE) ports can automatically detect the presence of IEEE 802.3af-
compliant devices and will provide power through ports. The Switch provides 15
Watts per port and can be connected to IP phone, WLAN access point, video camera,
and other PD devices.
1. Preparing a PC
Choose a browser-enable PC on LAN where the Switch is located. It is recommended you
use Microsoft Internet Explorer 5.0 or later. Change the computer's IP settings to confirm
to Switch's default settings, if necessary. The default IP settings of SH2500 switch are as
follows.
Default IP address : 192.168.0.100 Default Subnet Mask : 255.255.0.0
Default Gateway : 192.168.0.254
2. Connect to the Switch
Launch the web browser. On the address bar, type the Switch's default IP address
192.168.0.100 to access the Switch.
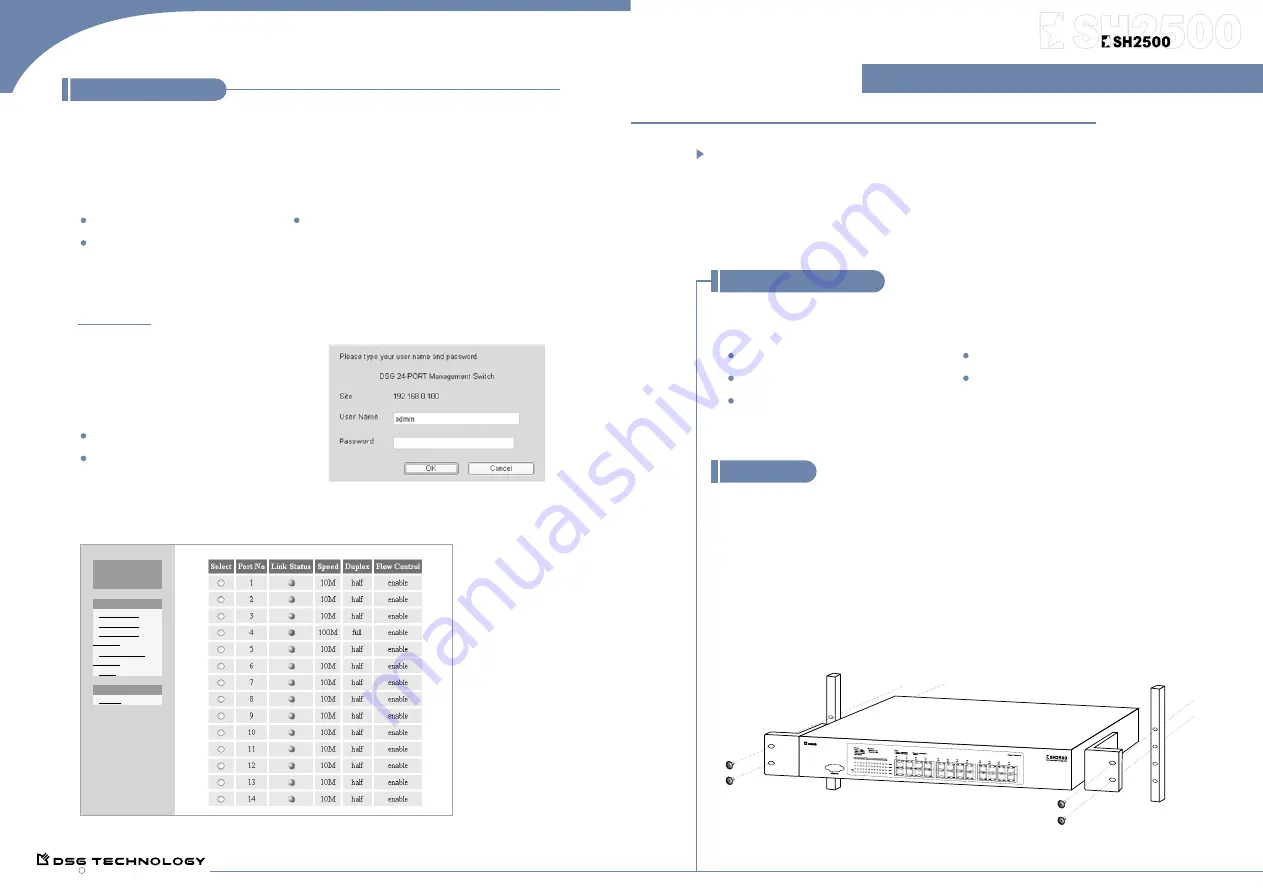
3. Log in
You will be connected to the Admin Website.
Log in using the default user name and
password as below.
Default Username: admin (case sensitive)
Default Password: 1234
After you log in, the configuration page will come up as below. Upon selecting any item from
the list, a page with detail information on that item will come up.
06SH25QE.A DSG Technology, Inc. All rights reserved.
C
DSG 24-port
Management
Switch
Switch
System
Setup
VLAN
Priority
Port Status
Port Config
Port Based
VLAN/TOS
QoS
Installation
Rack Mount Placement
1. Attach one rack mounting bracket on each
side of the Switch's front panel and secure
each bracket with the provided screws.
2. Use the other provided screws to secure
each Switch to the rack.
3. Plug in all network connections and the
power cord.
4. Turn on the power.
To Locate the Switch on a Desktop
1. Make sure the rubber feet are attached to
the bottom of the Switch.
2. Place the Switch on a clean, flat desk or
tabletop close to a power outlet.
3. Plug in all network connections and the
power cord.
4. Turn on the power.
Login to the Switch
Packing Information
If you have any
questions during
the installation,
please refer to the
manual.


