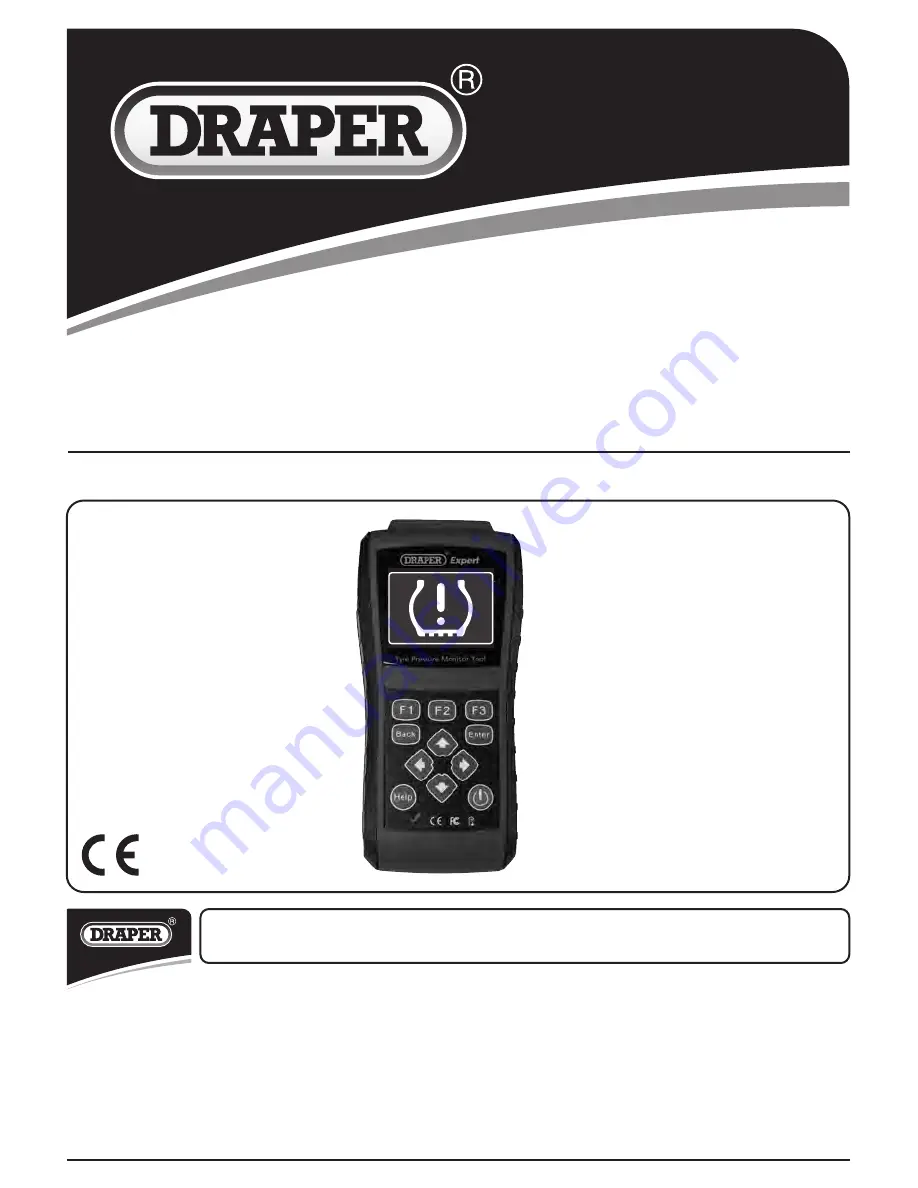
Draper FCR-TPMS Instruction Download Page 1

INSTRUCTION OVERVIEW FOR

Tyre Pressure

Monitor Tool


Stock No.81283  Part No.FCR-TPMS

IMPORTANT:

 PLEASE READ THESE INSTRUCTIONS CAREFULLY TO ENSURE THE SAFE AND 

EFFECTIVE USE OF THIS PRODUCT.

GENERAL INFORMATION

These instructions accompanying the product are the original instructions. This document is part of the product, keep it 
for the life of the product passing it on to any subsequent holder of the product. Read all these instructions before 
assembling, operating or maintaining this product.
This manual has been compiled by Draper Tools describing the purpose for which the product has been designed, and 
contains all the necessary information to ensure its correct and safe use. By following all the general safety instructions 
contained in this manual, it will ensure both product and operator safety, together with longer life of the product itself.
AlI photographs and drawings in this manual are supplied by Draper Tools to help illustrate the operation of the product.
Whilst every effort has been made to ensure the accuracy of information contained in this manual, the Draper Tools policy 
of continuous improvement determines the right to make modifications without prior warning.

Summary of Contents for FCR-TPMS

Page 1: ...ct This manual has been compiled by Draper Tools describing the purpose for which the product has been designed and contains all the necessary information to ensure its correct and safe use By following all the general safety instructions contained in this manual it will ensure both product and operator safety together with longer life of the product itself AlI photographs and drawings in this man...

Page 2: ... UK 1 3 UNDERSTANDING THIS MANUALS SAFETY CONTENT WAR N I N G Information that draws attention to the risk of injury or death CAUTIO N Information that draws attention to the risk of damage to the product or surroundings 1 4 COPYRIGHT NOTICE Copyright Draper Tools Limited Permission is granted to reproduce this publication for personal educational use only Commercial copying redistribution hiring ...

Page 3: ...ed out when the guarantee period is ninety days from the date of purchase The guarantee is extended to 24 months for parts only This guarantee does not apply to normal wear and tear nor does it cover any damage caused by misuse careless or unsafe handling alterations accidents or repairs attempted or made by any personnel other than the authorised Draper warranty repair agent Note If the tool is f...

Page 4: ...mportant Safety Instructions And always use your TPMS trigger tool as described in the user s manual and follow all safety messages Do not route the test cable in a manner that would interfere with driving controls Do not exceed voltage limits between inputs specified in this user s manual Always wear goggles to protect your eyes from propelled objects as well as hot RU caustic liquids Fuel oil va...

Page 5: ...esting with engine running Put the transmission in park for automatic transmission or neutral for manual transmission And never leave a running engine unattended Do not wear jewelry or loose fitting clothing when working on engine ...

Page 6: ... 3 1 POWER ON OFF THE TPMS TRIGGER TOOL 11 3 2 CHARGING THE TPMS TRIGGER TOOL 11 3 2 1 Charging via Wall Plug 11 3 2 2 Charging via Personal Computer with USB Cable 12 3 3 APPLICATION OVERVIEW 12 3 4 TOOL SYMBOLS AND ICONS 12 4 TPMS ACTIVATION 13 4 1 VEHICLE SELECTION 13 4 1 1 Activation in All Wheel Mode 14 4 1 2 Activation in One Wheel Mode 16 4 2 LATEST TEST 17 5 RKE RF MONITOR 18 6 TPM AUDIT R...

Page 7: ...NUAL 27 9 3 UPDATE TOOL SETTINGS 27 Note Draper Tools accepts no responsibility for any accident or injury arising from servicing the vehicles system When interpreting results from the vehicle always follow the manufacturer s recommendation for repair Page content Page ...

Page 8: ...ays Menu options include Languages Unit Beep Keypad Test LCD Test 1 2 2 Arrow Icon An arrow icon indicates a procedure Example To change menu language 1 Scroll with the arrow keys to highlight Language on the menu 2 Press the ENTER button to select 1 2 3 Note and Important Message Note A NOTE provides helpful information such as additional explanations tips and comments Example NOTE Test results d...

Page 9: ...er inflated tyres 75 of roadside flats are caused by a slow leak or under inflation 35 of drivers admit to never checking tyre pressure NHTSA estimates TPMS could save as many as 660 lives annually Source U S National Highway Traffic Safety Administration Data Tyres influence the vehicle s ability to handle steer brake and maintain stability If the tyres are under inflated vehicle safety is compro...

Page 10: ...ol and press and hold for 5 seconds for emergency reboots 7 HELP Key displays helpful information 8 BACK Key exits a screen and generally returns to previous screen 9 TF Card Port holds the TF memory card for data backup and software update 10 USB Port provides a USB connection between the service tool and PC or laptop IMPORTANT Do not use solvents such as alcohol to clean keypad or display Use a ...

Page 11: ...d on off by pressing the power switch To power on off the tool 1 Press the power switch to power on the tool and the unit will display the Main Menu 2 Hold the power switch for one 1 seconds and the release to power down the FCR TPMS and the Bye Bye message displays The tool powers down automatically after a period of inactivity Please refer to 7 3 Configure Auto Power off Interval for details 3 2...

Page 12: ...emote Keyless Entry key FOB Settings leads to screens for adjusting default settings to meet your own preference Tool Information leads to screen of information about your trigger tool Latest Test leads to screens for access the last tested sensor data Figure 3 1 Sample Home Screen 3 4 Tool Symbols and Icons This section provides a brief introduction of symbols and icons of tool display No Indicat...

Page 13: ... are provided Vehicle Selection Latest Test It typically tests a vehicle by the following two methods All wheel mode One wheel mode You may get access to vehicle mode selection by Settings Wheels to Test All wheels One wheel Please refer to the figures here below for details Figure 4 1 Sample Mode Selection Screen Figure 4 2 Sample All Wheel One Wheel Selection Screen 4 1 Vehicle Selection Vehicle...

Page 14: ... test is started It is very convenient for workshops to trigger TPM sensors of the same vehicle 4 1 1 Activation in All Wheel Mode The all wheel mode provides a vehicle icon on the screen to give user prompts for each wheel In this mode each TPM has wheel locations of LF Left Front RF Right Front RR Right Rear LR Left Rear and spare if the car has a spare tyre 1 In all wheel mode the solid spot fl...

Page 15: ...tool alongside the stem Table 4 1 2 Press Test to test the TPM If test passes TPM data is briefly displayed for 3 seconds and then the solid spot on the vehicle icon moves around to prompt that the next wheel should be tested Or manually move around vehicle using UP DOWN arrow keys Figure 4 5 Sample All Wheel Test Data Screen 3 TPM data is stored and can be accessed by selecting a wheel location a...

Page 16: ...2 Activation in One Wheel Mode This section illustrates how to test TPM sensor in one wheel mode In this mode TPM data is displayed and stored immediately 1 In one wheel mode the screen displays as below when the TPM sensor is selected Figure 4 6 Sample One Wheel Test Screen 2 Refer to Table 4 1 in page 12 to correctly place the trigger tool and press the Test key 3 The tool moves to next wheel to...

Page 17: ...nits will display at the title bar according to the device s system setting please refer to 2 7 Settings for detailed guidance 4 2 Latest Test Latest Test leads to screens for activating the sensor by using the same wave signal of the latest trigger event The tool remembers the latest tested vehicle and makes it much easier to trigger sensors of the same vehicle To test the TPM sensors 1 Scroll wi...

Page 18: ... page 15 and 17 to complete the test 3 If previous recording not to be cleared press NO to review the record on screen 5 RKE RF Monitor This section illustrates how to check RF Remote Keyless Entry key FOB with the trigger tool The FCR TPMS tests 315MHz and 433MHz key fobs only and checks only for a signal present To test the check RF Remote Keyless Entry 1 Scroll with the UP DOWN arrow keys to hi...

Page 19: ...ps up and double click a file to view details The data presented displays not only information regarding the TPM s but also automatically updates with the date It provides data entry typing areas for other tester and vehicle data Figure 6 1 Sample HTML Audit Report Screen 3 Remove the USB lead to exit audit mode 7 System Setup This section illustrates how to program the TPMS trigger tool to meet y...

Page 20: ...7 1 Sample Language Setup Screen 2 Press the UP DOWN arrow key select a language and press the YES key to confirm and return Figure 7 2 Sample Language Selection Screen 7 2 Configure Beeper Selecting Beep Set opens a dialog box that allows you to turn on off the beeper To turn on off the beeper 1 Scroll with the UP DOWN arrow keys to highlight Beep Set from Setup menu and press the YES key Figure ...

Page 21: ...o change auto power off interval 1 Use the UP DOWN arrow key to select Auto Power Off from Setup screen and press the YES key to confirm Figure 7 5 Sample Auto Power off Setup Screen 2 Use the UP DOWN key to increase or decrease time and press the YES key to save and return Figure 7 6 Sample Auto Power off Interval Screen 7 4 Adjust Display Contrast Selecting Contrast opens a dialog box that allow...

Page 22: ...1 Scroll with the UP DOWN arrow key to highlight Backlight Set from Setup menu and press the YES key Figure 7 9 Sample Backlight Setup Screen 2 Press the UP DOWN arrow key select an item and press the YES key to save and return Figure 7 10 Sample Backlight On Off Selection Screen 7 6 Configure ID Format Selecting ID format opens a dialog box that allows you to set ID data to be displayed in hexade...

Page 23: ...I or bar To configure pressure unit 1 Scroll with the UP DOWN arrow keys to highlight Pressure Unit from Setup menu and press the YES key Figure 7 13 Sample Pressure Unit Setup Screen 2 Press the UP DOWN arrow key select an item and press the YES key to save and return Figure 7 14 Sample Pressure Unit Selection Screen 7 8 Configure Temperature Unit Selecting Temperature Unit opens a screen that al...

Page 24: ...hat allows you to select one wheel or all wheels to test To configure wheels to test 1 Scroll with the UP DOWN arrow keys to highlight Wheels to Test from Setup menu and press the YES key Figure 7 17 Sample Wheel Test Mode Setup Screen 2 Press the UP DOWN arrow key select an item and press the YES key to save and return Figure 7 18 Sample Wheel Test Mode Selection Screen 8 Tool Information Selecti...

Page 25: ...N arrow keys to highlight Tool Information of the main menu and press the YES key Figure 8 1 Sample Main Manu 2 A screen with detailed information of the TPMS trigger tool displays Figure 8 2 Sample Tool Information Screen 3 Press any key to exit and return to the Setup menu ...

Page 26: ......

Reviews: