3. Enable the WebServer.
4. Use the
Webserver automatic timeout (min)
setting, to choose how many minutes an
inactive user can remain logged into the controller before they are automatically logged off.
5. Make a note of the controller's IP address and Subnet mask.
Default IP Address:
192.168.1.1
Default Subnet Mask:
255.255.255.0
6. On the PC, click
Start
and select
Control Panel
.
7. Select
Network and Internet
.
8. Select
Network and Sharing Centre
.
9. Select
Change adapter settings
.
10. Right-click on
Local Area Connection
and select
Properties
.
11. Select
Internet protocol Version 4 (TCP/IPv4)
and click
Properties
.
12. Select
Use the following IP address
.
13. Enter an IP address value that is in a similar range as the controller's IP address. For
example, if the controller's IP address is 192.168.1.1, enter the IP address 192.168.1.5.
14. Change the
Subnet mask
value to match the controller's Subnet mask.
15. Click
OK
when finished.
16. Open a web browser on the PC.
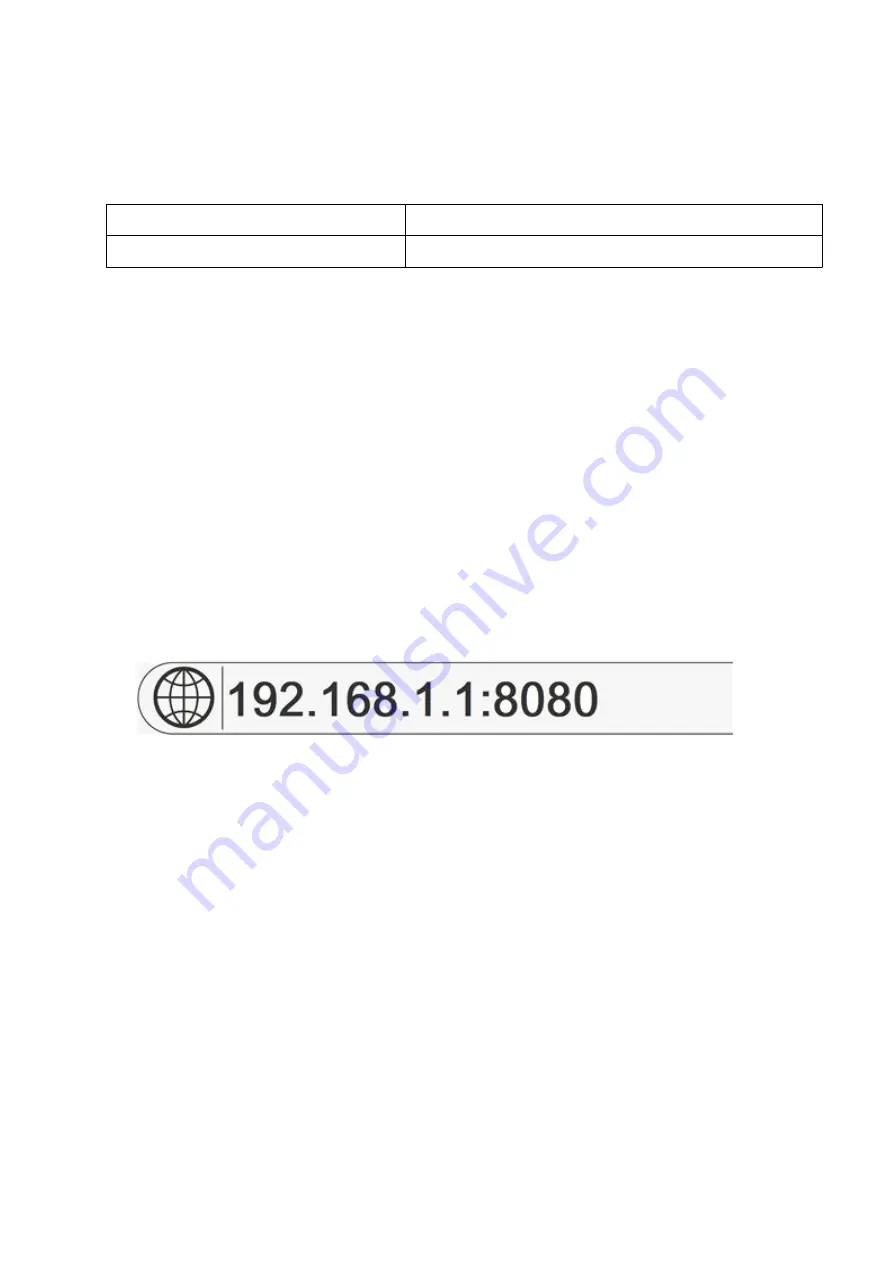
17. Enter the controller's IP address into the address bar of the web browser followed by the
port number
"8080"
as illustrated below.
18. Select
Connect
.
End of procedure.
Wi-Fi
To connect the controller to a network using Wi-Fi, the customer must supply their own Wi-Fi
adapter.
The supported Wi-Fi adapters are listed below. Other Wi-Fi adapters will not work:
•
LM Technologies LM817 (Wireless Band 2.4 GHz only)
•
LM Technologies LM842 (Wireless Bands 5 GHz and 2.4 GHz)
•
LM Technologies LM808 (Wireless Bands 5GHz and 2.4 GHz)
To connect the controller to a network using Wi-Fi:
1. Connect a USB Wi-Fi adapter to one of the controller's USB sockets.
2. Select
Home > Setup > Printer network > Wi-Fi
.
3. Select the country drop down setting and choose your country.
INSTALLATION
89
EPT053091 - Issue 5 - 07 May 2021
Summary of Contents for Gx-OEM
Page 1: ...Gx Series Product Manual Gx150i Gx350i Gx OEM ...
Page 63: ...3 Install the faceplate End of procedure INSTALLATION EPT053091 Issue 5 07 May 2021 58 ...
Page 65: ...3 Install the faceplate End of procedure INSTALLATION EPT053091 Issue 5 07 May 2021 60 ...
Page 122: ...The illustration below shows the Setup screen OPERATION 117 EPT053091 Issue 5 07 May 2021 ...
Page 197: ...EPT053091 Issue 5 07 May 2021 192 ...


