14
EN
Operation
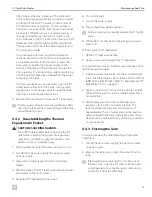
4.8 Installing The Access Door
q
q
w
w
15
Sliding the Access Door onto the Left Hinge Bracket
q
Left Hinge Bracket
w
Access Door
1. Slide the access door onto the left hinge bracket.
w
e
q
16
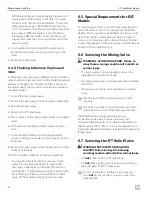
Attaching the Right Hinge Bracket
q
Right Hinge Bracket
e
#8 3/4 in. Round Head
Screws (qty. 2)
w
Access Door
2. Slide the right hinge bracket into the access door,
and place against the right corner bracket. Secure the
right hinge bracket using two #8 3/4 in. screws.
3. Seal both corners with caulk.
4.9 Performing Leak Testing
WARNING: FIRE AND/OR EXPLOSION
HAZARD.
Do
not
use matches, candles, or other sources
of control when checking for gas leaks. Failure to
obey this warning could result in death or serious
injury.
I
Isolate the Water Heater from the gas supply piping
system before performing any pressure test equal to
or greater than 0.5 PSI (34 mbar).
1. Turn on the gas and check the Water Heater and all
of the connections for gas leaks using leak detection
solution.
2. Fill the water heater tank with water.
3. Check the tank and all water hose connections for leaks.
5 Operation
WARNING: BURN HAZARD, FIRE,
EXPLOSION, AND/OR CARBON MONOXIDE
HAZARD.
Keep the water heater area clear of combustible
cleaning materials, gasoline, and other flammable
vapors and liquids. Failure to obey this warning
could result in death or serious injury.
WARNING: FIRE AND/OR EXPLOSION
HAZARD. Failure to obey this warning could
result in death or serious injury:
• Do
not
store or use gasoline or other flammable
vapors and liquids in the vicinity of this or any other
appliance.
• Should overheating occur, or the gas supply fail to
shut off, turn the operating switch to the OFF position
and remove the red wire from the left hand terminal of
the E.C.O. switch or turn the gas off at the L.P. tank.
• Use with L.P. gas only.
• Shut off gas appliances and pilot lights when
refueling.
• Turn gas off at the L.P. tank when the vehicle is in
motion. This disables all gas appliances and pilot
lights.


