21
EN
Service Procedures
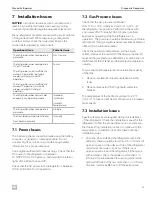
8.16 Replacing a Switch
q
w
e
15
Removing a Switch
q
Screw
e
AC Switch
w
DC Switch
1. Disconnect the unit from all power sources (120 VAC
and 12 VDC).
2. Remove the screws securing the switch panel to the
back of the refrigerator.
3. Pull the switch panel out of position.
4. Remove the wiring from the back of the AC or DC
switch, whichever you are replacing.
5. From the bottom of the panel, push the switch until
it pops out.
6. Perform these steps in reverse with the new switch to
complete the replacement.
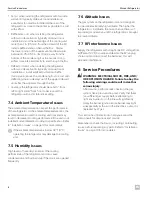
8.17 Replacing the Thermocouple
w
q
e
16
Removing the Thermocouple
q
Thermocouple
e
Screw
w
Gas Valve
1. Perform the steps in “Replacing the Burner
Assembly” on page 15 to release the
thermocouple from the clip.
2. Remove the screws securing the switch panel to the
back of the refrigerator.
3. Slide the switch panel out of position to gain access
behind panel.
4. Loosen the nut securing the thermocouple wiring
below the gas valve.
5. Remove the screw securing the thermocouple to the
bottom of the gas valve.
6. Remove the defective thermocouple.
7. Perform these steps in reverse with a new
thermocouple to complete the replacement.
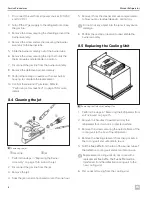
8.18 Replacing the Thermostat
q
w
e
17
Removing the Thermostat
q
Screw
e
Thermostat
w
Knob
1. Disconnect the unit from all power sources (120 VAC
and 12 VDC).
2. Remove the knob from the thermostat.
3. Remove the screws securing the switch panel to the
back of the refrigerator.
4. Slide the switch panel out of position to gain access
behind panel.


