


1
DISPLAYS2GO
User Manual
V20.08
Model:
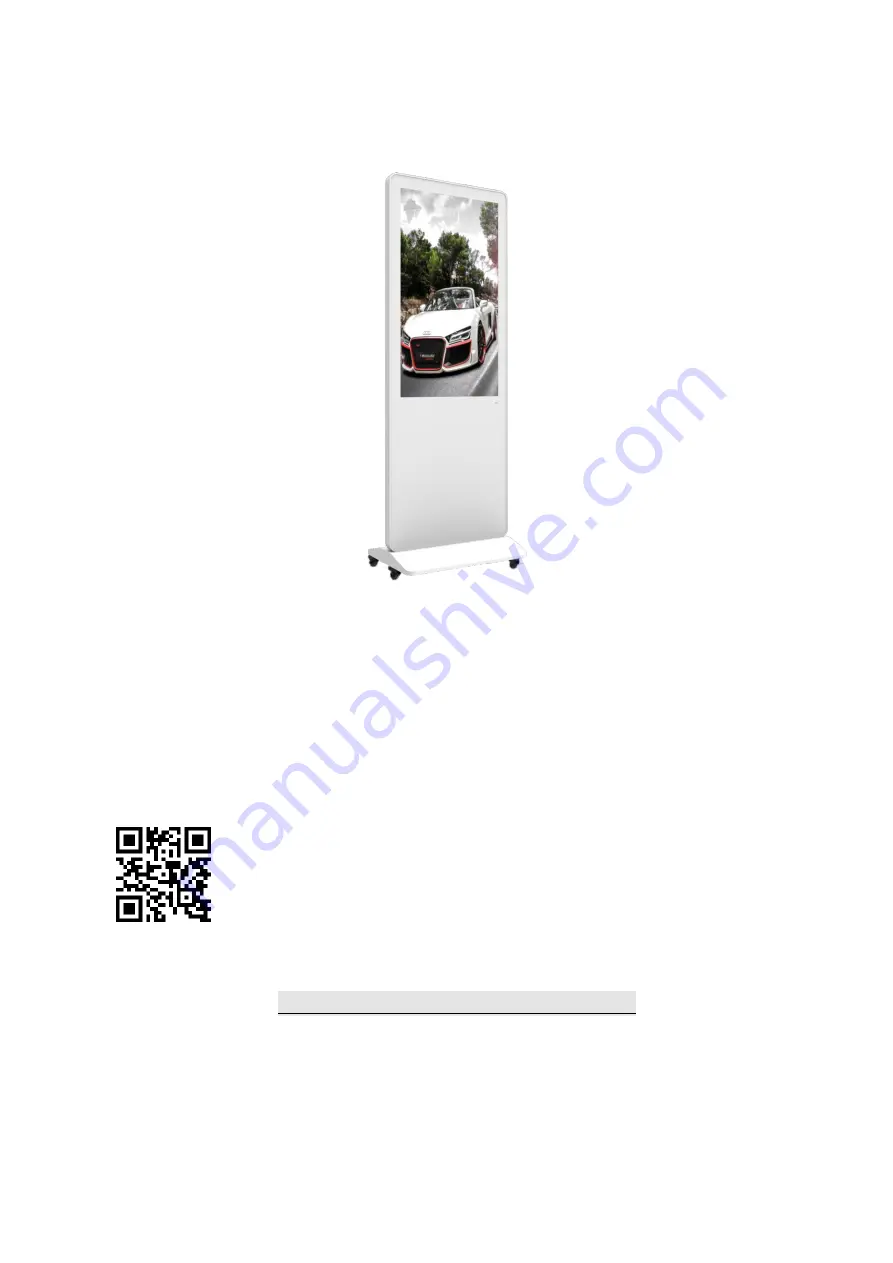
DGSNFSTCH55WH
Description:
55” Indoor Floor Standing Digital Signage
Scan QR code to visit
the product page:
Operating Instructions for Digital Signage
Note: Before using the product, please read the instructions carefully!
Do not attempt to disassemble this product. If the product does not work properly, please call
our Customer Service Department at 1
-
844
-
221
-
3393.
Summary of Contents for DGSNFSTCH55WH
Page 18: ...18 DISPLAYS2GO Fig 4 Fig 5...


