DG-CS4616F
GIGA LAYER 3 SWITCH
Installation Guide
V1.0
2018-01-30
As our products undergo continuous development the specifications are subject to change without prior notice
Page 1: ...DG CS4616F GIGA LAYER 3 SWITCH Installation Guide V1 0 2018 01 30 As our products undergo continuous development the specifications are subject to change without prior notice...
Page 2: ...ardware Installation 1 2 1 Installation Notice 1 2 1 1 Environmental Requirements 1 2 1 2 Installation Notice 4 2 1 3 Security Warnings 5 2 2 Installation Preparation 6 2 2 1 Verify the Package Conten...
Page 3: ...e of campus networks enterprise networks and IP metropolitan networks DG CS4616F is also used in the Internet bar as the full 10Gb convergence device 1 2 Physical Specifications Management Port 1 RJ 4...
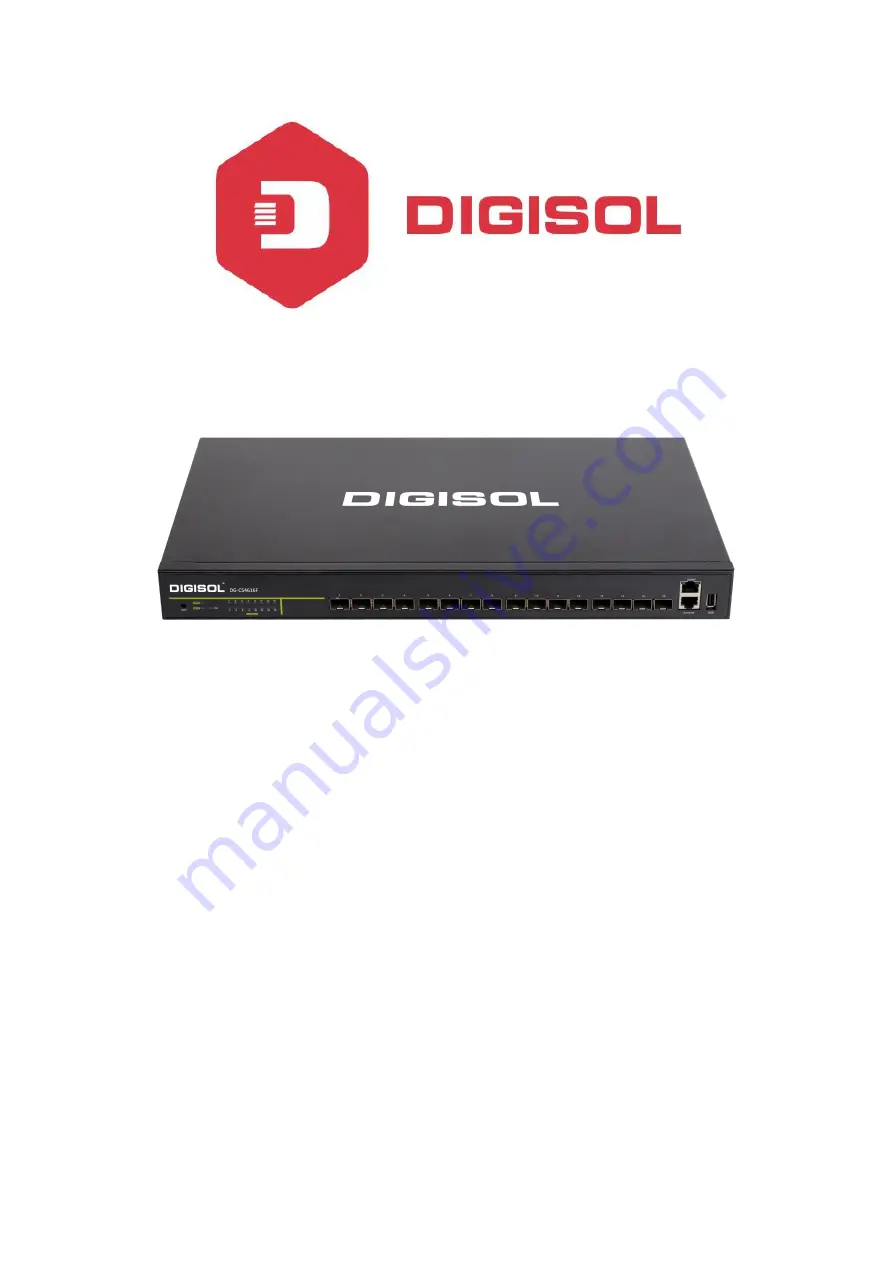
Page 4: ...USB interface and 19 LEDs The front panel of DG CS4616F is shown below Fig 1 2 Front Panel of DG CS4616F 1 3 2 Back Panel The back panel of DG CS4616F is shown below there is a fan 1 220V AC power so...
Page 5: ...send data Off ports are not in link 1 3 3 2 System Status Indication Description Fig 1 5 DG CS4616F diagram Table 1 2 system indication description Panel Symbol Status Description PWR On Green The in...
Page 6: ...SMF 10km or MMF 550m SFP LX 20 L transceiver 1310nm light waves 9 125um single mode fiber 20km SFP LX 40 transceiver 9 125um single mode fiber 40km SFP LH 70 L transceiver 9 125um single mode fiber 70...
Page 7: ...DC power 48 60VDC 2 5A The switch must be well grounded in order to avoid ESD damage and physical injury of people The switch should avoid the sunlight perpendicular incidence Keep the switch away fr...
Page 8: ...egradation or even electric leakage degradation of mechanical properties and corrosion of internal components Extreme low relative humidity may cause the insulation spacer to contract making the faste...
Page 9: ...powering on the power supply please check the power input to ensure proper grounding of the power supply system The input source for the switch should be reliable and secure a voltage adaptor can be u...
Page 10: ...he rack will generate heat during operation therefore vent and fans must be provided for an enclosed rack and devices should not be stacked closely When mounting devices in an open rack care should be...
Page 11: ...e overload and leakage protection Inspect and maintain the site and the switch regularly Have the emergence power switch on the site In case of emergence switch off the power immediately Class A ITE i...
Page 12: ...tact your dealer as soon as possible 2 2 2 Required Tools and Utilities The required tools and utilities are shown below Cross screwdrivers Flat blade screwdriver ESD wrist strap Antistatic uniform Ca...
Page 13: ...tch for good air circulation Fig 2 2 Fasten the Switch to the Rack Caution The brackets are used to fix the switch on the rack They can t serve as a bearing Please place a rack shelf under the switch...
Page 14: ...he guide rail inside the fiber interface line card Do not put the SFP SFP transceiver up side down Step 3 Push the SFP SFP transceiver along the guide rail gently until you feel the transceiver snap i...
Page 15: ...e connected to TX port of other device Step 3 Check the fiber port status indicator a light LED indicates that the link has been established otherwise the link is not ready and should be examined Caut...
Page 16: ...on The input voltage must be within the required range otherwise the switch can be damaged or malfunction Do not open the switch shell without permission It can cause physical injury 2 3 6 Ground Cabl...
Page 17: ...to the off position Step 2 Use the screwdriver to turn the screws on the earth ground screw point Step 3 Strip one end of the ground wire to the ground hole of system Step 4 Connect the other end of t...