25
Using the Main Menu
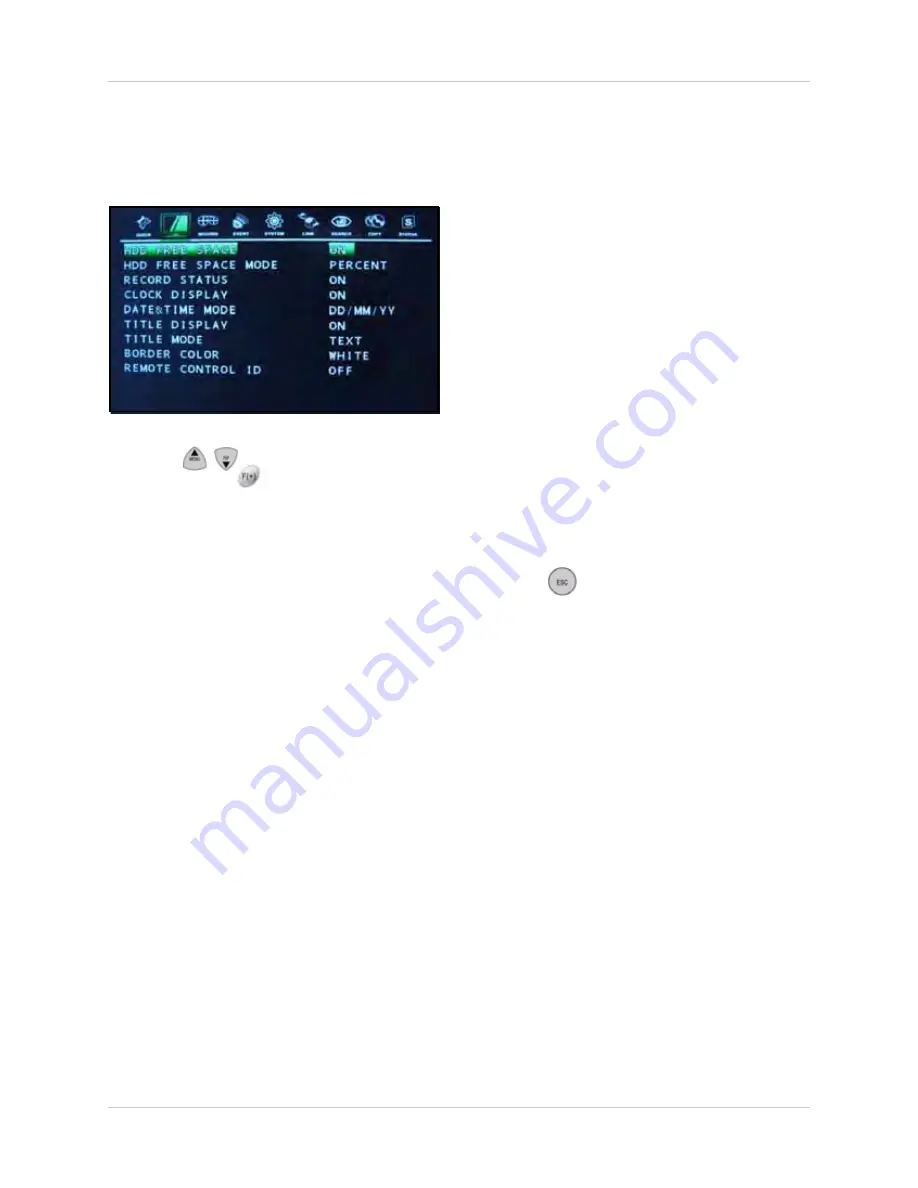
DISPLAY
Edit the various elements of the on-screen
display.
Press the
buttons to select a menu
option. Press the
buttons to change the
value of the selected option.
•
HDD FREE SPACE
: Select
ON
/
OFF
to
display the remaining capacity of the
internal hard drive.
•
HDD FREE SPACE MODE
: Select the
display format for the remaining hard drive
space as
PERCENT
or
GIGABYTE
.
•
RECORD STATUS
: Select
ON
/
OFF
to
display the recording status for each
channel.
•
CLOCK DISPLAY
: Select
ON
/
OFF
(by
default, ON) to display the date and time
on screen.
•
DATE&TIME MODE
: Select the format for
the date and time display.
YY/MM/DD
: Date and time is displayed
with digits (e.g. 2005/10/02 00:00:00).
MM/DD/YY
: Months are displayed with
characters (e.g. OCT/02/2005 00:00:00).
DD/MM/YY
: Days are displayed with
characters (e.g. 02/OCT/2005 00:00:00).
•
TITLE DISPLAY
: Select
ON
/
OFF
to
display the channel title.
•
TITLE MODE
: Select
TEXT
/
BITMAP
(by
default, TEXT). You can create bitmap text
to use in place of the default titles using
DigiClient Remote Client Software.
Please
refer to the DigiClient Software Manual for
more details.
NOTE:
Only one bitmap per channel can be
saved on the system.
•
BORDER COLOR
: Select
WHITE
/
BLACK
as the border color for each
channel while in a split-screen display
view.
•
REMOTE CONTROL ID
: Select
ON
/
OFF
to display or hide the remote control ID in
use with the system. By default, this option
is set to OFF.
Press the
button on the remote control
until you see the Save/Exit screen. Select
SAVE ONLY
or
SAVE AND EXIT
to save your
settings.
Figure 9.2 Display menu


