Pro Tools Reference Guide
320
To record online using TrackPunch switching:
1
Choose Setup > Peripherals. Make sure the
Digidesign SYNC peripheral is the selected syn-
chronization peripheral, and that it is commu-
nicating with Pro Tools.
2
Choose Setup > Session, and do the following:
• Select a Clock and Positional reference.
• If you want Pro Tools to be the time code
master, enable Using SYNC. This option is
located in the Generator controls in the
Time Code Settings section of the Session
Setup window.
3
If you are controlling Pro Tools using 9-pin
protocol, do the following:
• Click the Machine Control tab to display
the Machine Control page of the Peripher-
als dialog (Setup > Peripherals).
• Configure Remote 9-pin Deck Emulation
mode settings (see the
MachineControl
Guide
for details).
• Click OK to close the Peripherals dialog.
Enabling TrackPunch Mode
Before you can enable individual audio tracks
for TrackPunch recording, TrackPunch mode
must be enabled in the Pro Tools transport.
To enable TrackPunch mode:
1
Make sure Pro Tools is not recording or play-
ing back (the Transport is stopped).
2
Do one of the following:
• Select Options > TrackPunch.
• Right-click the Record button in the Trans-
port, and select TrackPunch from the pop-
up menu.
• Start-click (Windows) or Control-click
(Mac) the Record button in the Transport
to cycle through available Record modes
until TrackPunch mode is selected (a “T”
indicates TrackPunch mode).
• Press Shift+T (Windows) or Com-
mand+Shift+T (Mac).
Transport Display of TrackPunch
Status
Transport Record Button
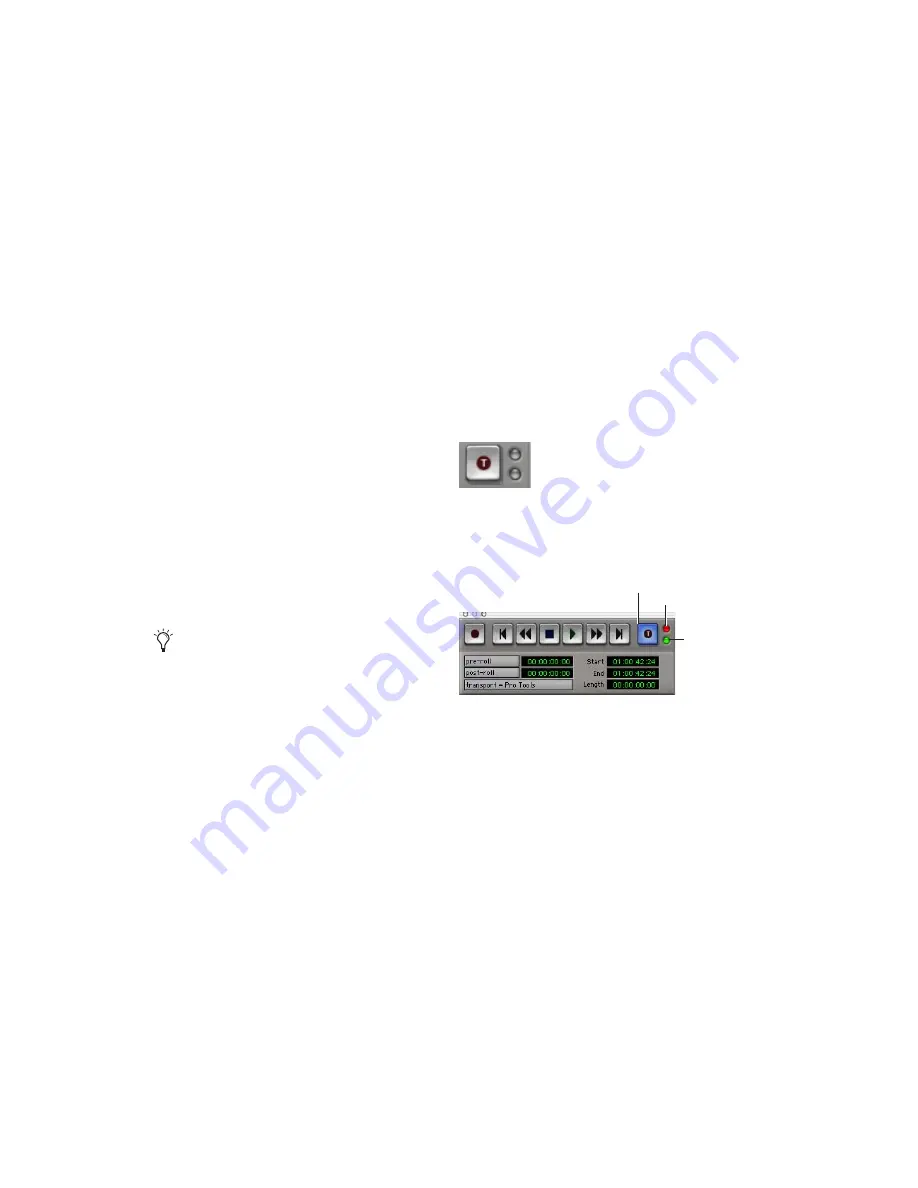
The Transport Record button indicates Track-
Punch and Record status as follows:
When TrackPunch mode is enabled:
◆
A “T” appears in the Record button in the
Transport.
◆
If at least one track is TrackPunch-enabled,
the Record button lights solid blue.
Consult the manufacturer of your controller
for the most recent machine profiles and up-
dates available for Pro Tools support.
Transport Record with TrackPunch mode enabled
TrackPunch and TrackInput Status indicators in the
Transport window
Input Status
indicator
TrackPunch enabled
Record Enable
Status indicator
Summary of Contents for Pro Tools
Page 1: ...Pro Tools Reference Guide Version 7 3 ...
Page 15: ...1 Part I Introduction ...
Page 16: ...2 ...
Page 33: ...19 Part II System Configuration ...
Page 34: ...20 ...
Page 44: ...Pro Tools Reference Guide 30 ...
Page 94: ...Pro Tools Reference Guide 80 ...
Page 95: ...81 Part III Sessions Tracks ...
Page 96: ...82 ...
Page 108: ...Pro Tools Reference Guide 94 ...
Page 130: ...Pro Tools Reference Guide 116 ...
Page 269: ...255 Part IV Recording ...
Page 270: ...256 ...
Page 310: ...Pro Tools Reference Guide 296 ...
Page 345: ...331 Part V Editing ...
Page 346: ...332 ...
Page 402: ...Pro Tools Reference Guide 388 ...
Page 496: ...Pro Tools Reference Guide 482 ...
Page 548: ...Pro Tools Reference Guide 534 ...
Page 571: ...557 Part VI MIDI Editing ...
Page 572: ...558 ...
Page 596: ...Pro Tools Reference Guide 582 ...
Page 637: ...623 Part VII Mixing ...
Page 638: ...624 ...
Page 702: ...Pro Tools Reference Guide 688 ...
Page 771: ...757 Part VIII Video Sync Surround ...
Page 772: ...758 ...
Page 792: ...Pro Tools Reference Guide 778 ...
Page 806: ...Pro Tools Reference Guide 792 ...
Page 856: ...Pro Tools Reference Guide 842 ...


