


Chapter 8: Working with Pro Tools LE
87
To punch in when recording MIDI:
1
Set your MIDI input routing and click the
Record button on each MIDI track you want to
punch in. QuickPunch is not required to punch
in on MIDI tracks.
2
Click Play in the Transport window.
3
Click Record in the Transport window or step
on the footswitch to begin recording (punch in)
on all record-enabled tracks.
4
Click Record in the Transport window or step
on the footswitch again to stop recording
(punch out).
Editing
Pro Tools LE provides several tools for editing
audio and MIDI. In the Edit window, audio and
MIDI tracks can be edited into regions or re-
peated in different locations, to create loops, re-
arrange sections or entire songs, or to assemble
tracks using material from multiple takes.
Audio and MIDI editing are typically used to:
• Fix or replace mistakes
• Re-arrange songs and projects
• Clean up track timing and rhythm by aligning
hits to Grid values like bars and beats
• Create final tracks using selections from mul-
tiple takes (also known as
comp tracks
).
Edit Modes
Pro Tools LE has four Edit modes: Shuffle, Spot,
Slip, and Grid. The Edit mode is selected by
clicking the corresponding button in the upper
left of the Edit window.
The Edit mode affects the movement and place-
ment of audio and MIDI regions (and individual
MIDI notes), how commands like Copy and
Paste function, and also how the various edit
tools (Trimmer, Selector, Grabber, and Pencil)
work.
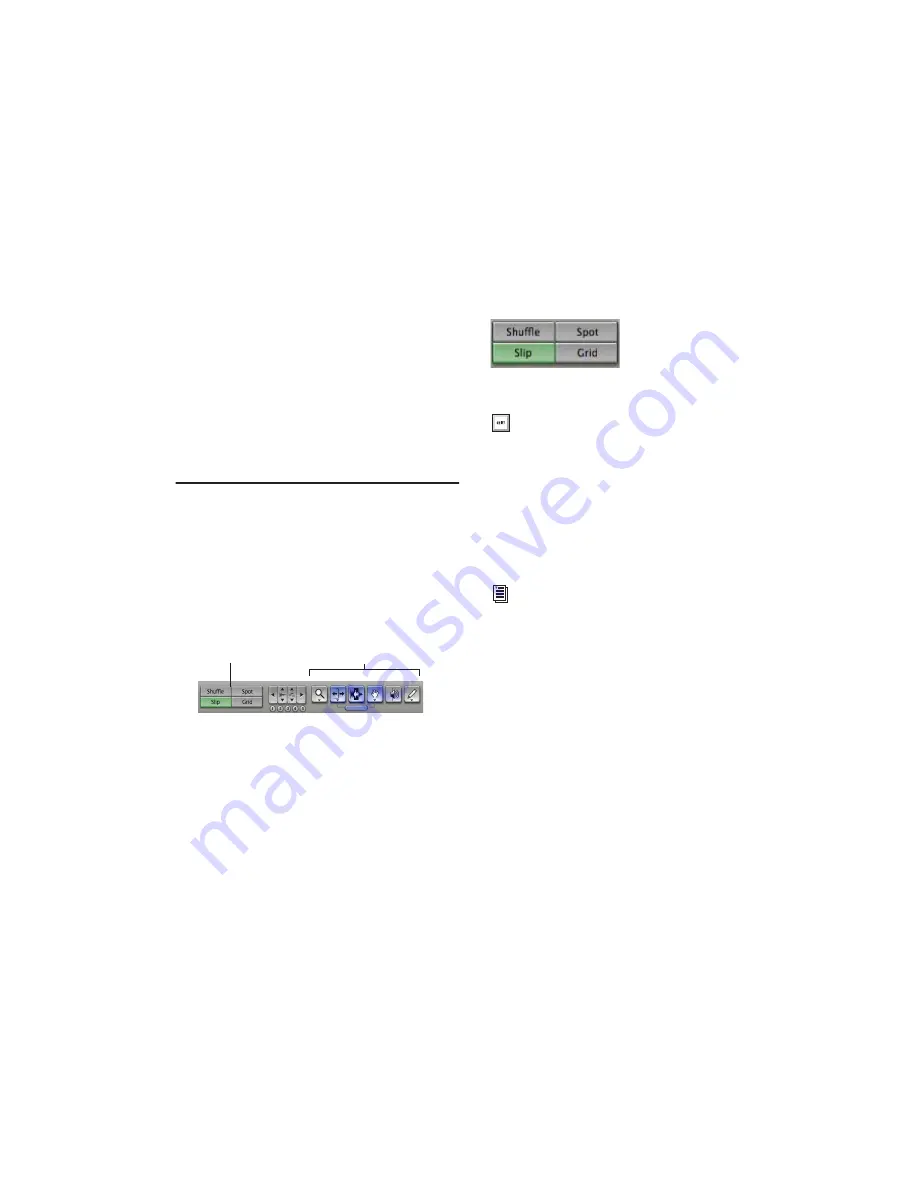
Edit modes and tools (Slip mode, Smart Tool enabled)
Edit Modes
Edit Tools
Edit mode buttons
Press F1 (Shuffle), F2 (Slip), F3 (Spot), and
F4 (Grid) to set the Edit mode.
For detailed descriptions of Edit modes, re-
fer to the Pro Tools Reference Guide.
Summary of Contents for Digi 002
Page 28: ...Getting Started with Digi 002 Digi 002 Rack 20 ...
Page 54: ...Getting Started with Digi 002 Digi 002 Rack 46 ...
Page 58: ...Getting Started with Digi 002 Digi 002 Rack 50 ...
Page 76: ...Getting Started with Digi 002 Digi 002 Rack 68 ...
Page 124: ...Getting Started with Digi 002 Digi 002 Rack 116 ...
Page 128: ...Getting Started with Digi 002 Digi 002 Rack 120 ...
Page 136: ...Getting Started with Digi 002 Digi 002 Rack 128 ...
Page 148: ...Getting Started with Digi 002 Digi 002 Rack 140 ...


