Chapter 7: Overview and Basics
49
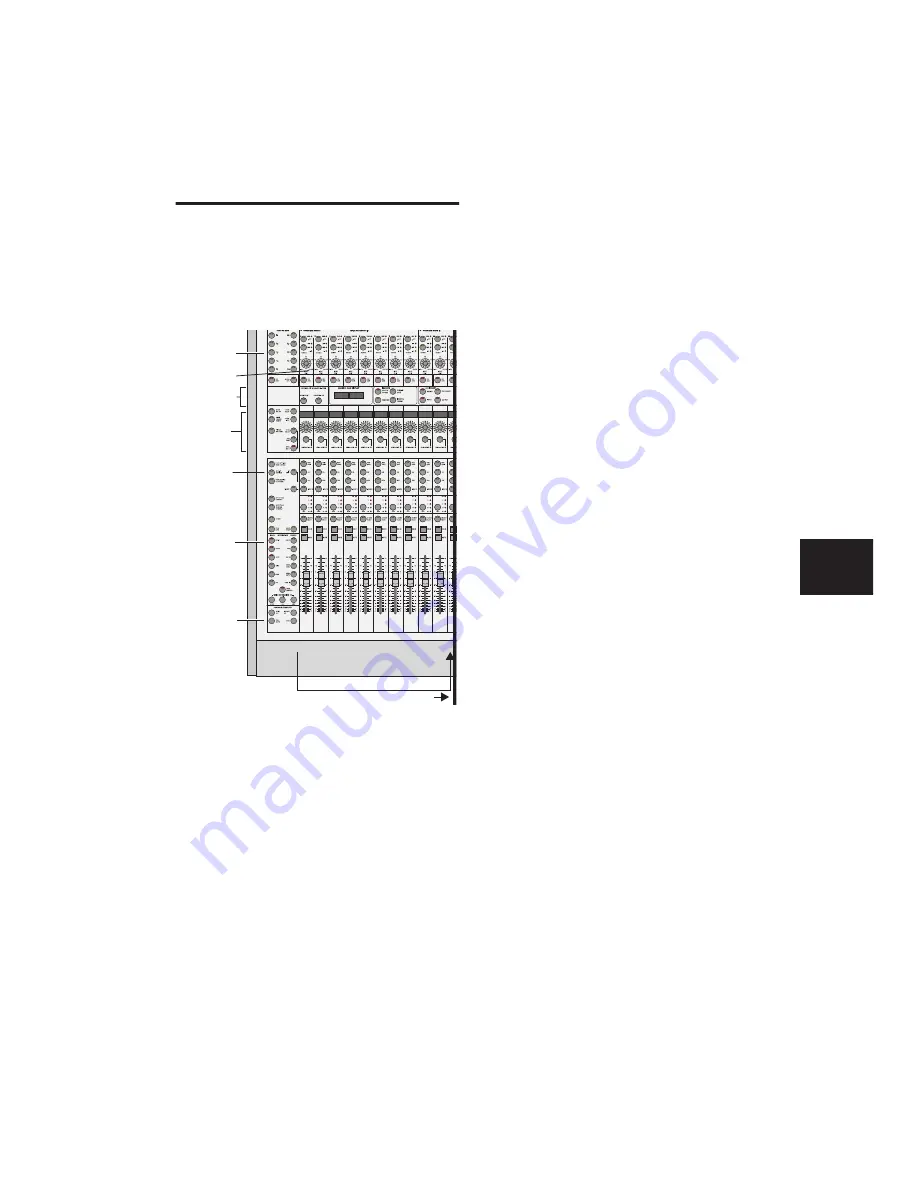
Fader Section Overview
The Fader section consists of the 24 Fader strips,
as well as other channel displays and controls.
(For details on the Fader strips, see Chapter 9,
“Working with Tracks.”)
Keyboard Shortcuts Section
In the lower left of the Control|24, there are four
switches, labeled SHIFT/ADD,
(CTRL),
CTL/CLUTCH and OPT(ALT)/ALL. These
switches provide the standard Windows and
Mac modifier keys for modifying actions and se-
lections.
Automation Section
The controls in the Automation section let you
enable Automation modes, select channel Auto-
mation type, write, and suspend automation.
When the Demo Session starts, the correspond-
ing LED is lit on each channel (in this case, the
RD light indicates that the channel is in Read
mode), and you will see some of the faders move
as they read the song’s automation information.
For more details about Automation Modes, see
Chapter 14, “Automation.”
Channel Settings
Control|24 provides dedicated switches to man-
age and apply settings, solo safe channels, and
clear all solos.
APPLY TO ALL and APPLY TO ALL SELECTED
Throughout this guide, instructions refer to the
ability to apply a task to all channels, or all se-
lected channels directly from Control|24.
APPLY TO ALL CHANNELS
Applies a given func-
tion (such as the instantiation of an insert) to all
channels in the session.
APPLY TO ALL SELECTED CHANNELS
Applies a
given function to all selected channels in the
session.
EQ, DYN, and INSERT
Each channel has dedicated switches labeled EQ
and DYN, that give you access to any available
equalization and dynamics processing plug-in
effects assigned in the current session. The IN-
SERTS switch accesses
all
of your TDM and RTAS
Plug-Ins.
Fader section
Shortcuts
Automation
Channel Bar
Mic Preamps
Fader strips, channels 1–24...
Channel
settings
Scribble Strips
and Rotary
Encoders
Function keys
Summary of Contents for Control 24
Page 1: ...Control 24 ...
Page 4: ......
Page 11: ...1 Part I Introduction ...
Page 12: ...2 ...
Page 20: ...Control 24 Guide 10 ...
Page 21: ...11 Part II Analog Connections ...
Page 22: ...12 ...
Page 42: ...Control 24 Guide 32 ...
Page 43: ...33 Part III Control 24 Basics ...
Page 44: ...34 ...
Page 62: ...Control 24 Guide 52 ...
Page 82: ...Control 24 Guide 72 ...
Page 94: ...Control 24 Guide 84 ...
Page 95: ...85 Part IV Applications ...
Page 96: ...86 ...
Page 110: ...Control 24 Guide 100 ...
Page 136: ...Control 24 Guide 126 ...
Page 140: ...Control 24 Guide 130 ...
Page 152: ...Control 24 Guide 142 ...


