Chapter 11: Recording
95
TrackPunch Recording
TrackPunch lets you instantaneously
punch in
(start recording) and
punch out
(stop recording)
on individual audio tracks during playback. You
can punch in on a TrackPunch-enabled track at
any time during playback by record enabling
the track.
Enabling TrackPunch Mode
Before you can enable individual audio tracks
for TrackPunch recording, TrackPunch mode
must be enabled in the Pro Tools transport.
To enable TrackPunch mode from Control|24:
1
Make sure Pro Tools is not recording or play-
ing back (the Transport is stopped).
2
Hold the CTRL/CLUTCH switch and repeat-
edly press the Transport Record switch to toggle
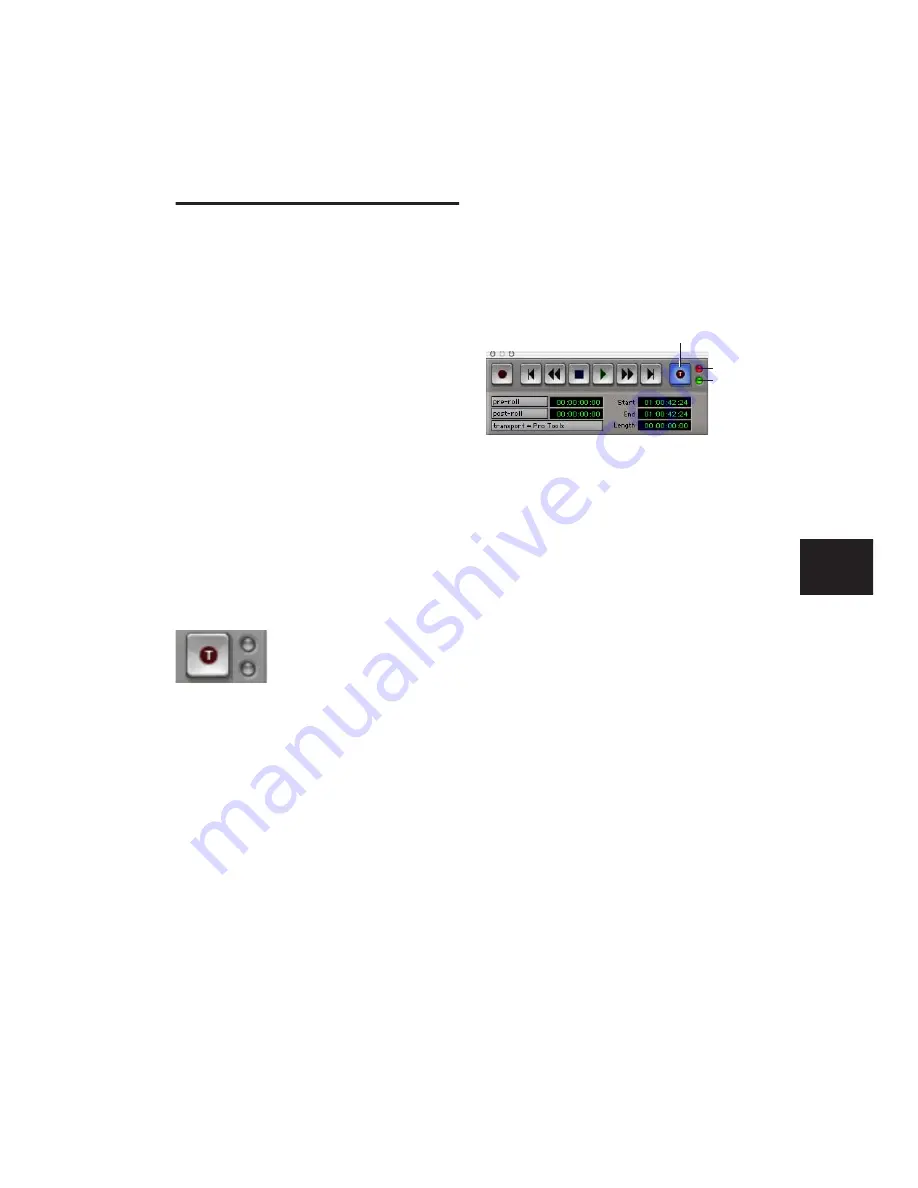
the on-screen Transport Record button to show
a “T” to indicate TrackPunch mode.
TrackPunch Mode Indicators
Control|24 does not have a TrackPunch indica-
tor. The on-screen Transport window has sev-
eral indicators that show TrackPunch status.
When TrackPunch mode is enabled:
◆
A “T” appears in the on-screen Transport
Record button.
◆
If at least one track is TrackPunch-enabled,
the on-screen Transport Record button lights
solid blue.
When TrackPunch mode is enabled and the
transport is armed for recording:
◆
If no tracks are TrackPunch-enabled, the on-
screen Transport Record button flashes gray and
red.
◆
If at least one track is TrackPunch-enabled,
the on-screen Transport Record button flashes
blue and red.
◆
If at least one TrackPunch-enabled track is
also record enabled, the on-screen Transport
Record button flashes blue and red, and the
record LED lights.
◆
Whenever at least one audio track is record-
ing, the on-screen Transport Record button
lights solid red.
Enabling Tracks for TrackPunch
Recording
In TrackPunch mode, before you can punch in
on a track during playback, it must be Track-
Punch enabled while the transport is stopped.
Transport Record button showing TrackPunch mode
TrackPunch indicators in the Transport window
Record LED
Input Status
LED
TrackPunch Enabled
Summary of Contents for Control 24
Page 1: ...Control 24 ...
Page 4: ......
Page 11: ...1 Part I Introduction ...
Page 12: ...2 ...
Page 20: ...Control 24 Guide 10 ...
Page 21: ...11 Part II Analog Connections ...
Page 22: ...12 ...
Page 42: ...Control 24 Guide 32 ...
Page 43: ...33 Part III Control 24 Basics ...
Page 44: ...34 ...
Page 62: ...Control 24 Guide 52 ...
Page 82: ...Control 24 Guide 72 ...
Page 94: ...Control 24 Guide 84 ...
Page 95: ...85 Part IV Applications ...
Page 96: ...86 ...
Page 110: ...Control 24 Guide 100 ...
Page 136: ...Control 24 Guide 126 ...
Page 140: ...Control 24 Guide 130 ...
Page 152: ...Control 24 Guide 142 ...


