


6 Edit exposures
6.1 Edit exposures in X-ray series
Dentsply Sirona
Operating Instructions Xios AE Sensor USB interface and sensors
64
67 29 433 D3780
D3780.201.01.01.02 09.2019
6
Edit exposures
6.1
Edit exposures in X-ray series
6.1.1
Swapping images
Swapping is a simple drag-and-drop action so you can move an image
to a different exposure window in the same series or to swap two
images in different exposure windows.
To swap images, please perform the following steps:
ü
There is at least one image in the series and one or more additional
exposure windows.
1.
In the Acquisition view, select an image to be swapped to a new
position by clicking on it.
2.
While holding the mouse button down, start moving the image to its
new exposure window.
Ä
As the image moves from its current position, the exposure
window outline changes to orange.
Ä
When the image reaches its new position, the exposure window
outline will change to blue, indicating that this exposure window
is selected as the new destination for the image.
3.
Release the mouse button to finish swapping.
Ä
If the destination exposure window contains an image, the two
images will swap positions. If the destination exposure window
is empty, the image will move to this new position
4.
Perform other actions in Acquisition view, if any, then click the
"Finish" button to continue to the "Light Box".
6.1.2
Rotating images 90°
Changing the orientation of the acquired image — a feature also
available in the
"Light Box" — is possible using the appropriate buttons
located below the
"Selected Image" window.
To change the image orientation, please perform the following steps:
ü
There is at least one image in the exposure series.
1.
Click on an image in the Acquisition view.
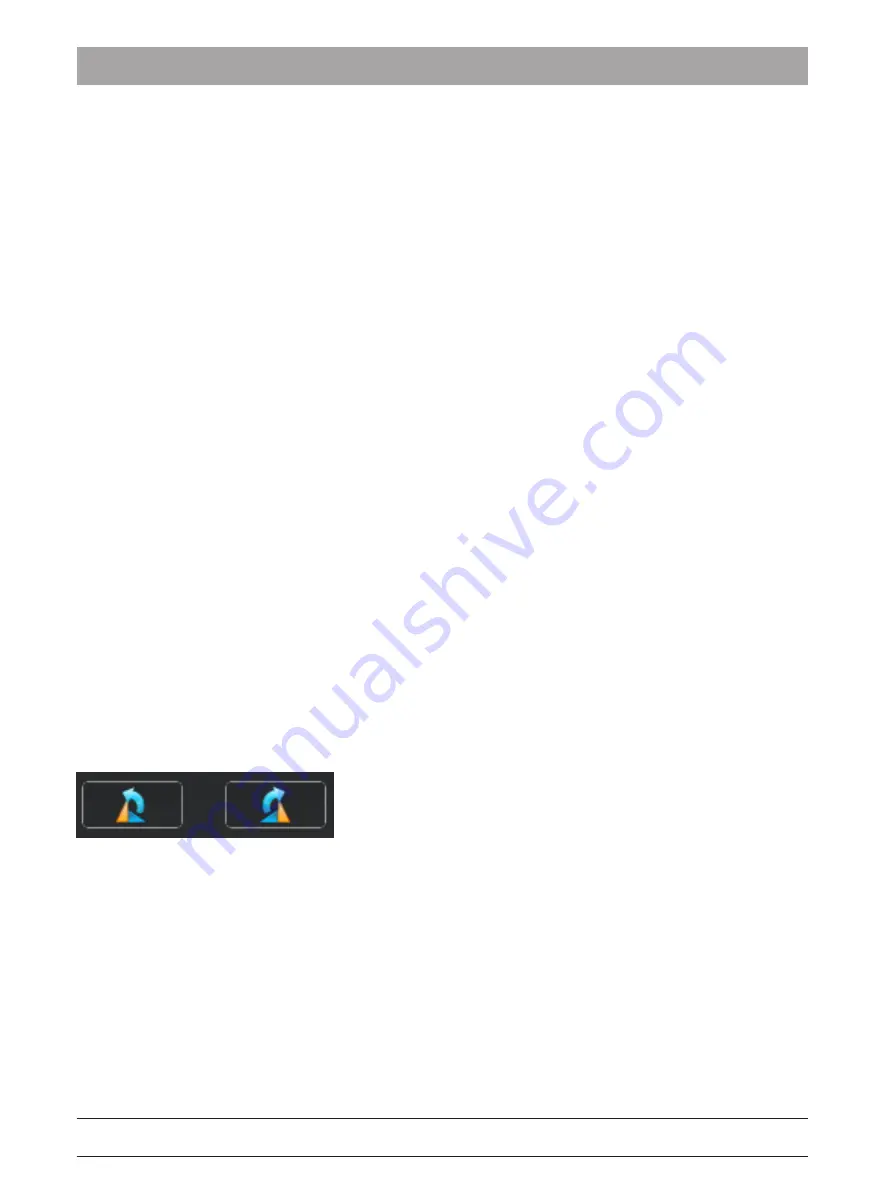
2.
Change the orientation of the selected image by clicking on the
appropriate buttons. Use the direction of the arrow in the icon to
reorient the image accordingly.
Ä
As the image is re-oriented, the smaller viewbox in the template
also reflects those changes.
3.
Perform other actions in Acquisition view, if any, then click the
"Finish" button to continue to the "Light Box".


