14
Pad Modes
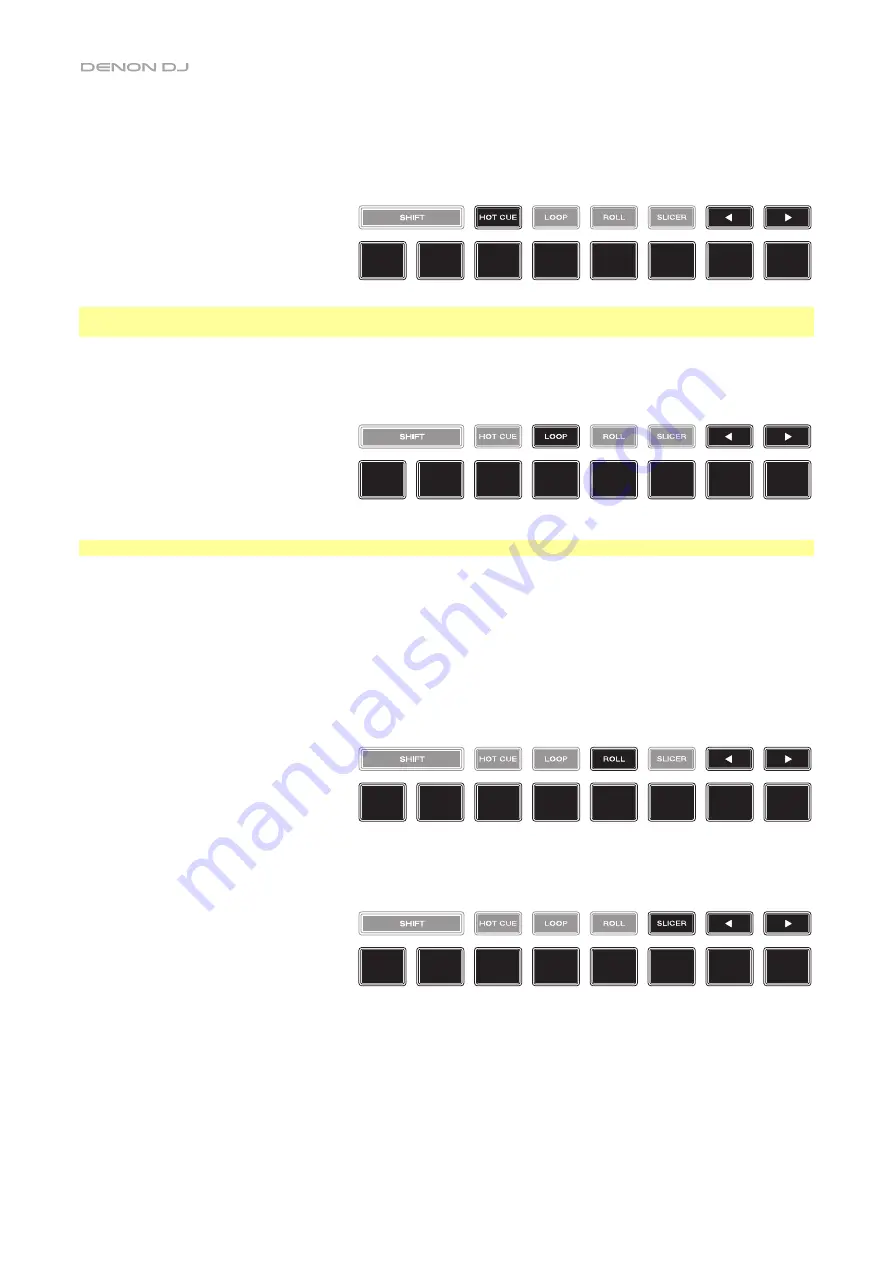
The 8 pads have different functions in each pad mode. The
Parameter
/
buttons will make adjustments specific to each pad
mode.
To enter each pad mode
, press the corresponding button:
Hot Cue
,
Loop
,
Roll
, or
Slicer
.
Hot Cue Mode
In Hot Cue Mode, you can use each pad to jump to an assigned hot cue point.
Tip
:
You can use the Engine PRIME software to set, name, and assign colors to your hot cue points. The names and colors will
appear in the display for reference.
To assign a hot cue to a pad
, press an unlit pad at the desired location in the track. The pad will light up when a hot cue point
is assigned.
To jump to a hot cue point
, press the corresponding pad.
To clear a hot cue from a pad
, press
Shift
and the desired pad. The pad will turn off when there is no hot cue point assigned to it.
Loop Modes
In Manual Loop Mode, you can use each pad to activate an assigned loop. Pressing Loop for the first time will always enter
Manual Loop Mode.
Tip
:
You can use the Engine PRIME software to set and name your loops. The names will appear in the display for reference.
To assign a loop to a pad and activate it
, press an unlit pad to create a Loop In point at the current location, and then
press it again to create the Loop Out point at another location. You can also assign an auto loop to a pad by pressing
an unlit pad while in the auto loop. The loop will activate immediately, and the pad will light up.
To activate a loop
, press the corresponding pad.
Once a loop has been created, you can retrigger it by pressing the
corresponding pad again, depending on the
Saved Loop Behavior
setting.
To delete a loop
, press
Shift
and the desired pad.
In Auto Loop Mode, you can use each pad to create and activate an auto loop. Pressing Loop while in Manual Loop Mode will
enter Auto Loop Mode.
To activate an auto loop
, press a pad. The display will show the length of the auto loop for each pad.
To deactivate an auto loop
, press the pad again.
Roll Mode
In Roll Mode, you can press and hold each pad to trigger a “loop roll” of a certain length while the track’s timeline continues (the
lower half of the waveform in the display will continue moving forward). When you release the pad, the track will resume normal
playback from where it would have been if you had never done anything (i.e., as if the track had been playing forward the whole time).
To trigger a roll
, press the corresponding pad. Pads with triplet-based loop rolls are indicated are lit purple.
Slicer Mode
In Slicer Mode, the eight pads represent eight sequential beats—“slices”—in the beatgrid. When you press
Slicer
, you
automatically activate an eight-beat loop. The currently playing slice is represented by the currently lit pad; the light will “move
through the pads” as it progresses through the eight-slice phrase. You can press a pad to play that slice. When you release the
pad, the track will resume normal playback from where it would have been if you had never pressed it (i.e., as if the track had
been playing forward the whole time).
To play a slice
, press the corresponding pad. Use the
parameter buttons
to change the length of the repeats.
In Slicer Loop Mode (second press), the eight pads represent eight sequential beats—“slices”—in the beatgrid. The currently
playing slice is represented by the currently lit pad; the light will “move through the pads” as it progresses through the eight-
slice phrase, which will loop (this is the difference between this mode and Slicer Mode). You can press a pad to play that slice.
When you release the pad, the track will resume normal playback from where it would have been in the loop if you had never
pressed it (i.e., as if the track had been playing forward the whole time).
Hot
Cue 1
Hot
Cue 2
Hot
Cue 3
Hot
Cue 4
Hot
Cue 5
Hot
Cue 6
Hot
Cue 7
Hot
Cue 8
Loop
1
Loop
2
Loop
3
Loop
4
Loop
5
Loop
6
Loop
7
Loop
8
1
/
8-Beat
Roll
1
/
4T-Beat
Roll
1
/
4-Beat
Roll
1
/
2T-Beat
Roll
1
/
2-Beat
Roll
1T-Beat
Roll
1-Beat
Roll
2-Beat
Roll
Slice
1
Slice
2
Slice
3
Slice
4
Slice
5
Slice
6
Slice
7
Slice
8
(
T
denotes a triplet-
based time division)
Summary of Contents for SC5000M Prime
Page 84: ...Manual Version 1 2...


