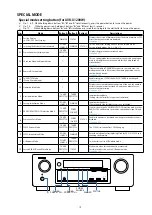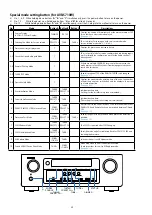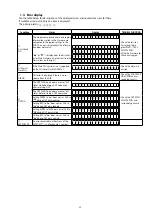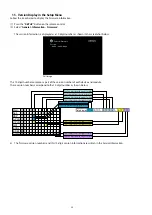
CAUTION IN SERVICING (AVR-S710W)
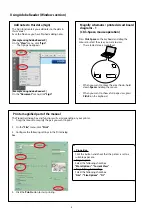
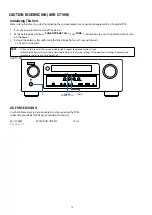
Initializing This Unit
Make sure to initialize this unit after replacing the microcomputer or any peripheral equipment, or the digital PCB.
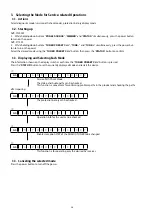
1. Press the power button to turn off the power.
2. While holding down buttons "
TUNER PRESET CH +
" and "
TUNE -
" simultaneously, press the power button to turn
on the power.
3. Release the buttons after confirming that the display flashes at 1-second intervals.
* The unit is initialized.
NOTE
:
• If the unit fails to enter the service mode in step 3, repeat the procedure from step 1.
• Initializing the device restores the customized settings to the factory settings. Write down your settings in advance and
reconfigure the settings after initialization.
AVR-S710W
JIG FOR SERVICING
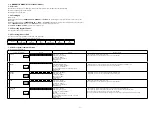
Use the following jigs (extension cable kit) when repairing the PCBs.
Order with your dealer for the jigs your dealer if necessary.
8U-110084S
:
EXTENSION UNIT KIT
:
1Sets
(
See
page 51
)
MASTER VOLUME
SOURCE SELECT
BAND
MODE
DIMMER
STATUS
TUNE
ZONE 2 ON/OFF
ZONE 2 SOURCE
TUNER
PRESET CH
CBL/SAT
3
4
ONLINE
1
GAME
2
DVD/Blu-ray
QUICK SELECT
SETUP MIC
AUX - HDMI
5V/1A
PHONES
MOVIE
MUSIC
GAME
PURE
SOUND MODE
X
TUNE -
TUNER
PRESET CH +
14
Summary of Contents for AVR-S710W
Page 8: ...8 Personal notes ...
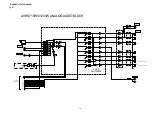
Page 144: ...NJU72340AFH3 DIGITAL_ANALOG IC821 NJU72340A Terminal Functions 144 ...
Page 147: ...2 FL DISPLAY FLD 018BT021GINK FRONT FL101 PIN CONNECTION GRID ASSIGNMENT 147 ...
Page 148: ...ANODE CONNECTION 148 ...
Page 168: ...EXPLODED REF No Part No Part Name Remarks Q ty New Ver S14 nsp SCREW CTW3 6JR VTW3 6JR 2 20 ...


