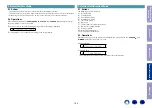
3-2. Protection History Display Mode
3-2.1. Actions
This mode enables the unit to record and display the event when the THERMAL, ASO or DC protection is
activated.
If protections have been activated multiple times, the latest protection operation is recorded.
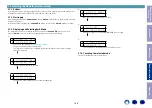
3-2.2. Starting up
While holding down buttons "
ZONE3 SOURCE
" and "
STATUS
" simultaneously, press the power button
to turn on the power.
Select the "
2. PROTECTION
" using the "
CURSOR
f
/
d
" button, then press the "
ENTER
" button to
confirm.
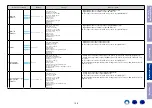
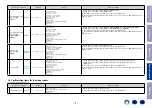
3-2.3. Protection information and displays
• Press the "
STATUS
" button in Protection History Display Mode.
• The protection history can be checked.
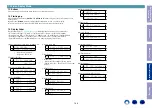
(1) If no protections has occurred.
L1
PROTECT HISTORY
L2
:NO PROTECT
(2) ASO (if the last protection is ASO)
L2
:ASO
Cause
A short circuit occurred between the speaker terminals, or speakers with an impedance outside
the rating were connected.
Note :
Short circuits in speaker terminals or speakers can be identified.
If the power is turned on in the abnormal state, protection is activated after around 6 seconds and the
power is turned off.
(3) DC (if the last protection is DC)
L2
:DC
Cause :
DC output of the power amplifier is abnormal.
If the power is turned on in the abnormal state, protection is activated after around 6 seconds and the
power is turned off.
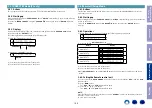
(4) THERMAL (if the last protection is THERMAL(E) or THERMAL(F))
L2
:THERMAL E
L2
:THERMAL F
Cause :
Abnormal heat sink temperature.
If the power is turned on in the abnormal state, protection is activated after around 6 seconds and the
power is turned off.
(5) Case of CURRENT (when the last protection incident is CURRENT protection)
L2
:CURRENT
Cause :
An over current flowed in power amp.
If the power is turned on in the abnormal state, protection is activated after around 90 seconds and the
power is turned off.
Caution
: These protections may also be activated due to other factors such as disconnection of
connectors or operations around the microcomputer.
After viewing the above protection history, press the "
STATUS
" button to return to the normal display.
Before Servicing
This Unit
Electrical
Mechanical
Repair Information
Updating
149


