Page 6
6) Insert Copy Protection Dongle
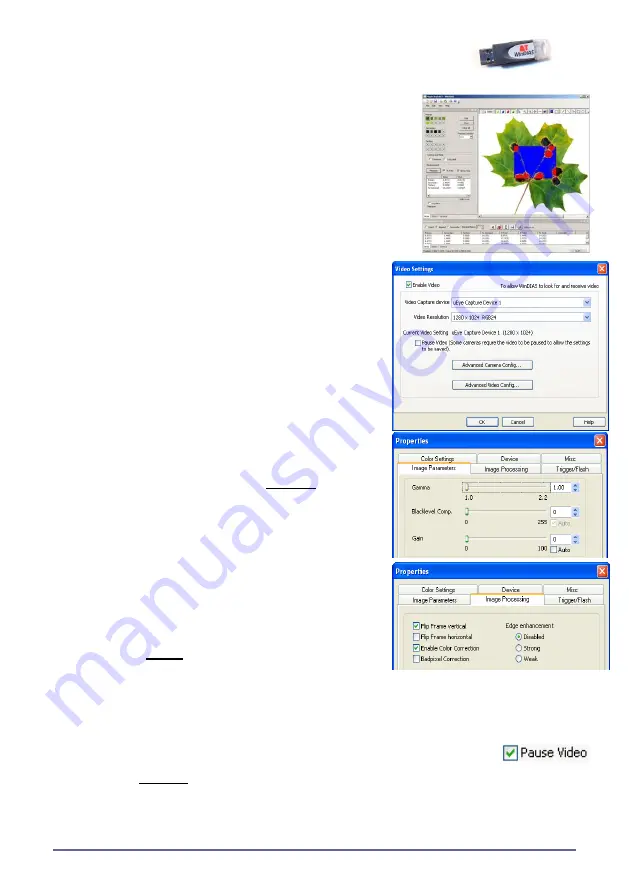
Insert the WinDIAS Copy Protection USB dongle.
7) Run WinDIAS
On first installation, when
WinDIAS
runs, it loads and
displays a maple leaf image.
If using a video camera go to step 8.
If using a scanner, or a still digital camera, go to step 11.
8) Select the Video Camera
◼
Select
Settings, Video,
and check the
Enable
Video
box.
◼
In the
Video Capture Device
choose your camera
from the list offered.
◼
Click
OK
.
◼
The video image should now appear.
If not, disconnect and reconnect the camera cable.
◼
Select the highest convenient resolution, (lower it
to increase frame rate if too slow in conveyor
mode).
9) Configure Camera
◼
Set the lens aperture and focus.
In
Settings, Video, Advanced Camera Config,
Image parameters:
ensure
Auto Gain
is
disabled.
◼
In
Image Processing
:
enable
Colour Correction
.
◼
In
Color Settings
: with a live image of a black and
white or grey target, select
“
One shot
”. After a
few seconds the camera finds the best correction
and the option changes to “
Disabled
”. Note: The
image must not saturate (not RGB 255,255,255)
all over. See also the WinDIAS Manual.
◼
To change shutter speed select
Settings, Video,
Advanced Video Config
.
Note: These settings choices are for version 3.8 of the
IDS camera software.
10) Save Video Camera Settings
Run WinDIAS using Run as Administrator and select
Settings, Video
and
Pause
Video.
In
Advanced Camera Config, Device,
select
Load/Save location: local registry
Select
Save Settings
and
OK
.
Next time you start
WinDIAS
the camera settings will be reloaded..
Note: You can only do this when the video stream is paused, i.e. disabled.


