Steps
1
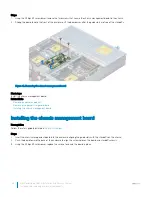
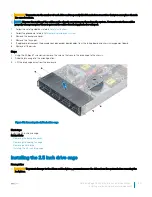
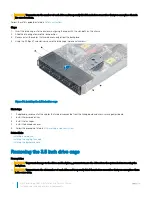
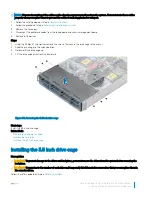
Insert the drive cage into the enclosure, aligning the drive cage with the standoffs on the chassis.
2
Slide the drive cage toward the lock position.
3
Using the Phillips #1 screwdriver, secure the drive cage in place with screws.
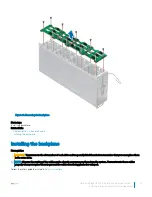
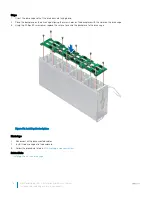
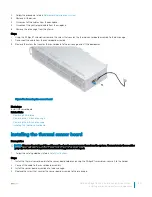
Figure 56. Installing the 3.5 inch drive cage
Next steps
1
Reconnect all the backplane cables that were disconnected from the linking board and chassis management board.
2
Install all the removed drives.
3
Install the fan cages.
4
Follow the procedure listed in
After working inside your system
.
Related links
Installing a hard drive
Installing the cooling fan cage
Backplanes and expander board
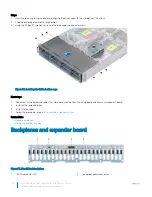
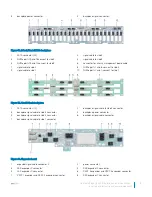
Figure 57. 24 x 2.5 inch backplane
1
SATA connector (24)
2
expander power connector
72
Dell PowerEdge C6400 Installation and Service Manual
Installing and removing enclosure components

