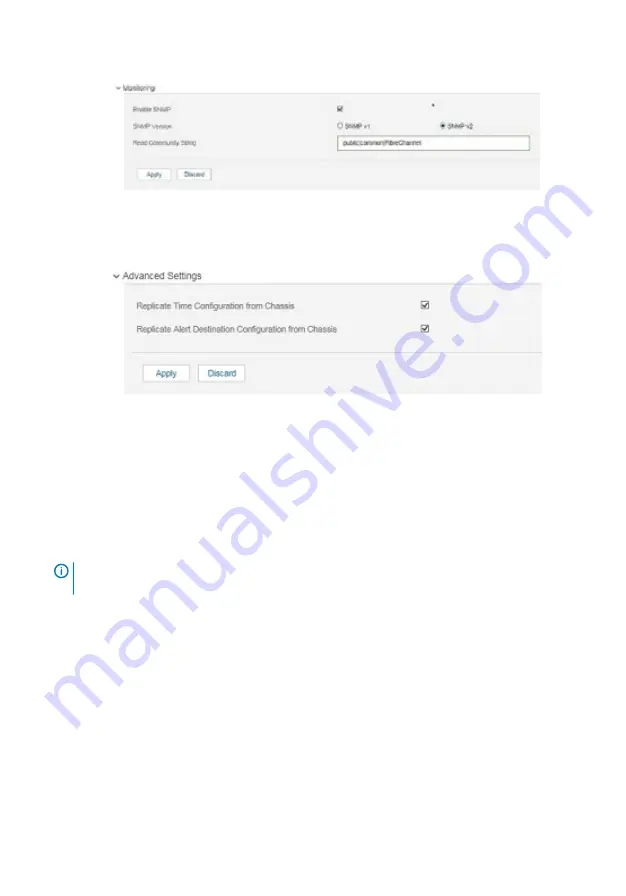
Figure 9. Monitoring settings
7
Click and expand the
Advanced Settings
option. Select the needed check boxes.
Figure 10. Advanced settings
8
Click
Apply
.
You have configured the IP address and other settings for the switch module.
Optical transceivers and cabling installation
NOTE:
When cabling SFP+ optical transceivers, start from port 0, then port 17, and
then the other ports.
To insert the optical transceivers and the cable connections:
1
Insert the optical transceiver in an external port on the switch module until it is firmly
seated and the latching mechanism clicks.
Transceivers are keyed to ensure correct orientation. If a transceiver does not install
easily, ensure that it is correctly oriented.
2
Insert the fiber optic cable in the SFP+ or QSFP optical transceiver until the latching
mechanism clicks.
Cable connectors are keyed to ensure correct orientation. If a cable connector does not
install easily, ensure that it is correctly oriented.
12
MXG610s Setup Guide


