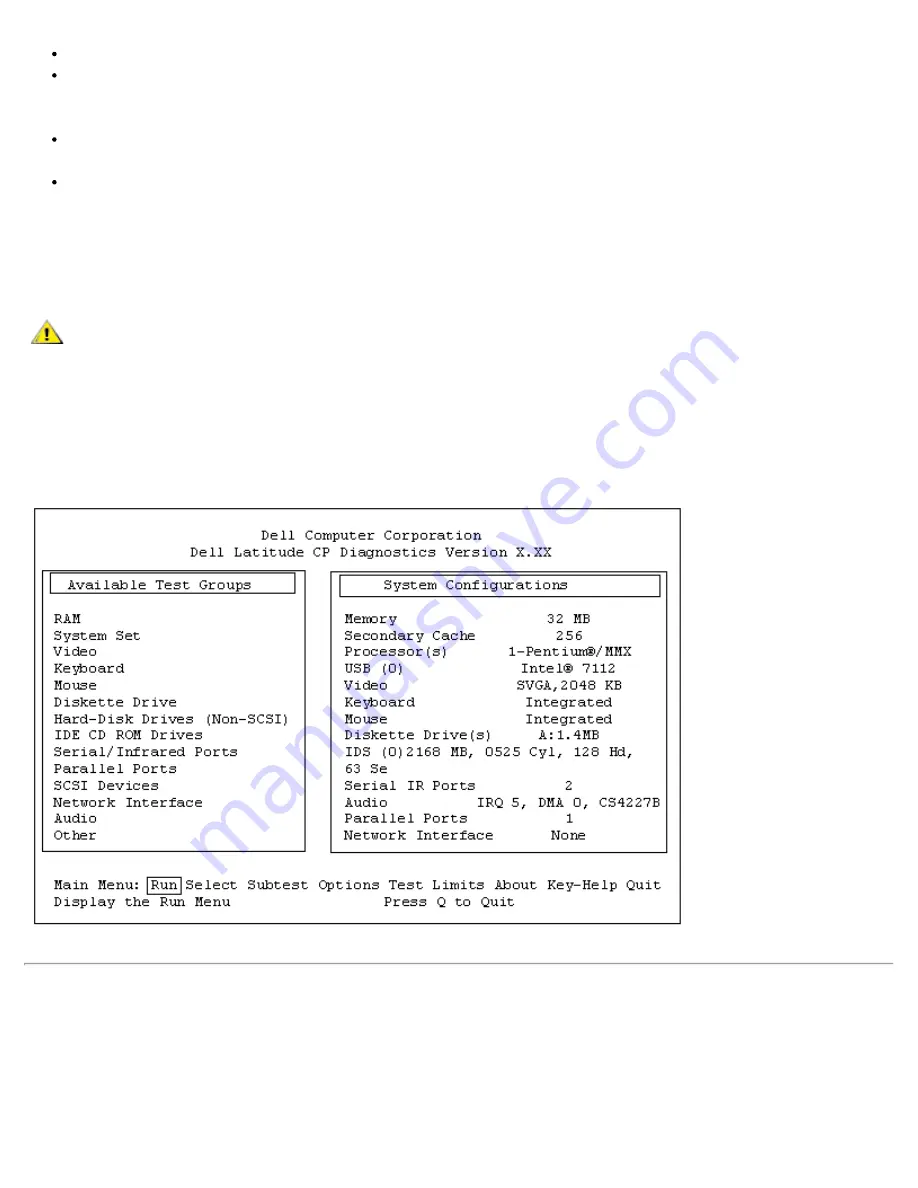
Two lines at the top of the screen identify the diagnostics and give its version number.
On the left side of the screen, the
Available Test Groups
area lists the diagnostic test groups in the
order they will be run if you select
Run
and then
All
. Press the up- or down-arrow key to highlight a
test group.
On the right side of the screen, the
System Configuration
area lists the computer's current hardware
settings.
On the lower-right side of the screen, the
IDE Drive Information
area displays information about your
hard-disk drive.
The menu area is at the bottom of the screen. The first line lists the options you can select; press the left- or
right-arrow key to highlight a menu option. The second line gives information about the option currently
highlighted.
CAUTION:
While the diagnostic tests are running, do not interrupt the tests, do not unplug the
AC adapter, and do not reboot the computer. Interrupting the tests in any of these ways could
lead to the loss of system data. It is important to quit the diagnostics program correctly,
because the program writes data to the computer's memory that can cause problems unless
properly cleared.
Figure 2. Main Screen of the Dell Diagnostics
Confirming the System Configuration Information
When you boot the computer from your diagnostics diskette, the diagnostics checks your system
configuration information and displays it in the
System Configuration
area on the main screen.
The following sources supply this configuration information for the diagnostics:
Summary of Contents for Latitude CPi A-Series
Page 56: ...Back to Contents Page ...


