8.
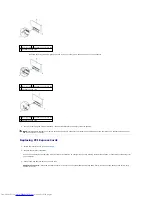
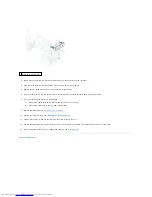
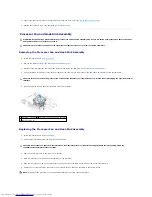
If you are replacing the secondary hard-drive:
a.
Connect the power cable to the primary and secondary hard-drives.
b.
Connect the data cable to the secondary hard-drive.
9.
Replace the computer cover (see
Replacing the Computer Cover
).
10.
Connect your computer and devices to electrical outlets, and then turn them on.
11.
See the documentation that shipped with the hard drive for instructions on installing any software required for drive operation.
12.
Check the System Setup for drive configuration changes (see
System Setup
).
Optical Drive
Removing the Optical Drive
1.
Follow the instructions in
Before You Begin
.
2.
Remove the computer cover (see
Removing the Computer Cover
).
3.
Remove the front bezel (see
Removing the Front Bezel
).
4.
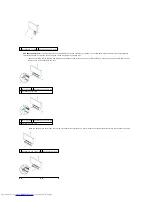
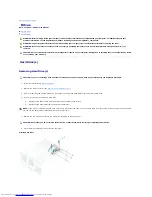
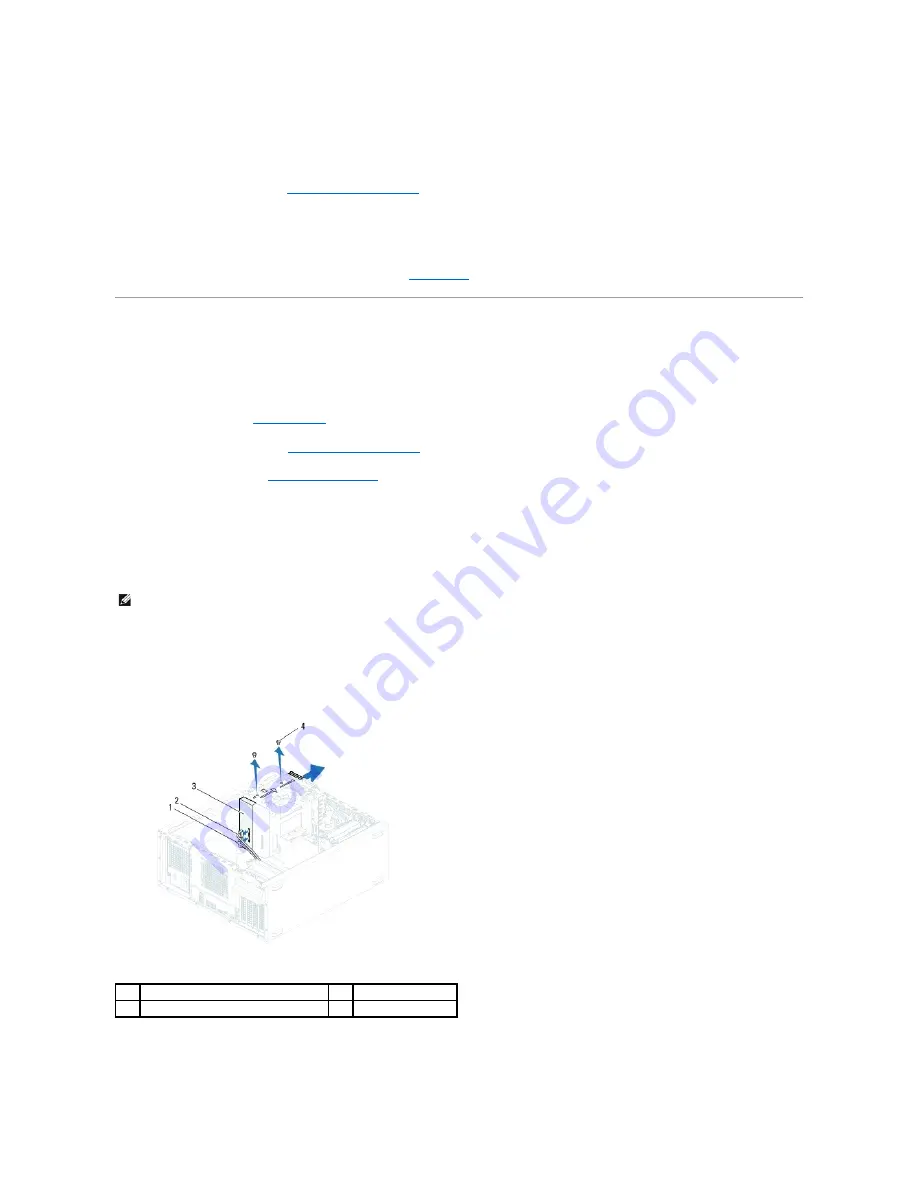
If you are removing the primary optical-drive, disconnect the power and data cables from the primary optical-drive.
5.
If you are removing the secondary optical-drive:
a.
Disconnect the power cable from the primary and secondary optical- drives.
b.
Disconnect the data cable from the secondary optical-drive.
6.
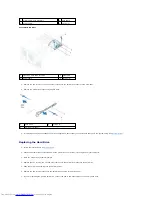
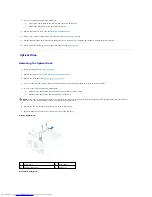
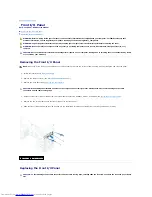
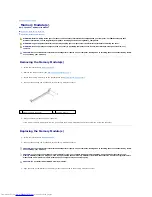
Remove the two screws that secure the optical drive to the chassis.
7.
Push and slide the optical drive out through the front of the computer.
Primary Optical Drive
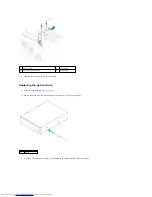
Secondary Optical Drive
NOTE:
If you are not replacing the optical drive at this time, disconnect the other end of the data cable from the system board connector and set it
aside. You can use the data cable to install an optical drive at a later time.
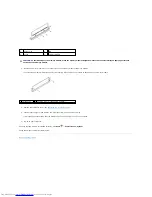
1
power cable
2
data cable
3
primary optical-drive
4
screws (2)


