Secondary Hard Drive
7.
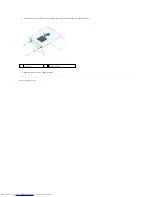
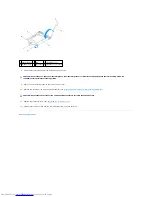
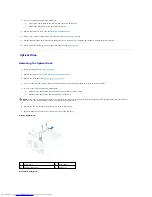
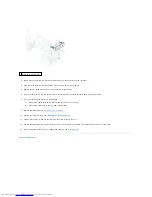
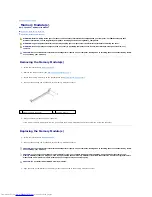
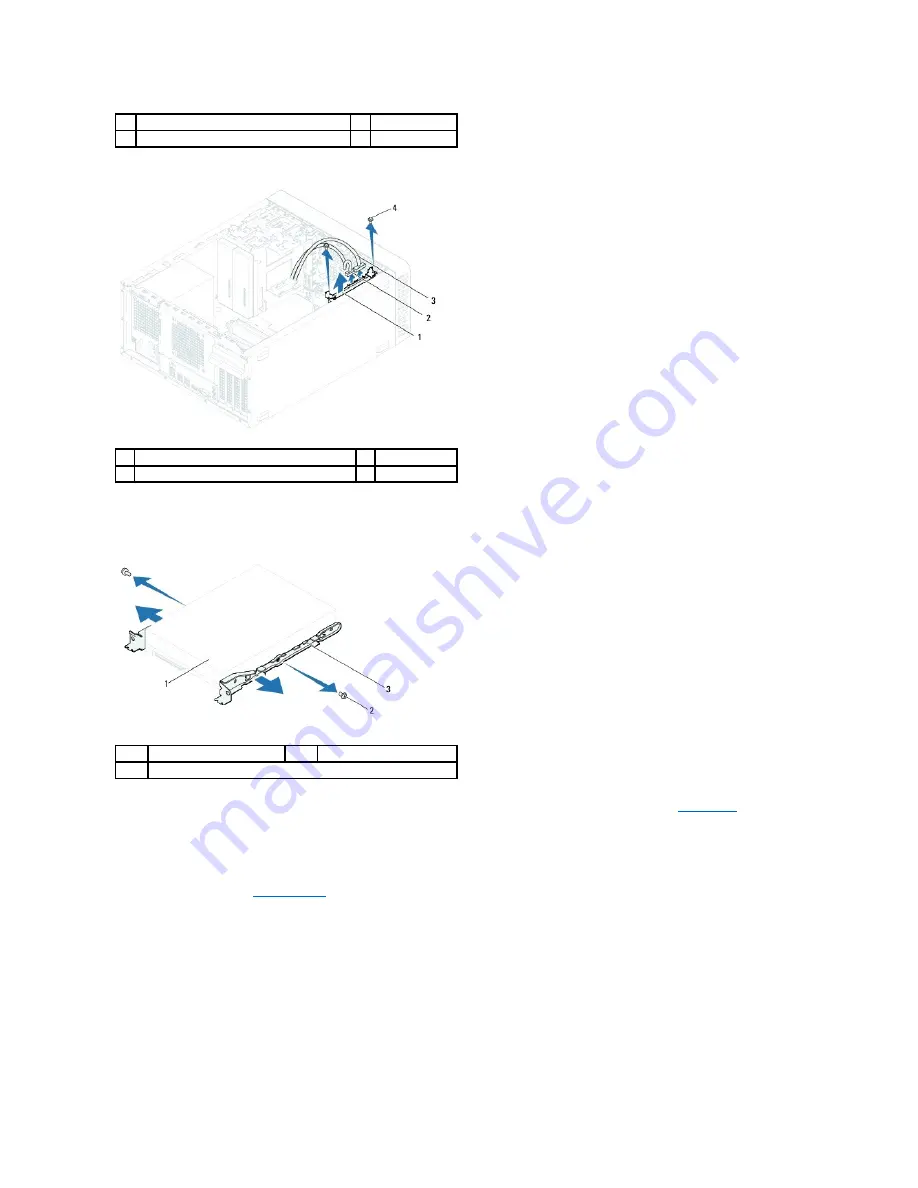
Remove the two screws (one on each side) that secure the hard-drive brackets to the hard-drive.
8.
Remove the hard-drive brackets off the hard drive.
9.
If removing the hard drive changes the drive configuration, ensure that you reflect these changes in the system setup (see
System Setup
).
Replacing the Hard Drive
1.
Follow the instructions in
Before You Begin
.
2.
Check the documentation that shipped with the hard drive to verify that it is configured for your computer.
3.
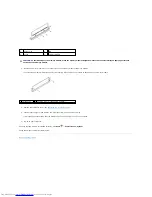
Place the hard-drive brackets in position.
4.
Replace the two screws (one on each side) that secure the hard-drive brackets to the hard drive.
5.
Slide the hard-drive assembly into the hard-drive bay.
6.
Replace the two screws that secure the hard-drive assembly to the drive panel.
7.
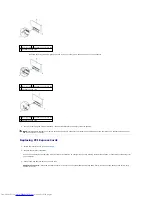
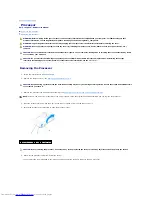
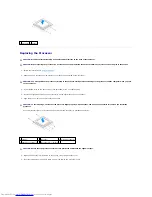
If you are replacing the primary hard-drive, connect the power and data cables to the primary hard drive.
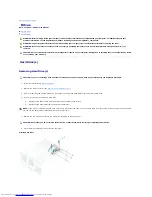
1
primary hard-drive assembly
2
data cable
3
power cable
4
screws (2)
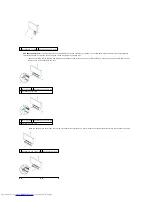
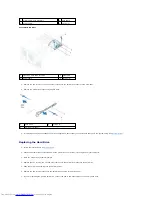
1
secondary hard-drive assembly
2
data cable
3
power cable
4
screws (2)
1
hard drive
2
screws (2)
3
hard-drive bracket

