4
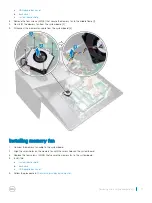
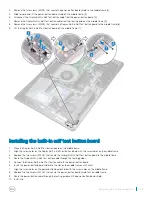
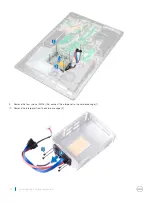
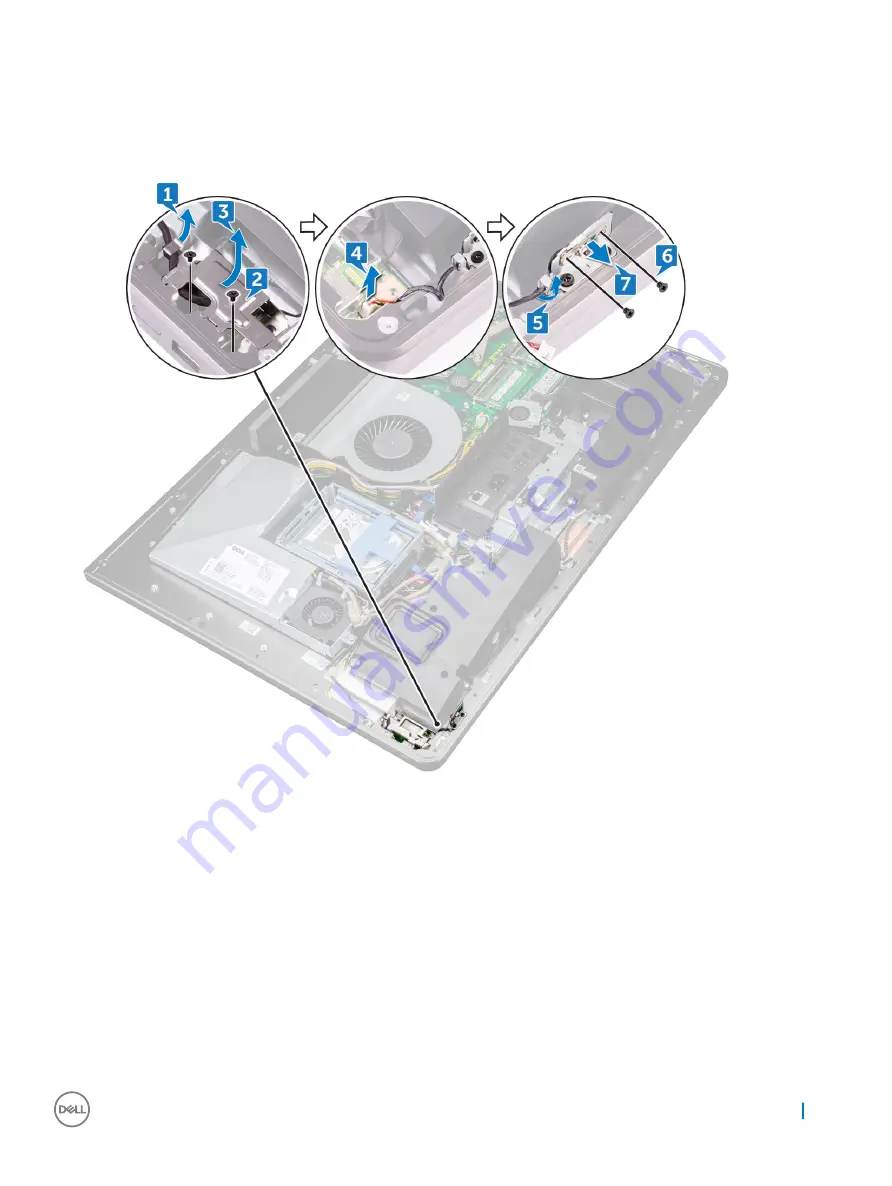
Remove the two screws (M2X3) that secure the power-button board shield to the middle frame [2].
5
Slide forward and lift the power-button board shield off the middle frame [3].
6
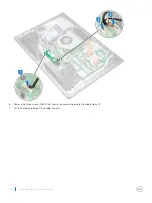
Disconnect the Display Built-in Self Test button cable from the power-button board [4].
7
Remove the Display Built-in Self Test button cable from the routing guide on the middle frame [5].
8
Remove the two screws (M2X3) that secure the Display Built-in Self Test button board to the middle frame [6].
9
Lift the Display Built-in Self Test button board off the middle frame [7].
Installing the built-in self test button board
1
Place the Display Built-in Self Test button board on the middle frame.
2
Align the screw holes on the Display Built-in Self Test button board with the screw holes on the middle frame.
3
Replace the two screws (M2X3) that secure the Display Built-in Self Test button board to the middle frame.
4
Route the Display Built-in Self Test button cable through the routing guides.
5
Connect the Display Built-in Self Test button cable to the power-button board.
6
Insert the power-button board shield into the slot on the middle frame until it clicks.
7
Align the screw holes on the power-button board shield with the screw holes on the middle frame.
8
Replace the two screws (M2X3) that secure the power-button board shield to the middle frame.
9
Route the power-button cable through the routing guides on the power-button board shield..
10 Install the:
Removing and installing components
35
Summary of Contents for Inspiron 5720
Page 1: ...Precision 5720 All in One Owner s Manual Regulatory Model W13C Regulatory Type W13C001 ...
Page 69: ...2 Place the middle frame on the assembly Removing and installing components 69 ...
Page 86: ...86 Technology and components ...
Page 97: ...Software 97 ...
Page 100: ...100 Software ...
Page 106: ...106 Troubleshooting ...

