


Installing an expansion card
Prerequisites
CAUTION:
Expansion cards can only be installed in the slots on the expansion card riser. Do not attempt to
install expansion cards directly into the riser connector on the system board.
1. Follow the safety guidelines listed in
.
2. Unpack the expansion card and prepare it for installation. For instructions, see the documentation accompanying the card.
Steps
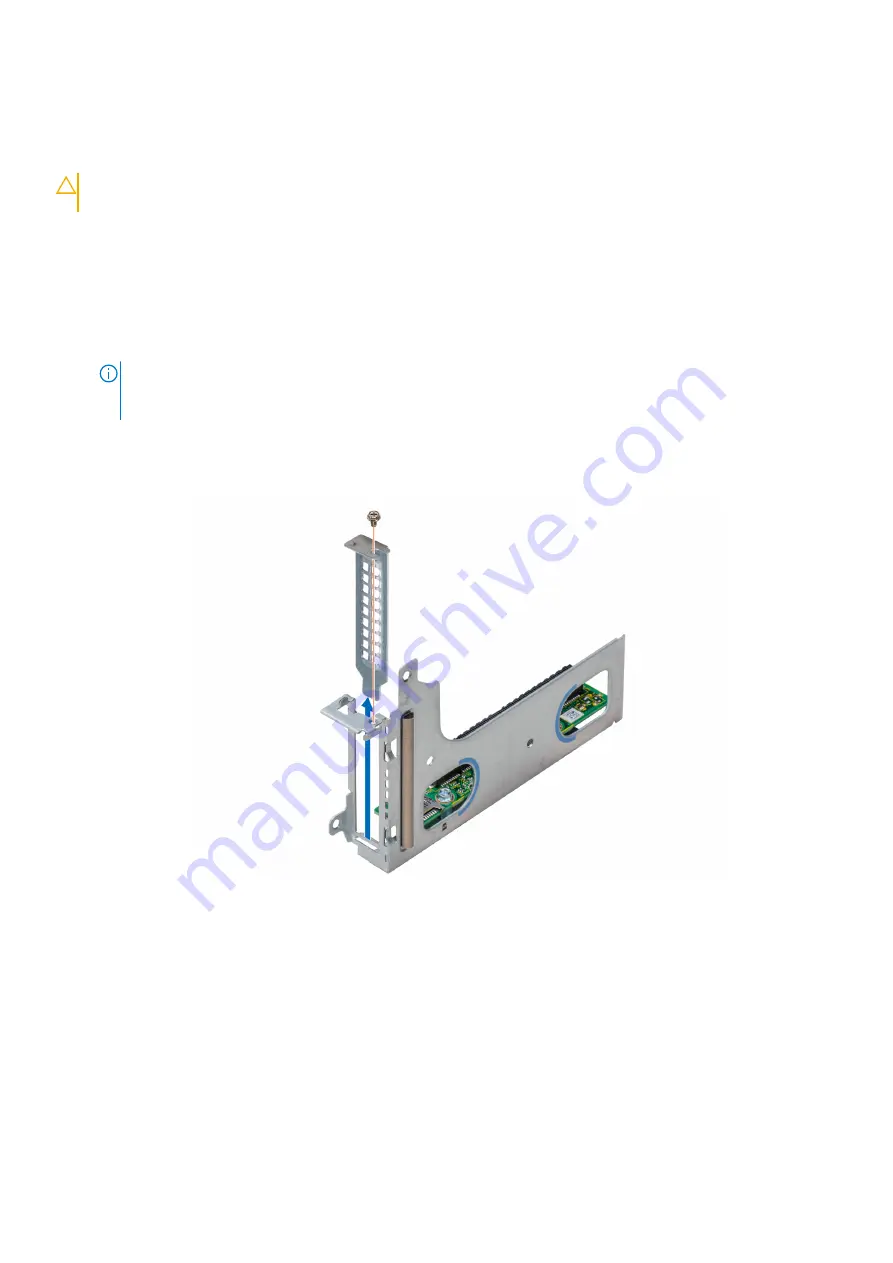
1. If installed, remove the filler bracket by performing the following steps:
a. Remove the screw that secures the filler bracket.
b. Hold the filler bracket by its edges, and carefully remove it from the riser card.
NOTE:
You must install an expansion card filler bracket over an empty expansion slot to maintain Federal
Communications Commission (FCC) certification of the system. The brackets also keep dust and dirt out of the
system and aid in proper cooling and airflow inside the system.
2. Holding the card by its edges, position the card so that the card edge connector aligns with the connector on the riser card.
3. Insert the card edge connector and push the card firmly into the riser card until the card is fully seated.
4. Replace the screw that secures the expansion card.
Figure 49. Removing the expansion card filler bracket
Installing and removing enclosure components
59


