background image

Please 

read


this


instruct

i

on

 manual


before


u

s

ing


your


portable


ice


maker

W

e


recommend


that


you


keep


this


in


a


safe


place


for


future


reference.

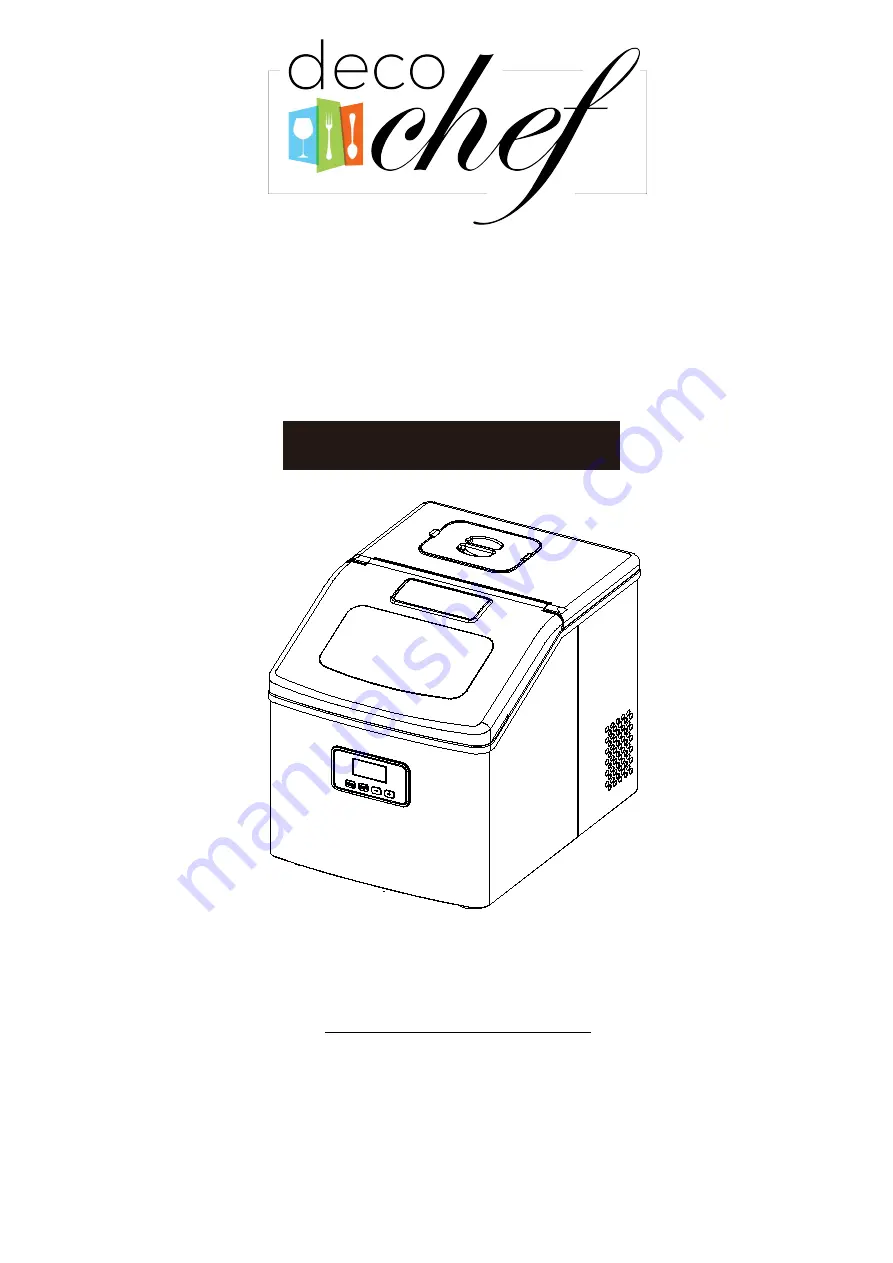
Counter Top

40 LB 

Ice Maker

Instruction Manual

For the DCICM Models

View this product on decogear.com

Summary of Contents for DCICMRED

Page 1: ...ruction manual before using your portable ice maker We recommend that you keep this in a safe place for future reference Counter Top 40 LB Ice Maker Instruction Manual For the DCICM Models View this product on decogear com ...

Page 2: ...ROCEDURES MAINTENANCE UNPACKING UNPACKING YOUR YOUR ICE ICE MAKER MAKER 5 5 CONNECTING CONNECTING YOUR YOUR ICE ICE MAKER MAKER 6 6 CLEANING CLEANING AND AND MAINTAINING MAINTAINING YOUR YOUR ICE ICE MAKER MAKER 6 7 6 7 USING YOUR ICE MAKER 8 TROUBLESHOOTING TROUBLESHOOTING 9 9 TECHNICAL PARAMETERS CIRCUIT DIAGRAM 10 TABLE OF CONTENTS ...

Page 3: ... the safety alert symbol All safety messages will follow the safety alert symbol along with the word DANGER or WARNING These words mean You can be killed or seriously injured if you don t fully follow these instructions All safety messages will tell you what the potential hazard is how to reduce the chance of injury and what can happen if instructions are not followed IMPORTANT SAFETY INSTRUCTIONS...

Page 4: ... Exercise caution and use reasonable supervision when appliance is used near children Do not use your ice maker outdoors Place the ice maker away from direct sunlight and make sure that there is at least 6 inches of space between the back of your unit and wall Keep a minimum distance of 6 inches on each side of your unit free Do not use other liquids to make the ice cubes other than water Do not c...

Page 5: ...r should be installed in accordance with the safety standard for Refrigeration Systems ASHRAE15 The ice maker shall not be installed in corridors or hallways of public buildings If the unit has a problem or needs to be maintained replacement with like components and servicing shall be done by factory authorized service personnel so as to minimize the risk of possible ignition due to incorrect part...

Page 6: ...hen the ice cube symbol is on the unit is making ice cubes When the symbol flashing the unit is harvesting ice 3 ON OFF symbol 4 Error code E1 Ambient temp senor breakdown E2 refrigerating tube sensor breakdown 5 Lack of water warning symbol 6 Ice full symbol 7 Time setting display area H notes timer unit ON OFF When M is active a preset ice making time has been set D Ice making and timer decrease...

Page 7: ...prong wall outlets to minimize the possibility of electric shock 2 Plug your appliance into an exclusive properly installed grounded wall outlet Do not under any circumstances cut or remove the third ground prong from the power cord Any questions concerning power and or grounding should be directed toward a certified electrician 3 This appliance requires a standard 110 120volt 60Hz electrical outl...

Page 8: ...en use water to rinse the inside and drain out the water from the draining port by unplugging the drain cap on the back It will help you keep the unit and newly made ice cubes clean and also help the unit function properly 3 When cleaning if you find that a ice cube is stuck on the evaporator and can t be taken out easily turn on the unit and let it begin the ice making process Then press the ON O...

Page 9: ...s 3 When ice maker harvest this will flash Water will flow from the top water reservoir to bottom water tank through the solenoid valve the will display When the water in the bottom water tank is full The symbol will shut off then the next ice making cycle start again When there is no water in the water reservoir the symbol will stay on Turn off the unit and fill water again then restart the unit ...

Page 10: ...ter 5 seconds the H will remain on and unit will use your set time 5 Water Drain take off the drain plug cap on the back of unit Take out the silicon plug then drain the water inside It is best to change water every 24 hours and the clean unit every 3 days CLOSE OPEN Warning A Make sure the water tank water filter and the water separator pipe are not blocked Clean them if needed B The water temper...

Page 11: ...d Use slim wire to prick each hole until the water can flow out easily Water filter is blocked Clean the water filter Ice cubes are thick and can t drop down Ice making cycle too long Press to reduce the ice making time Ice cubes are too thin Ambient temp too high Move the unit to cool place Water temp too high The water temp should be no more more than 25 77 Ice making too short Press to increase...

Page 12: ...Low Side Side 88Psig 88Psig Net Net Weight Weight 11kg 11kg Enclosure Enclosure Stainless Stainless TECHNICAL PARAMETERS CIRCUIT DIAGRAM TECHNICAL PARAMETERS CIRCUIT DIAGRAM Relay MCU PUMP FAN DC Fan Motor DC Water Pump VALVE Solenoid Valve AW MW Start Relay Overload Protector COMPRESSOR COMP AC L POWER SUPPLY sensor for suction pipe sensor for room temp AC N 1 2 Liquid Level Switch WATERV CKKG RO...

Page 13: ......

Reviews: