OUTDOOR REFRIGERATOR
Installation, Operation and Maintenance Instructions
MODELS:
RF24RERF24LE
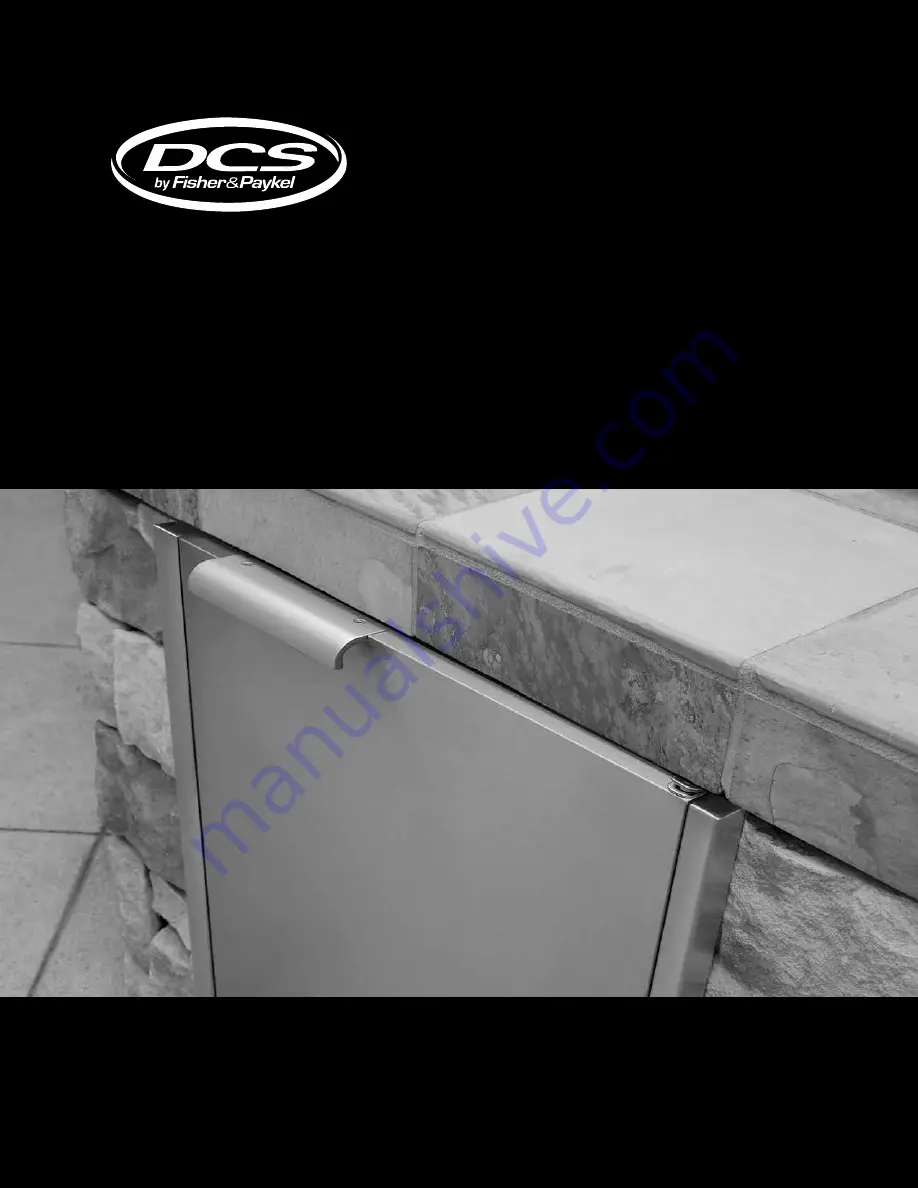
Page 1: ...OUTDOOR REFRIGERATOR Installation Operation and Maintenance Instructions MODELS RF24RE RF24LE ...
Page 2: ...ortant Safety Instructions Warnings and safety instructions appearing in this guide are not meant to cover all possible conditions and situa tions that may occur Common sense caution and care must be exercised when installing maintaining or operat ing this appliance Recognize Safety Symbols Words and Labels WARNING WARNING You can be killed or seriously injured if you do not follow these instructi...
Page 3: ...rs or remove the drawers Leave the shelves in place so children may not easily climb inside WARNING EXCESSIVE WEIGHT HAZARD Use two or more people to move product Failure to do so can result in personal injury Remove Interior Packaging Your appliance has been packed for shipment with all parts that could be damaged by movement securely fastened Remove internal packing materials and any tape holdin...
Page 4: ...ded as it may restrict air flow Front grille screw Front grille Figure 2 Front Leveling Legs Figure 1 Rear Leveling Legs Front Grille keep this area open INSTALLING YOUR APPLIANCE Leveling Legs Adjustable legs at the front and rear corners of the appli ance should be set so the unit is firmly positioned on the floor and level from side to side and front to back The overall height of your appliance...
Page 5: ...ith a power supply cord that has a three pronged grounded plug It must be plugged into a mating grounding type receptacle in accor dance with the National Electrical Code and applicable lo cal codes and ordinances see Figure 5 If the circuit does not have a grounding type receptacle it is the responsibility and obligation of the customer to provide the proper power supply The third ground prong sh...
Page 6: ...or out of the way From the temporary line extend the sidewall line back 211 2 54 6 cm as shown in Figure 7 4 Align the anti tip bracket to the marks on the floor so the side of the bracket lines up with the side of the cabinet mark and the V notches on the anti tip bracket line up with the end of the 211 2 54 6 cm line Rear of cabinet line 5 Fasten the anti tip bracket to the floor using the suppl...
Page 7: ...6 cm V notches in bracket V notches in bracket Side of cabinet line Figure 7 Front of cabinet line Rear of cabinet line Rear Leveling leg Screw Figure 7a NOTE When the floor mounted anti tip bracket is used the mini mum adjusted height of the cabinet is increased by 3 8 9 mm ...
Page 8: ...through this hole to a power outlet Another way to increase the available opening depth is to recess the power outlet into the rear wall to gain the thick ness of the power cord plug Depth dimension of rough in opening may vary depend ing on each individual installation To recess entire door F dimension plus 1 2 5 cm for thickness of power cord plug is required Minimum rough in opening required is...
Page 9: ...ENTS PRODUCT WEIGHT RF24RE RF24LE 115V 60Hz 15A 140 lbs 63 6 kg PRODUCT DIMENSIONS WARNING Floor mount Anti tip Bracket must be installed for freestand ing applications Not required for built in applications F 211 2 54 6 cm D E H J G Figure 9 ...
Page 10: ...depend on amount of content loaded and number of door opening and closings For best results allow refrigerator to pull down to desired set temperature before loading Once contents are loaded allow at least 48 hours for temperature to stabilize before making any adjustments to the set temperature Set Colder Warmer ON OFF Press and Hold Press and Hold Alarm F Figure 10 close up of control Temperatur...
Page 11: ...lf Shelf support slot Installed shelf tang Figure 12 Figure 11 To Add or Remove a Shelf Remove stored product from the shelf Do not try to remove a loaded shelf from the appliance Grasp the shelf front with both hands rotate the front upward and lift out See Figure 11 To install a shelf insert the shelf in the appliance and insert the top hooks into the shelf support slots and drop the shelf down ...
Page 12: ...nce 2 Exercise caution when sweeping vacuuming or mop ping near the front of the appliance Damage to the grille can occur 3 Periodically clean the interior of the appliance as needed In the Event of a Power Failure If a power failure occurs try to correct it as soon as pos sible Minimize the number of door openings while the power is off so as not to adversely affect the appliance s temperature Li...
Page 13: ...als which could cause staining Do not use any abrasive cleaners or scouring pads 13 Leave the door open and allow to completely dry out before closing the door 14 Thoroughly clean the door gasket with anti bacterial cleaner to be followed with clean rinse water to remove any residual chemicals 15 Thoroughly clean the exterior with a cleaner approved for stainless steel Do not use any abrasive clea...
Page 14: ...ome products are called stainless steel clean ers some may contain abrasives which could scratch the surface compromising the protective chrome oxide film and some many contain chlorine bleach which will dull tarnish or discolor the surface if not completely removed After the stainless surfaces have been thoroughly cleaned a good quality car wax may be applied to help maintain the finish Note Stai...
Page 15: ...just ment bracket on the bottom of the door see Figure 13a and adjusting the door side to side Use a 5 32 allen wrench for this procedure See Figure 13 below When finished aligning the door tighten the screws securely Bottom of door Loosen don t remove these two screws Door should be parallel to top and sides of the appliance Figure 13 DOOR ALIGNMENT Figure 13a Door adjustment bracket ...
Page 16: ...late is located on the upper left side inner wall Code the serial plate is located on the upper left side inner wall Date of installation A brief description of the problem Your satisfaction is of the utmost importance to us If a problem cannot be resolved to your satisfaction please write or email us at Write Fisher Paykel and DCS Appliances Inc 695 Town Centre Drive Suite 180 Costa Mesa CA 92626...
Page 17: ... 24 hours for temperature to stabilize Allow temperature to stabilize for at least 24 hours Airflow must not be obstructed to front grille See clearances on page 4 Check door alignment and or replace door gasket Appliance too cold See Adjusting the Temperature on page 10 Control set too cold Door gasket not sealing properly Adjust temperature warmer Allow 24 hours for temperature to stabilize Chec...
Page 18: ...r ordinary single family home use All service under this Limited Warranty shall be provided by Fisher Paykel Appliances Inc or its Authorized DCS Service Agent during normal business hours Limited Warranty How Long Does this Limited Warranty Last Our liability under this Limited Warranty expires One Year from the date of purchase of the Product by the first con sumer Our liability for repair of de...
Page 19: ...horized Service Agent or believe the Product is defective and wish service under this Limited Warranty please contact your dealer or call us at TOLL FREE 1 888 936 7872 or contact us through our web site www dcsappliances com You may be required to provide reasonable proof of the date of purchase of the Product before the Product will be serviced under this Limited Warranty Commercial use This war...
Page 20: ...5 Town Centre Drive Suite 180 Costa Mesa CA 92626 1902 USA Customer Care 888 936 7872 Fax 714 372 7003 www dcsappliances com As product improvement is an ongoing process we reserve the right to change specifications or design without notice ...