Your locator can only detect active interference, not passive
interference, such as rebar. Lower frequency bands tend to perform
better around passive interference. Middle bands can perform better
in deeper bores and may have longer steering capability. High bands
have slightly less signal strength, but tend to offer better performance
around active interference such as power lines.
2. Pick the Frequency Bands
Up Down
Toggle to and select the band of your choice, then click
Up
to
assign this first band as Up band. Toggle to and select the
second band, and then assign as Down band.
3. Pair the Locator with the Transmitter
If you assigned two new
bands, both will pair at the
same time, and the locator
will be set to use the Down
band first.
a.
Install transmitter (Tx) batteries
and endcap; the increase in FO
noise readings shows the Tx is on.
b.
Select
Pair
to pair the locator
and Tx.
c.
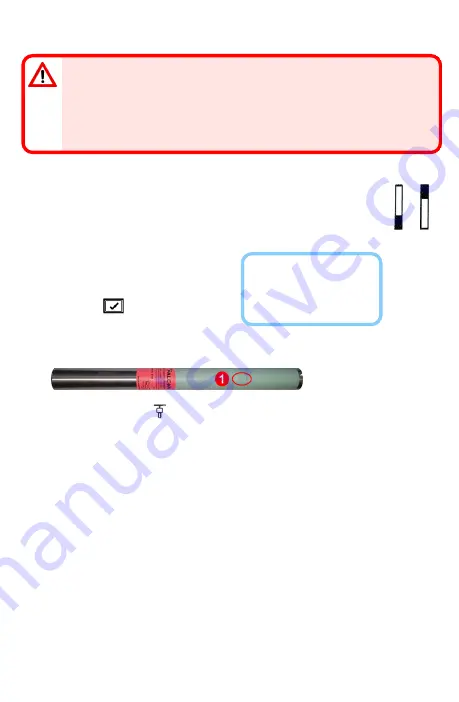
Position the transmitter's infrared (IR) port within two inches of the
locator's IR port.
1. IR port
d.
Select
Pair Request
. The locator beeps and displays a check mark
after a successful pairing.
4. Verify Data Range
Optional Step - Requires exiting Calibration Mode.
Exit to the Locate Mode screen. Have a coworker hold the transmitter
beside you at the approximate distance of the maximum intended depth
of the bore. Walk the bore together in parallel, with the locator over the
bore. Wherever the data or signal strength becomes unstable or
disappears, try the other band, or consider re-optimizing a band in that
area (see Step 1).
- 3 -


