15
DVIP
Chapter 2
Preparation
In this chapter, we will describe various essential devices to be connected to the switcher in
order to complete the system setup. If you possess the skills for setting up the production
system, feel free to skip this chapter and proceed to
2.1 Connecting Devices
In this section, we will provide brief descriptions of various connections for your video
production setup. We will discuss connections listed below:
Main unit and control panel
Input devices
Tally connection
Output devices
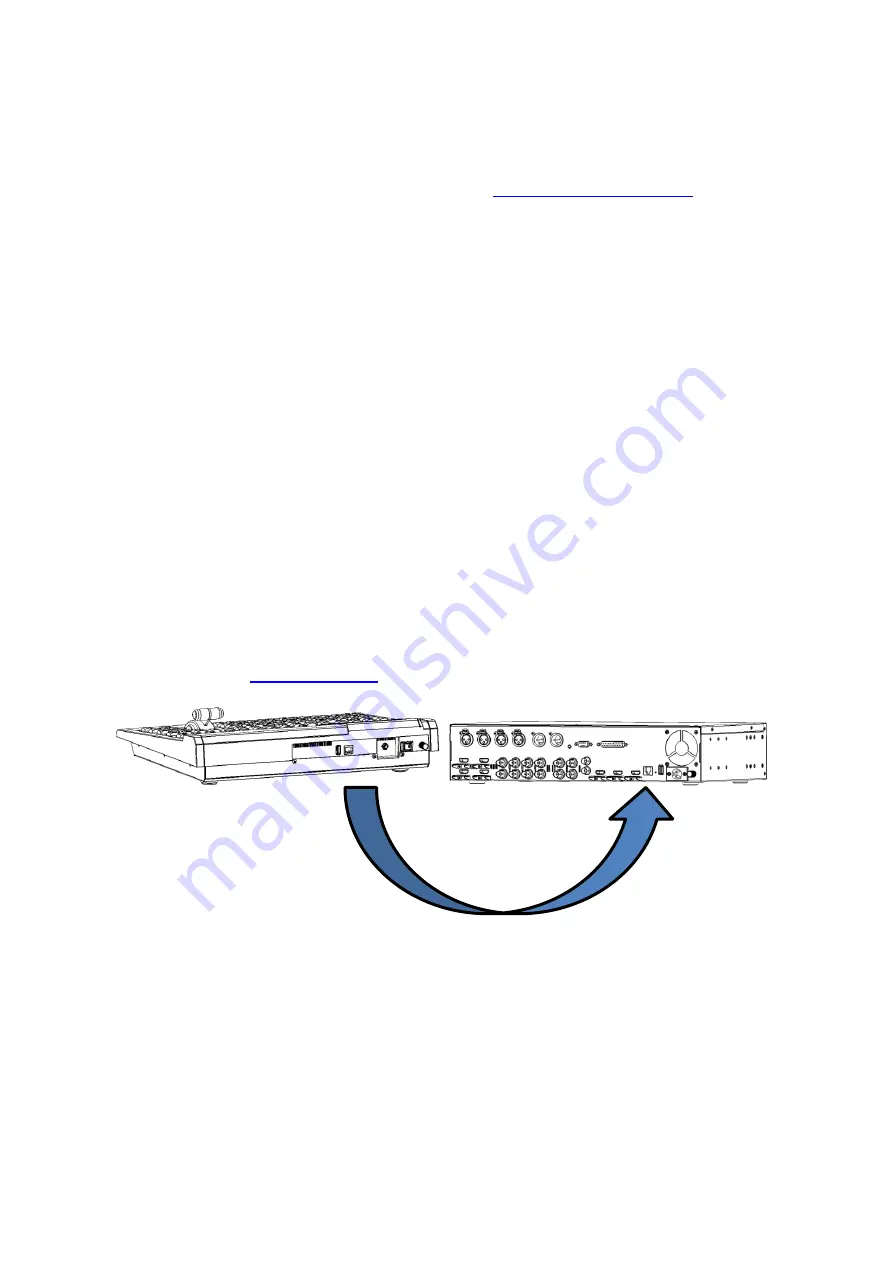
Connect the Control Panel to the Main Unit
There are two methods to connect the SE-4000’s main unit to the control panel. You can
establish point-to-point or network connection between the two devices.
Local Connection
Use a standard Ethernet cable to connect DVIP ports of the switcher’s main unit and control
panel. The default mode of connection is fixed IP. The IP addresses of the main unit and the
control panel are 192.168.100.101 and 192.168.100.102 respectively with a subnet mask of
255.255.255.0. If necessary, you can open the GUI then go to Setup
Network to modify
After establishing point-to-point connection between the main unit and the control panel,
simply turn on the respective power switches. After the switcher has been successfully
booted up, you should see the GUI on the 5 inch LCD screen as shown below. Tap the gear
icon located at the top right corner to open the main menu.
Summary of Contents for SE-4000
Page 1: ...1 SE 4000 4K DIGITAL VIDEO SWITCHER Instruction Manual...
Page 16: ...16 Tap SCAN on the main menu to search for the main unit to connect...
Page 19: ...19 Tap SCAN on the main menu to search for available main units...
Page 33: ...33...
Page 40: ...40...
Page 119: ...119...


