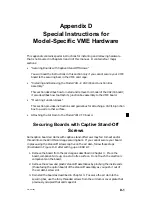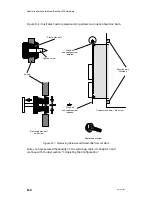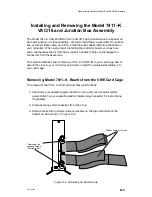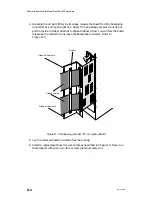
Special Instructions for Model-Specific VME Hardware
D-7
014–001867
Installing Model 7411–K VAC/16 Boards
in the VME Card Cage
To install a Model 7411–K VAC/16 assembly, follow the instructions below.
NOTE:
For ease of assembly, we recommend that you attach the J-box assembl(ies)
to a Model 7411–K controller board before installing the board in your VME
card cage. Refer to the previous section in this appendix for instructions.
1. Shut down your operating system; then turn off power to your computer
system. Refer to your expanding and/or maintaining manual(s) for instructions,
if necessary.
2. Remove the existing board or protective air dam as described in Chapter 3.
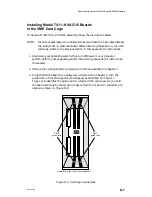
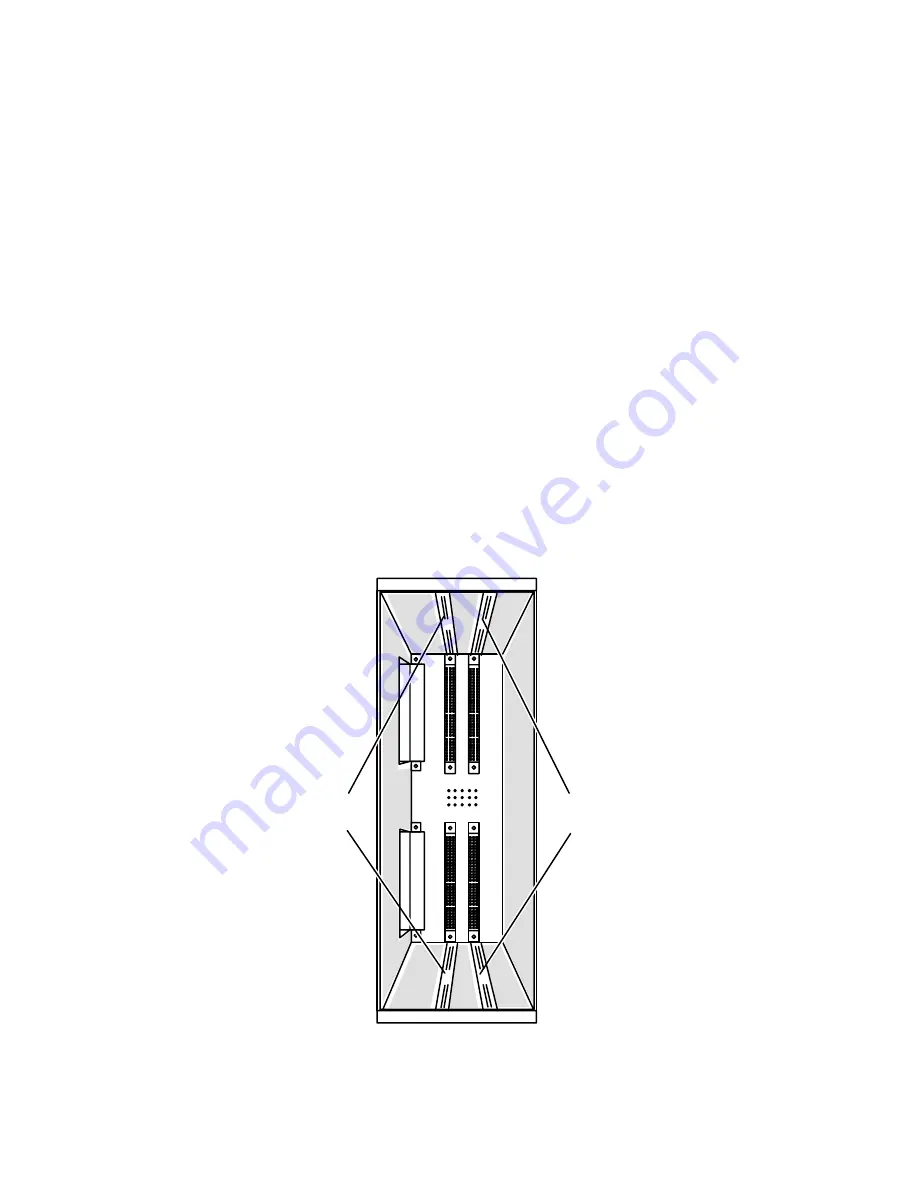
3. Align the VAC/16 board you configured, as described in Chapter 2, with the
guide rails in the card cage slot you assigned, as described in Chapter 1.
Figure D–8 identifies the guide rails in a typical VME card cage. As you hold
the board vertically by the air dam, make certain the J1 and J2 connectors are
aligned as shown in Figure D–8.
Slot 3
guide rails
Slot 2
guide rails
Viewed from the rear of the computer
Figure D–8 Card Cage Guide Rails
Summary of Contents for AViiON 5000 Series
Page 2: ......
Page 6: ......
Page 12: ...Preface x 014 001867 ...
Page 86: ...Configuring VME Option Boards 2 52 014 001867 ...
Page 144: ...Connecting External Devices to VME Option Boards 4 44 014 001867 ...
Page 150: ...VME Backplane Connector Signals and Power Distribution A 6 014 001867 ...
Page 196: ...Assigning VME Data Bus and Interrupt Priorities E 10 014 001867 ...
Page 206: ......
Page 210: ...Appendix Title ...

