Connecting External Devices to VME Option Boards
4-42
014–001867
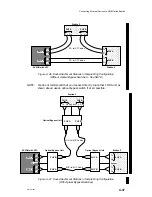
Connecting a VFC to an Optical Bypass
Switch
This section assumes you are using an optical bypass switch with your VFC board.
Complete the following steps (also see Figure 4–47):
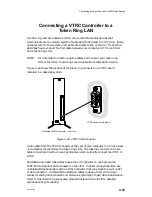
1. Locate the pairs of Tx/Rx jacks for Physical Units A and B (labeled PHY A and
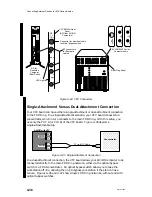
PHY B) at the rear of your computer unit. (See Figure 4–44.)
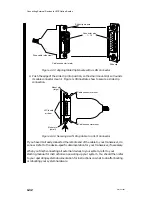
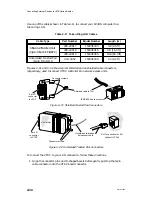
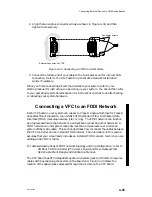
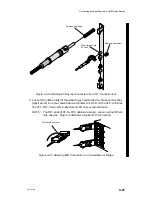
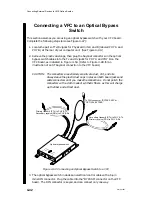
2. Remove the plastic dust caps, then plug the bayonet connectors on the optical
bypass switch cables into the Tx and Rx jacks for PHY A and PHY B on the
VFC board, as indicated in Figure 4–50. (Refer to Figure 4–48 for an
illustration of an ST bayonet connection to the VFC board.)
CAUTION: The connectors are extremely sensitive to dust, dirt, and oils.
Always leave the plastic dust caps in place on both board jacks and
cable connectors until you make the connections. Do not polish the
connectors with a cloth made of synthetic fibers, as this will charge
up the fiber and attract dust.
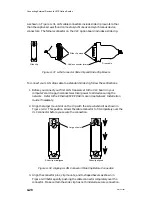
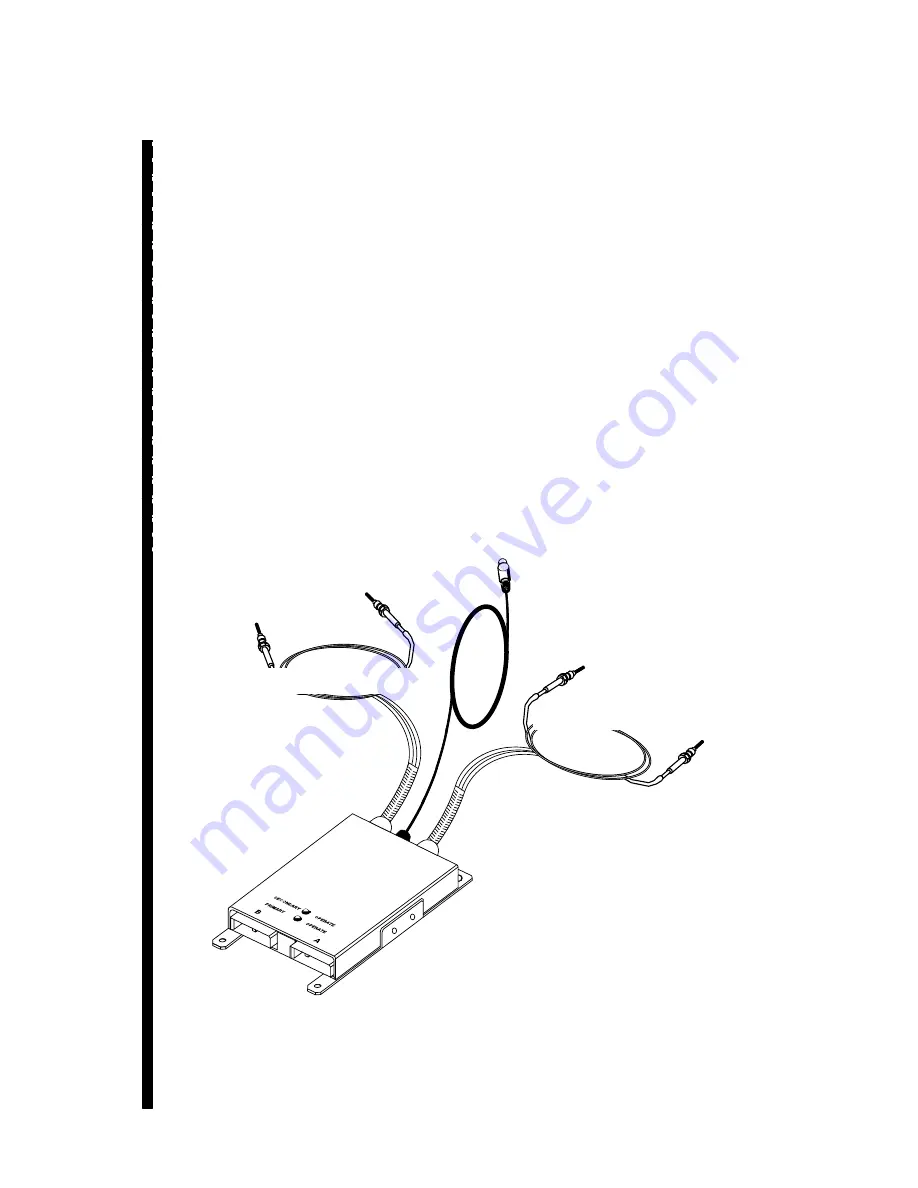
Primary transmit (PTx) to PHY B Tx:
Secondary receive (SRx) to PHY B Rx
Secondary transmit (STx) to PHY A Tx:
Primary receive (PRx) to PHY A Rx
To DIN connector: “BYPASS SW” or
“OPTICAL BYPASS”
Optical bypass switch
Figure 4–50 Connecting an Optical Bypass Switch to a VFC
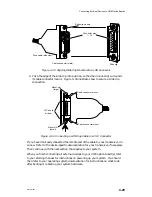
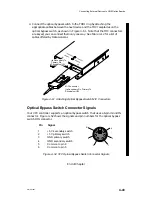
3. The optical bypass switch includes an electrical control cable with a 6-pin
mini-DIN connector. Plug the cable into the “BYPASS” connector on the VFC
board. The DIN connector is keyed, and can connect only one way.
Summary of Contents for AViiON 5000 Series
Page 2: ......
Page 6: ......
Page 12: ...Preface x 014 001867 ...
Page 86: ...Configuring VME Option Boards 2 52 014 001867 ...
Page 144: ...Connecting External Devices to VME Option Boards 4 44 014 001867 ...
Page 150: ...VME Backplane Connector Signals and Power Distribution A 6 014 001867 ...
Page 196: ...Assigning VME Data Bus and Interrupt Priorities E 10 014 001867 ...
Page 206: ......
Page 210: ...Appendix Title ...

